
Granny Hearts Bag
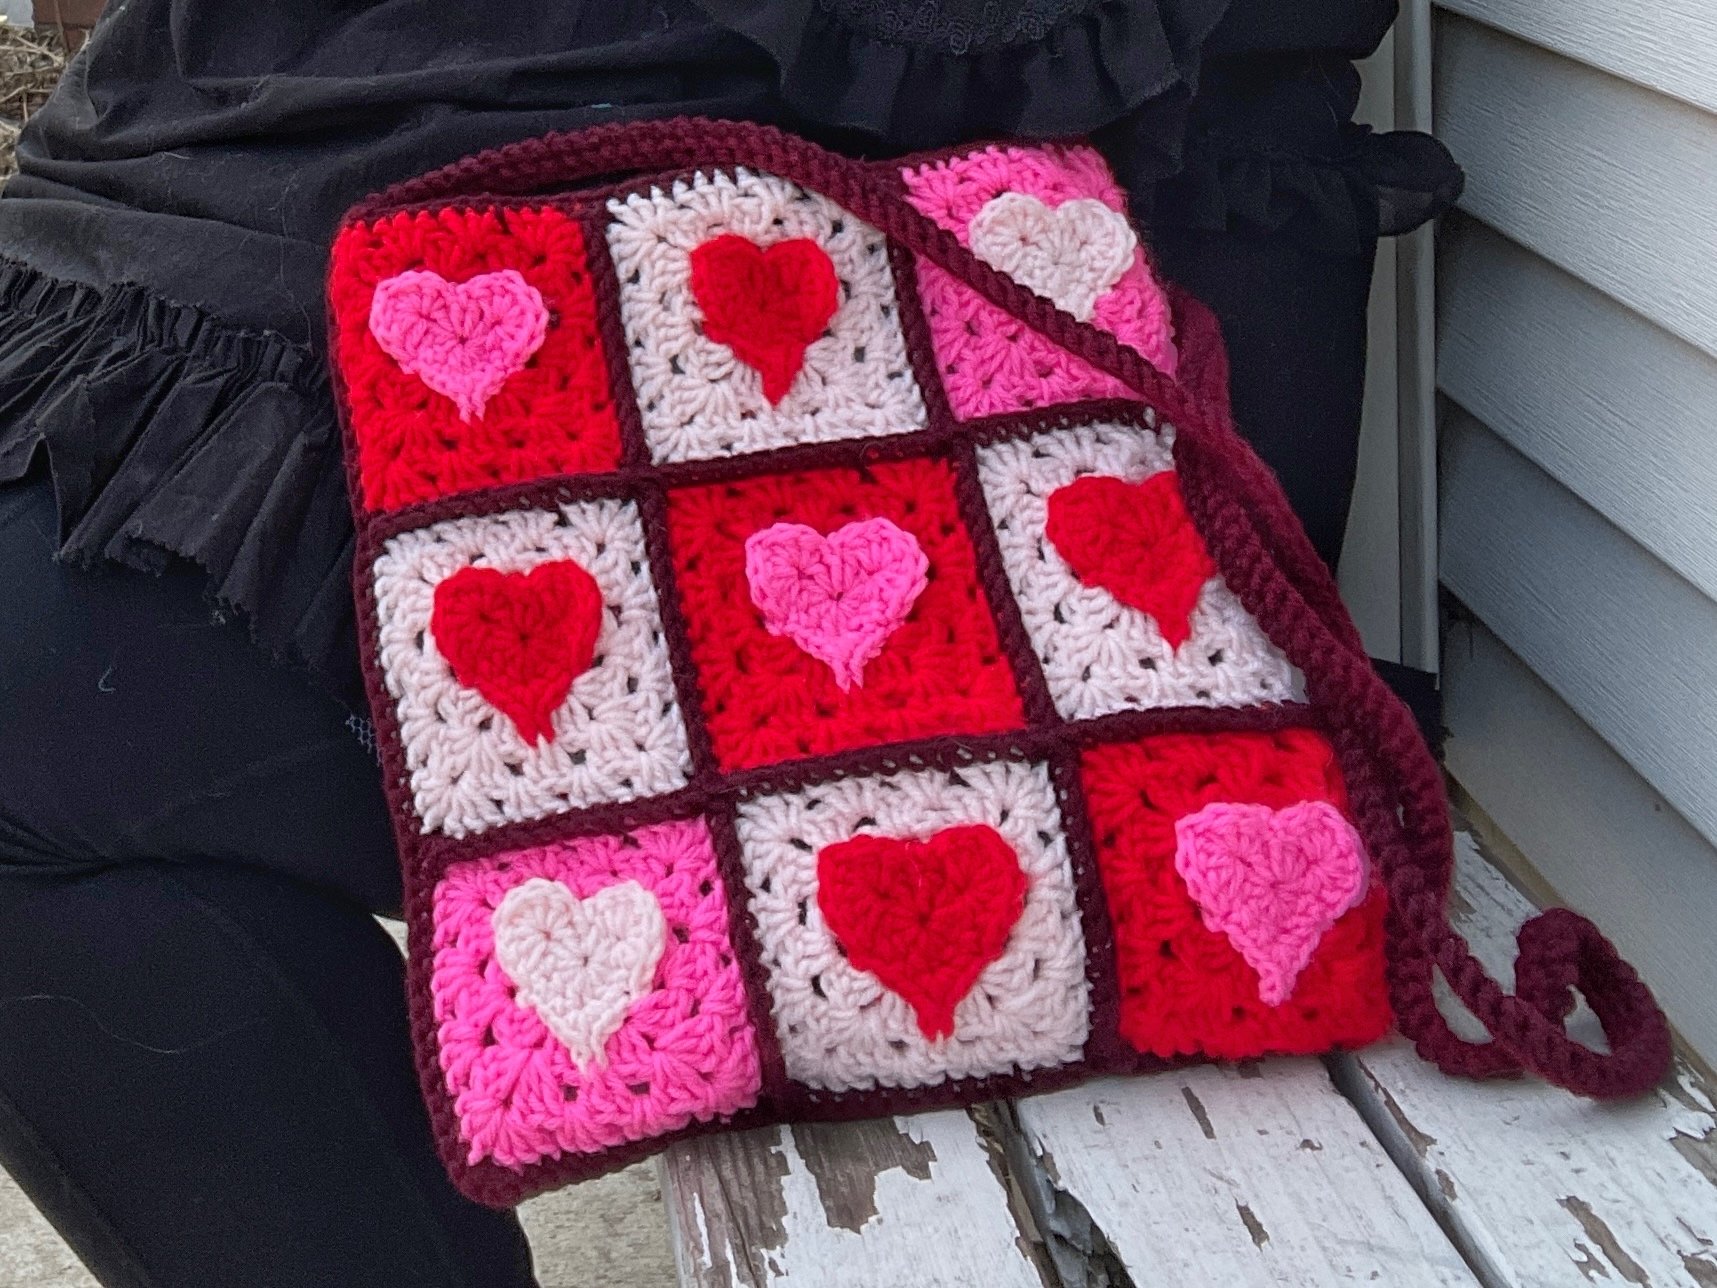
This bag is maybe a little late for this Valentine's Day, or maybe it's just really early for the next one? Whichever it is, it's a fun, textured bag that's a good use of some smaller balls of yarn!
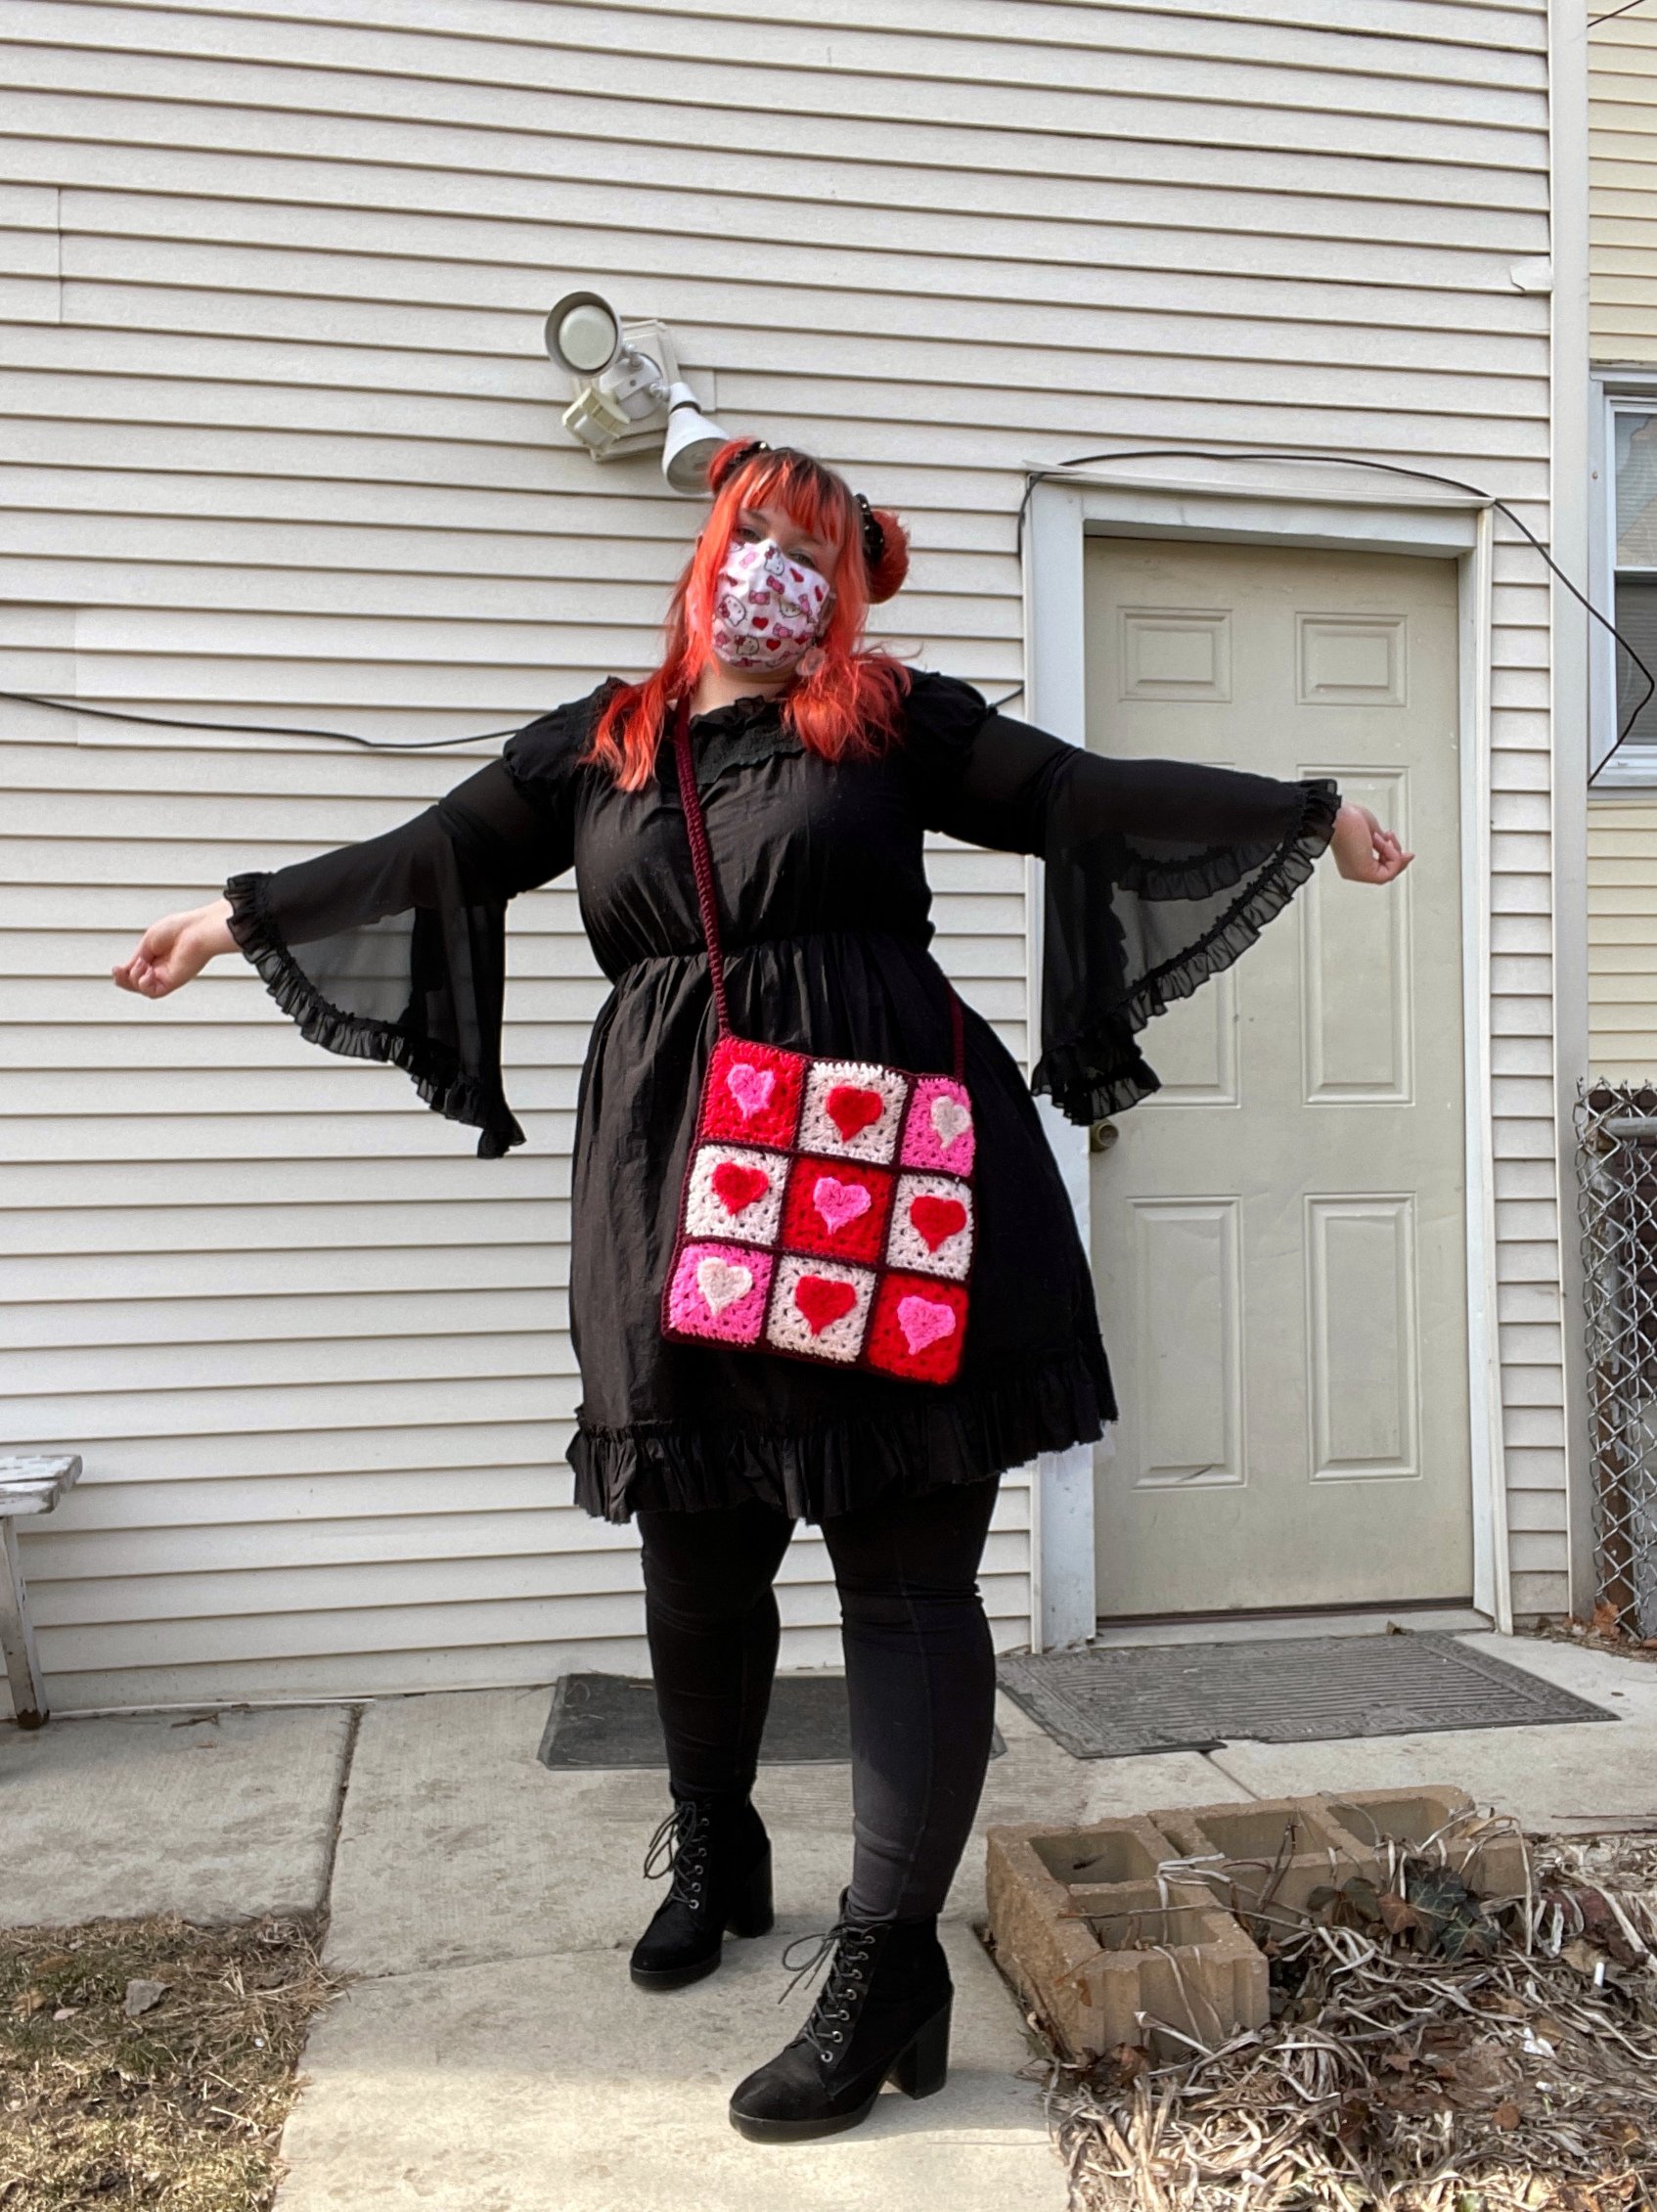
The bag itself is made up of 18 granny squares crochet together, with a denim lining and a crochet strap. The pattern for it details how to make the granny squares, as well as how to put it all together and make a bag. A good thing about this pattern is the granny squares themselves can be used to make any other item that uses granny squares as a base!
Not only is this pattern up for sale on Ravelry, but it's now up for sale on Etsy too! Please be sure to check it out!
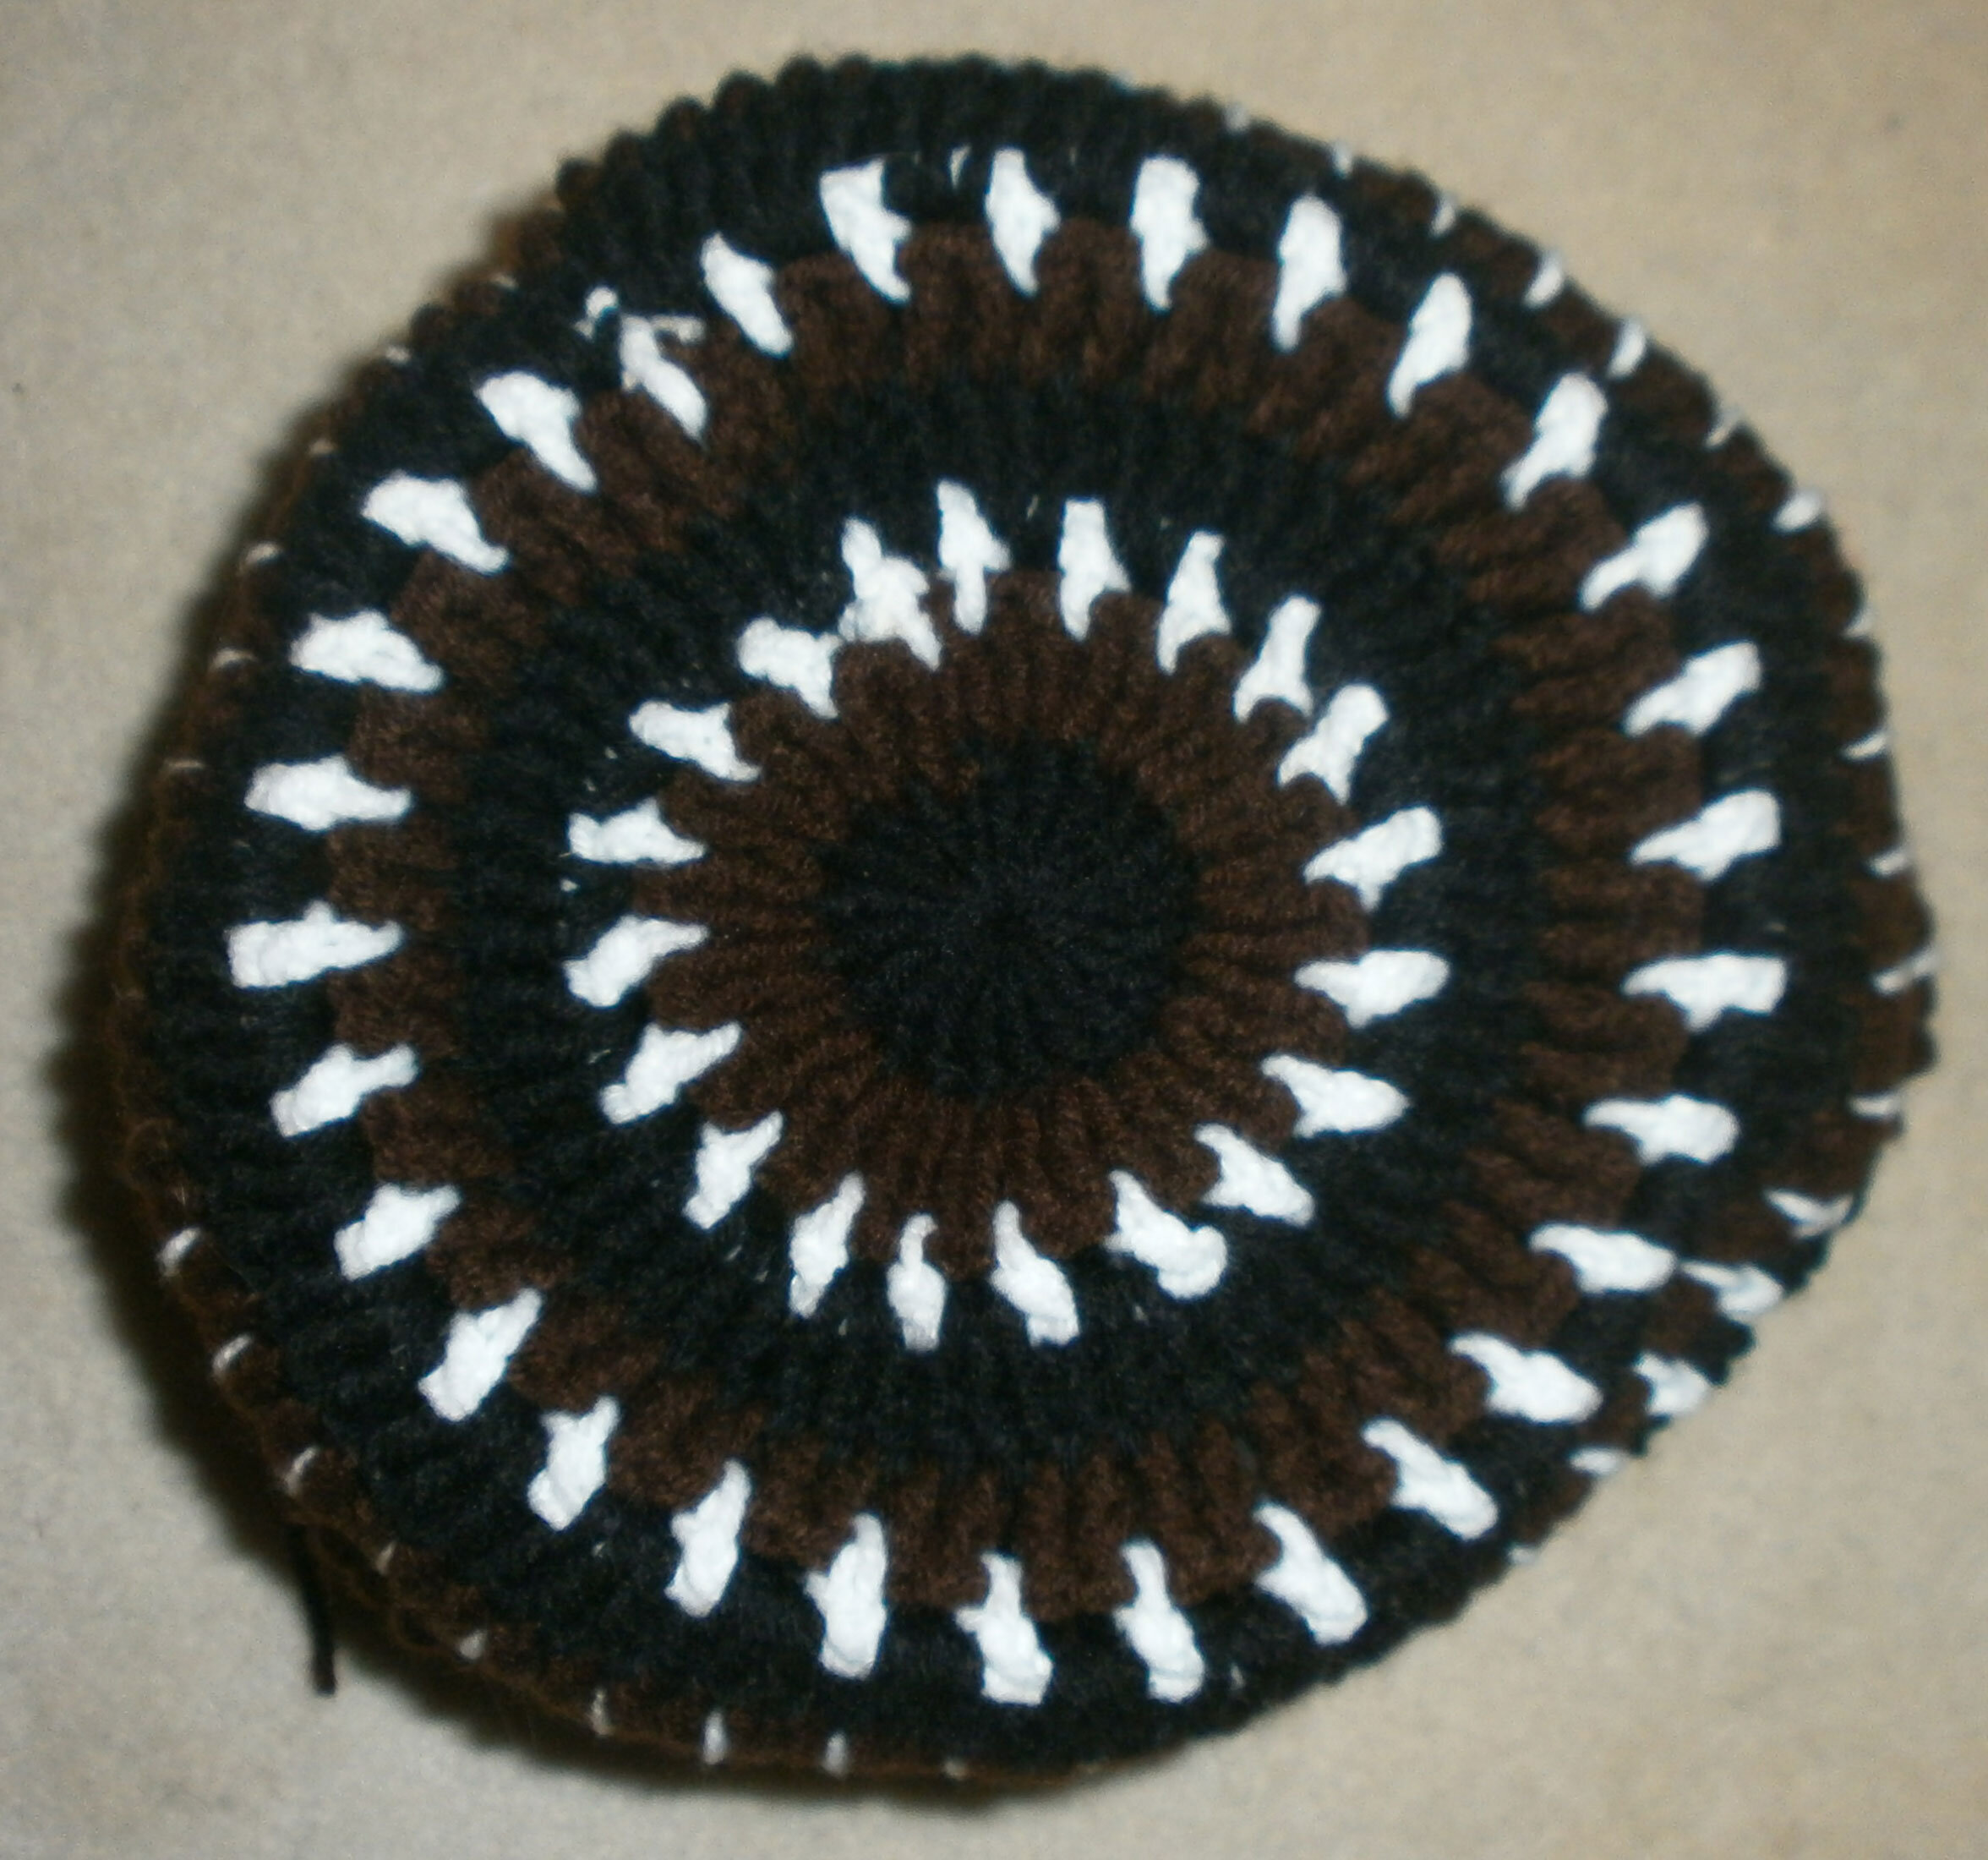
Mushroom Beret Hat Pattern
First thing's first:
Happy New Year!


One of the last things I did in 2021 was make and design this Mushroom Beret. This is definitely in my top three designs of 2021. I made this hat using two colors of yarn and fairly simple stitches.

I've had the idea to make a Mushroom Beret for a while, but was only able to focus on this project recently. This beret’s design was inspired by amanita muscaria, or the fly agaric mushroom. One of the things that was super important to me was the look of the "gills" on the bottom of the hat. I managed to achieve what I was looking for in just a few days, and then patterned it and have uploaded it to Ravelry!

As always, thank you for reading, and be sure to share your projects when you're done!
Razor's Hat from World Enough and Time
I was recently asked to make Razor's Hat from the Doctor Who episode World Enough and Time. I wrote up a pattern just in case anyone else was interested in making one for themself!What you'll need:
US size 6 needles (4.0 mm)
Double knit yarn
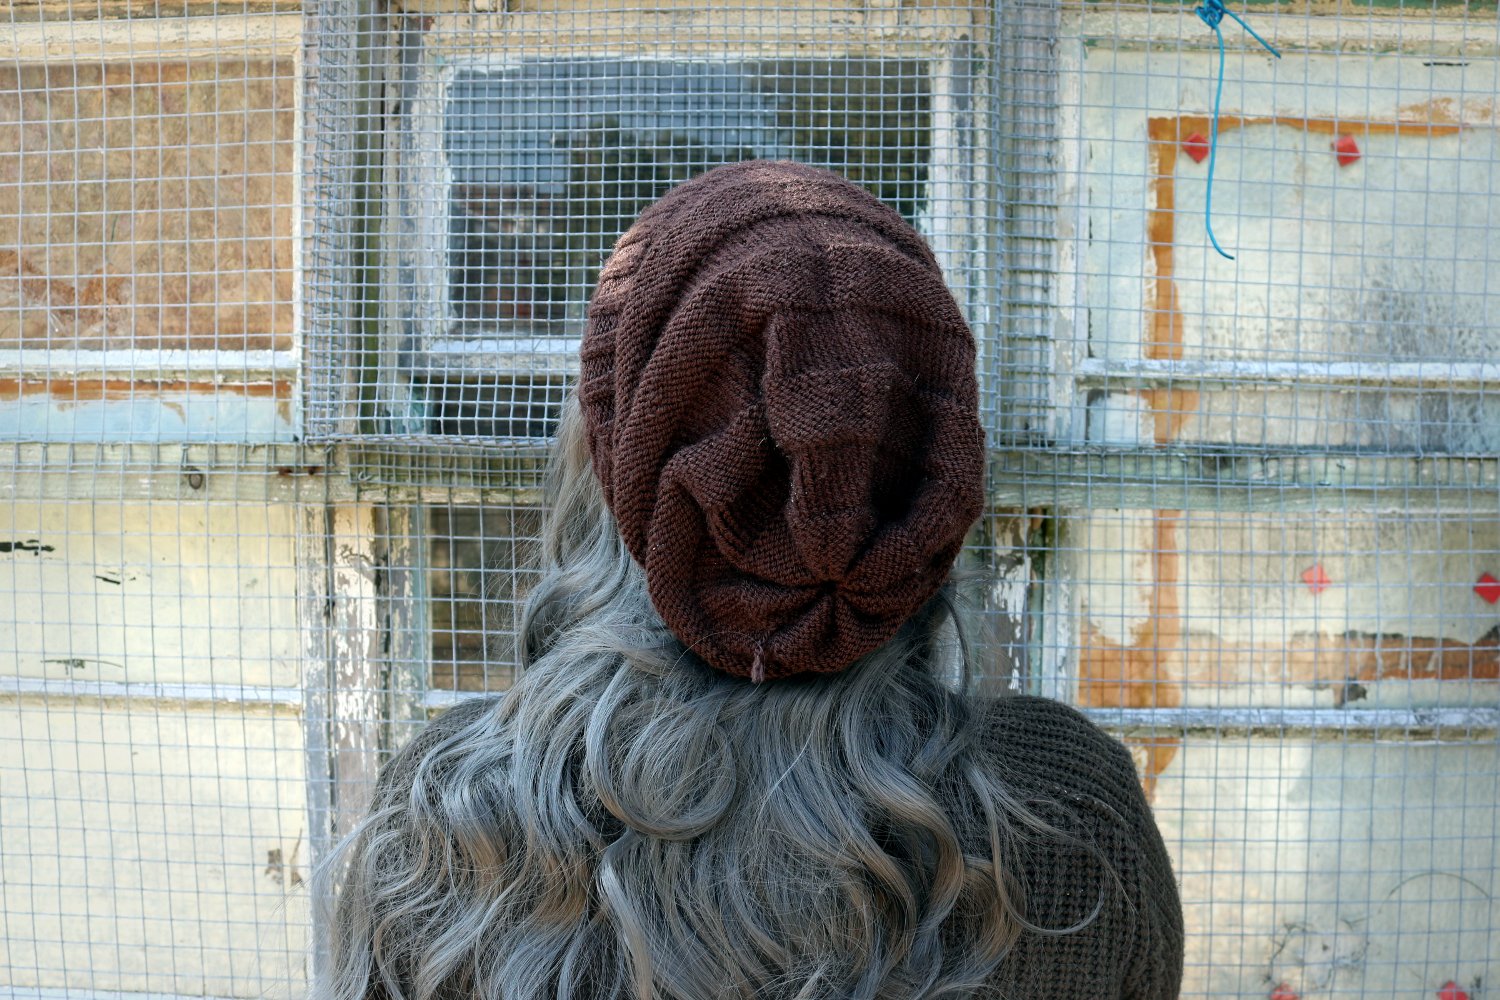


I used Stylecraft Special DK in Dark Brown Shade 1004I found that if you want to make your hat distressed in a similar way to the show, it is easier to prevent unraveling if you create the distressing as you go. I've included two versions of the hat, one with distressing and one without.
Unfamiliar terms explained:
DSPU: drop stitch and pull out stitches all the way to the brim, pick up a stitch on your left needle, ready to be worked as the next stitchCO 112 stitches in the round
With Distressing
Row 1-17: (K2, P2) 28 times
Row 18: (K2, P2) 2 times, K2, DSPU, P2, (K2, P2) 25 times [112 st]
Row 19-20: (K2, P2) 28 times
Row 21: K112
Row 22-33: (K2, P2) 28 times
Row 34: (K2, P2) 17 times, K2, DSPU, P2 (K2, P2) 10 times [112 st]
Row 35-40: (K2, P2) 28 times
Row 41: (K2, P2) 16 times, K1, DSPU, K1, P2 (K2, P2) 11 times [112 st]
Row 42-47: K112
Row 48: K71, DSPU, K 41 [112 st]
Row 49-51: K112
Without Distressing
Row 1-20: (K2, P2) 28 times
Row 21: K112
Row 22-41: (K2, P2) 28 times
Row 42-51: K112
Both Versions
Row 52-61: P112
Row 62-71: K112
Row 72-81: P112
Row 82-91: K112
Row 92-101: P112
Row 102-111: K112
Row 112-120: P112
Row 121: K2tog [56 st]
After working the last row, pull a piece of yarn through and pull as tight as possible. Weave in your ends and your hat is complete!
13th Doctor Striped Socks

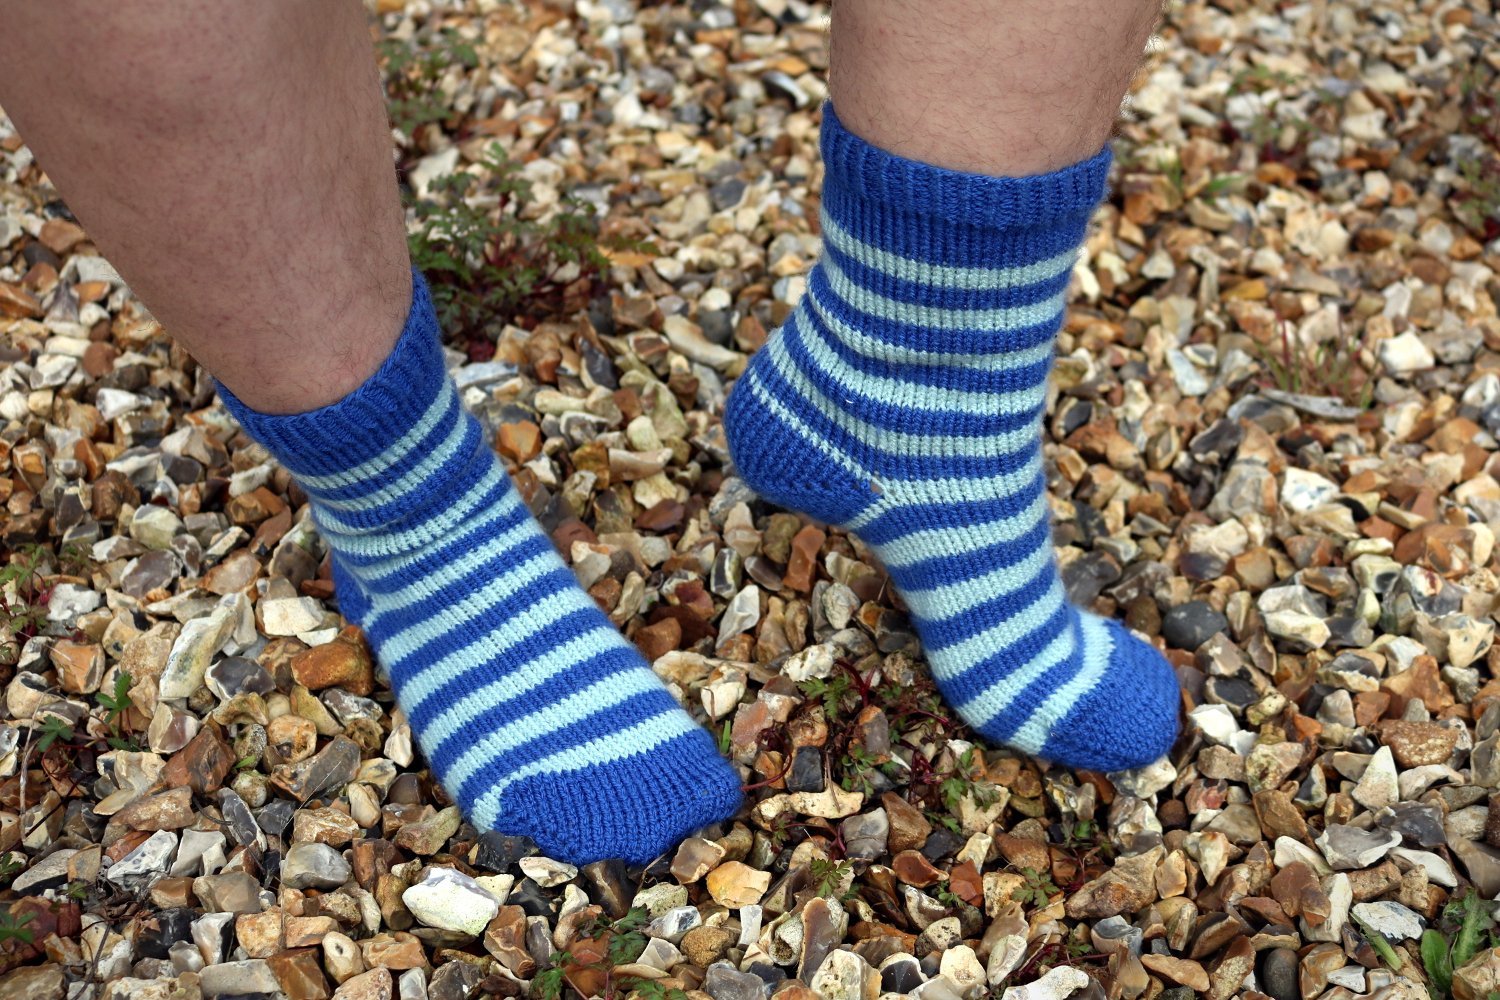
13th Doctor Socks
These socks were super fun to make, so I wrote up the pattern and made a video tutorial! Let me know what you think, and be sure to let me know if you make a pair!
https://youtu.be/iFmZZbX1GSE
Materials:
Special Stylecraft Double Knit in Lapis
Special Stylecraft Double Knit in Duck Egg
3.25 mm Knitting Needles (US3/UK11)
Pattern:
Cast on 60 stitches in Dark Blue
K1P1 all the way around for 8 rows
K all the way around for 8 rows
*Switch to Light Blue, K all the way around for 4 rows
Switch to Dark Blue, K all the way around for 4 rows
Repeat from * four times, making a total of 5 Dark Blue and 5 Light Blue stripes
Switch to Light Blue, K all the way around for one and a half rowsShift needles so that you can start the heel from the center back of the work
HEEL & TOE
K 15 stitches, turn
Row 1: sl st, P29, turn
Row 2: sl st, K28, turn
Row 3: sl st, P27, turn
Row 4: sl st, K26, turn
Row 5: sl st, P25, turn
Row 6: sl st, K24, turn
Row 7: sl st, P23, turn
Row 8: sl st, K22, turn
Row 9: sl st, P21, turn
Row 10: sl st, K20, turn
Row 11: sl st, P19, turn
Row 12: sl st, K18, turn
Row 13: sl st, P17, turn
Row 14: sl st, K16, turn
Row 15: sl st, P15, turn
Row 16: sl st, K14, pick up stitch from between previous worked stitch and next stitch on left needle (denoted as m1), k2tog, turn
Row 17: P15, m1, p2tog, turn
Row 18: K16, m1, k2tog, turn
Row 19: P17, m1, p2tog, turn
Row 20: K18, m1, k2tog, turn
Row 21: P19, m1, p2tog, turn
Row 22: K20, m1, k2tog, turn
Row 23: P21, m1, p2tog, turn
Row 24: K22, m1, k2tog, turn
Row 25: P23, m1, p2tog, turn
Row 26: K24, m1, k2tog, turn
Row 27: P25, m1, p2tog, turn
Row 28: K26, m1, k2tog, turn
Row 29: P27, m1, p2tog, turn
Row 30: K28, m1, k2tog, turn
Row 31: P29, m1, p2tog, turn
HEEL ONLY
Row 32: K 15
Adjust stitches so that you can continue working with your Light Blue yarn where you left off. Complete that row in knit stitch, and then do two more rows of knit stitch in Light Blue.
*Switch to Dark Blue, K all the way around for 4 rowsSwitch to Light Blue, P all the way around for 4 rows
Repeat from * until your sock is the right length for your foot.
For reference, I had a total of 5 Dark Blue and 5 Light Blue stripes for my UK size 5 feet.
Refer back to the heel instructions and work the toe the same as the heel.
Complete the sock with kitchener stitch and weave in your ends.
Tada! You now have your own pair of 13th Doctor Socks!
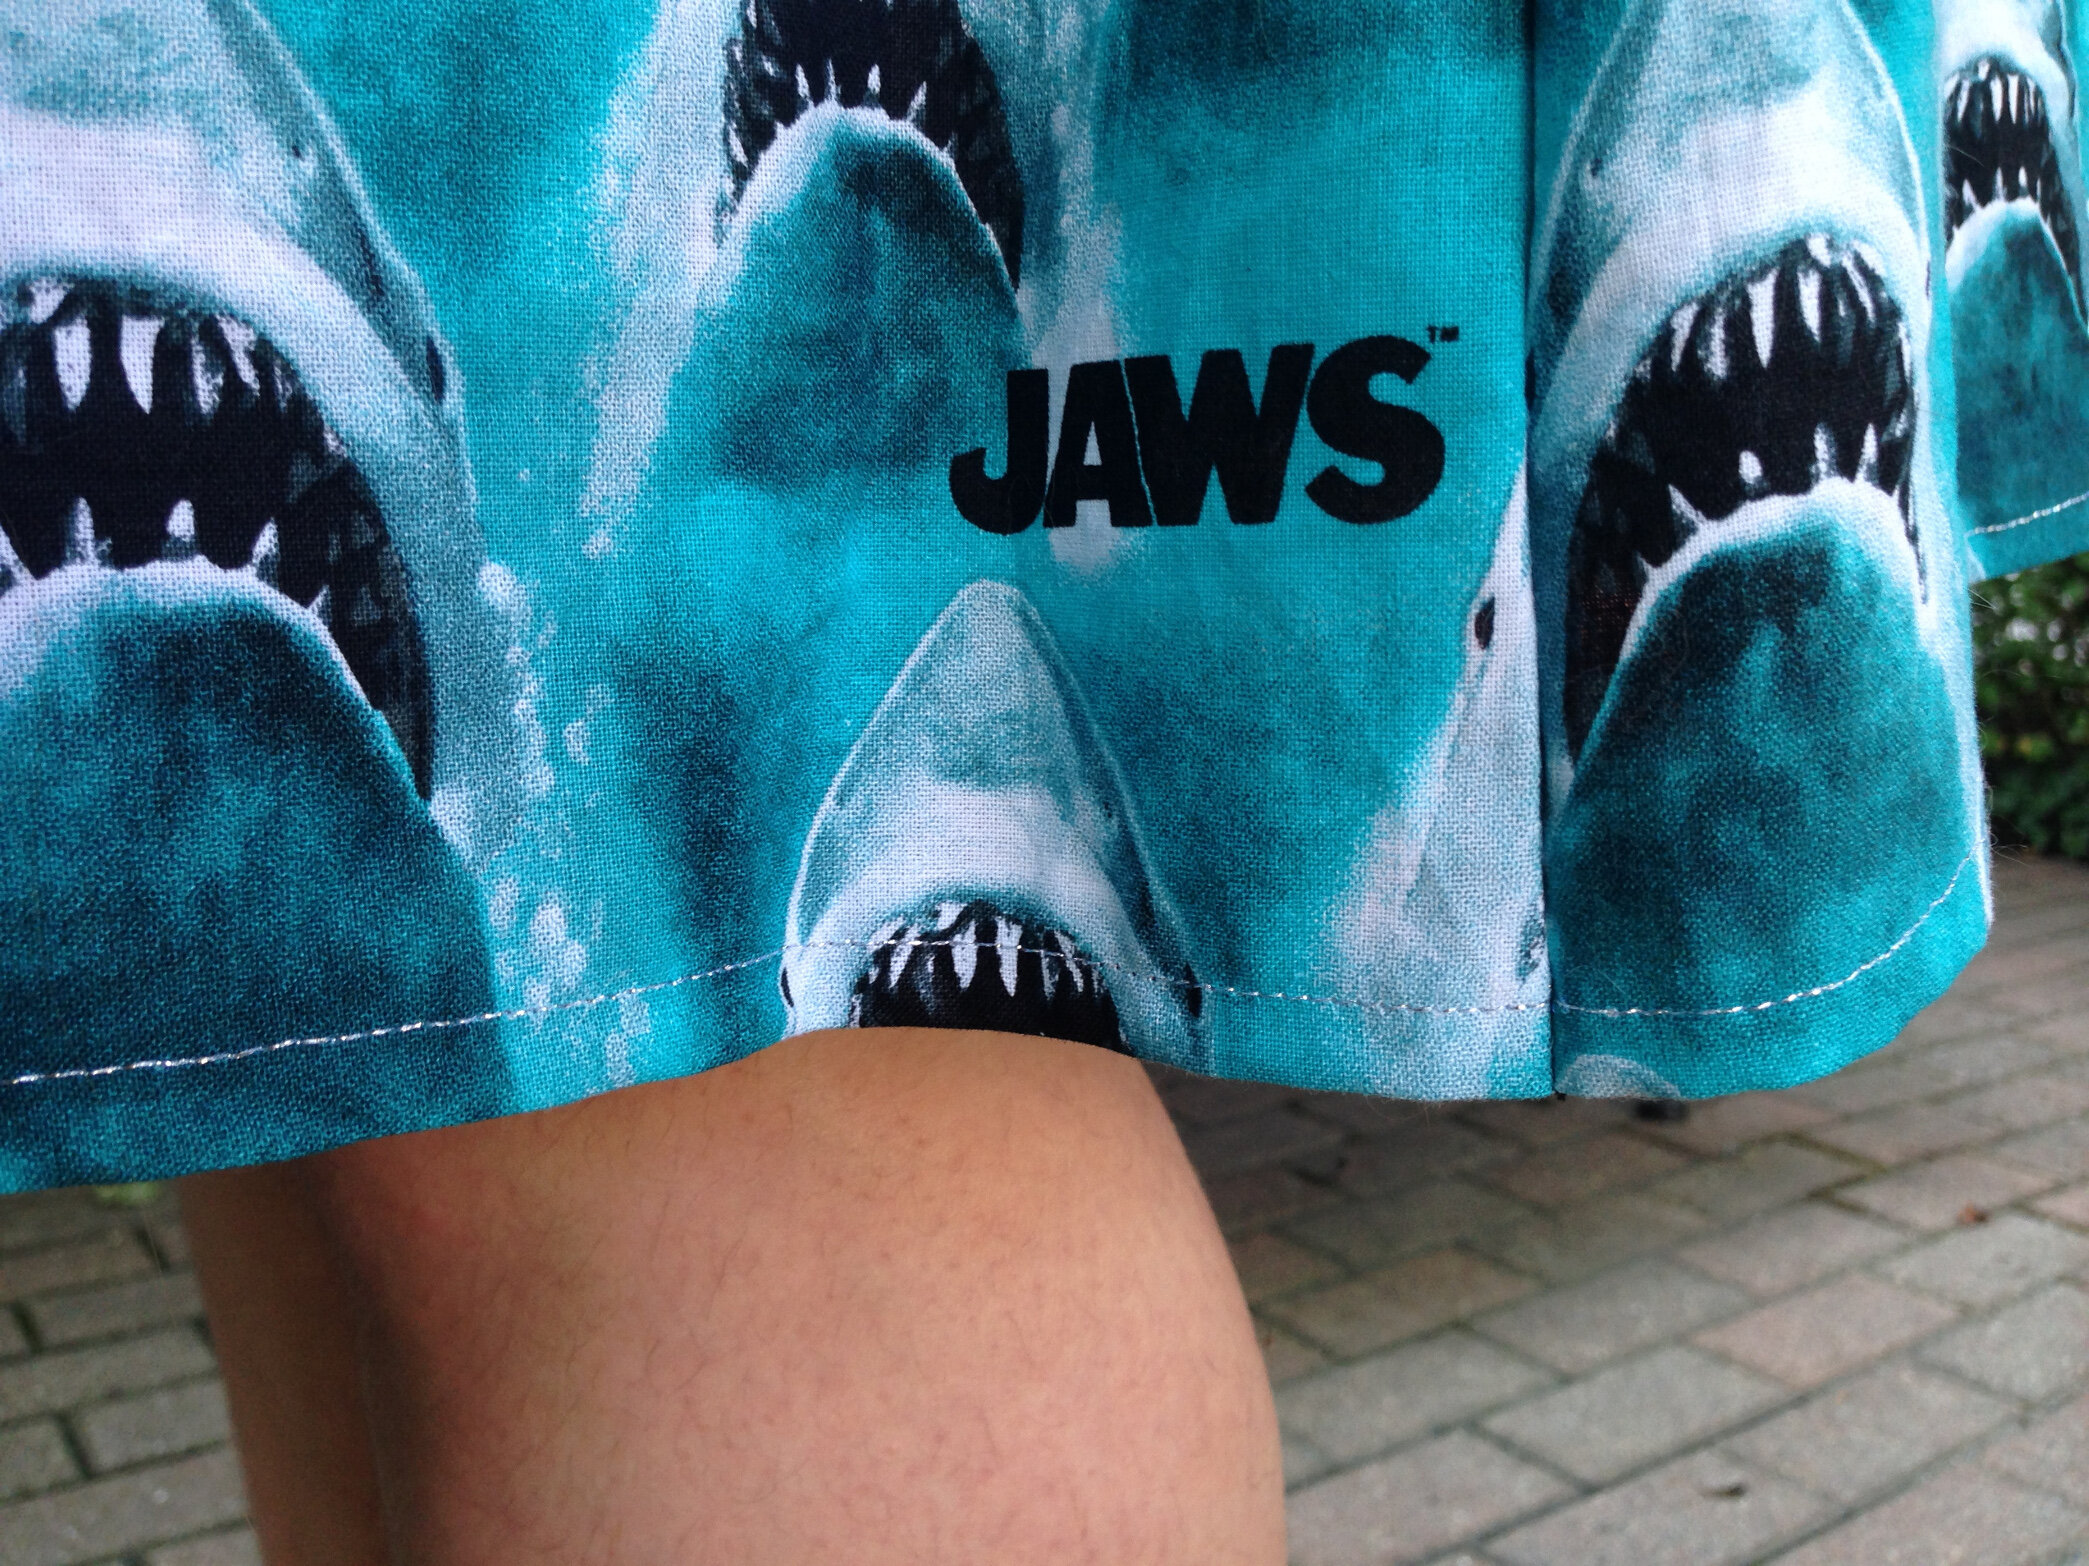
Jaws Skirt

I saw this teal Jaws fabric at Joann's and fell in love immediately. I bought three yards, intending to make myself a matching short and shirt set.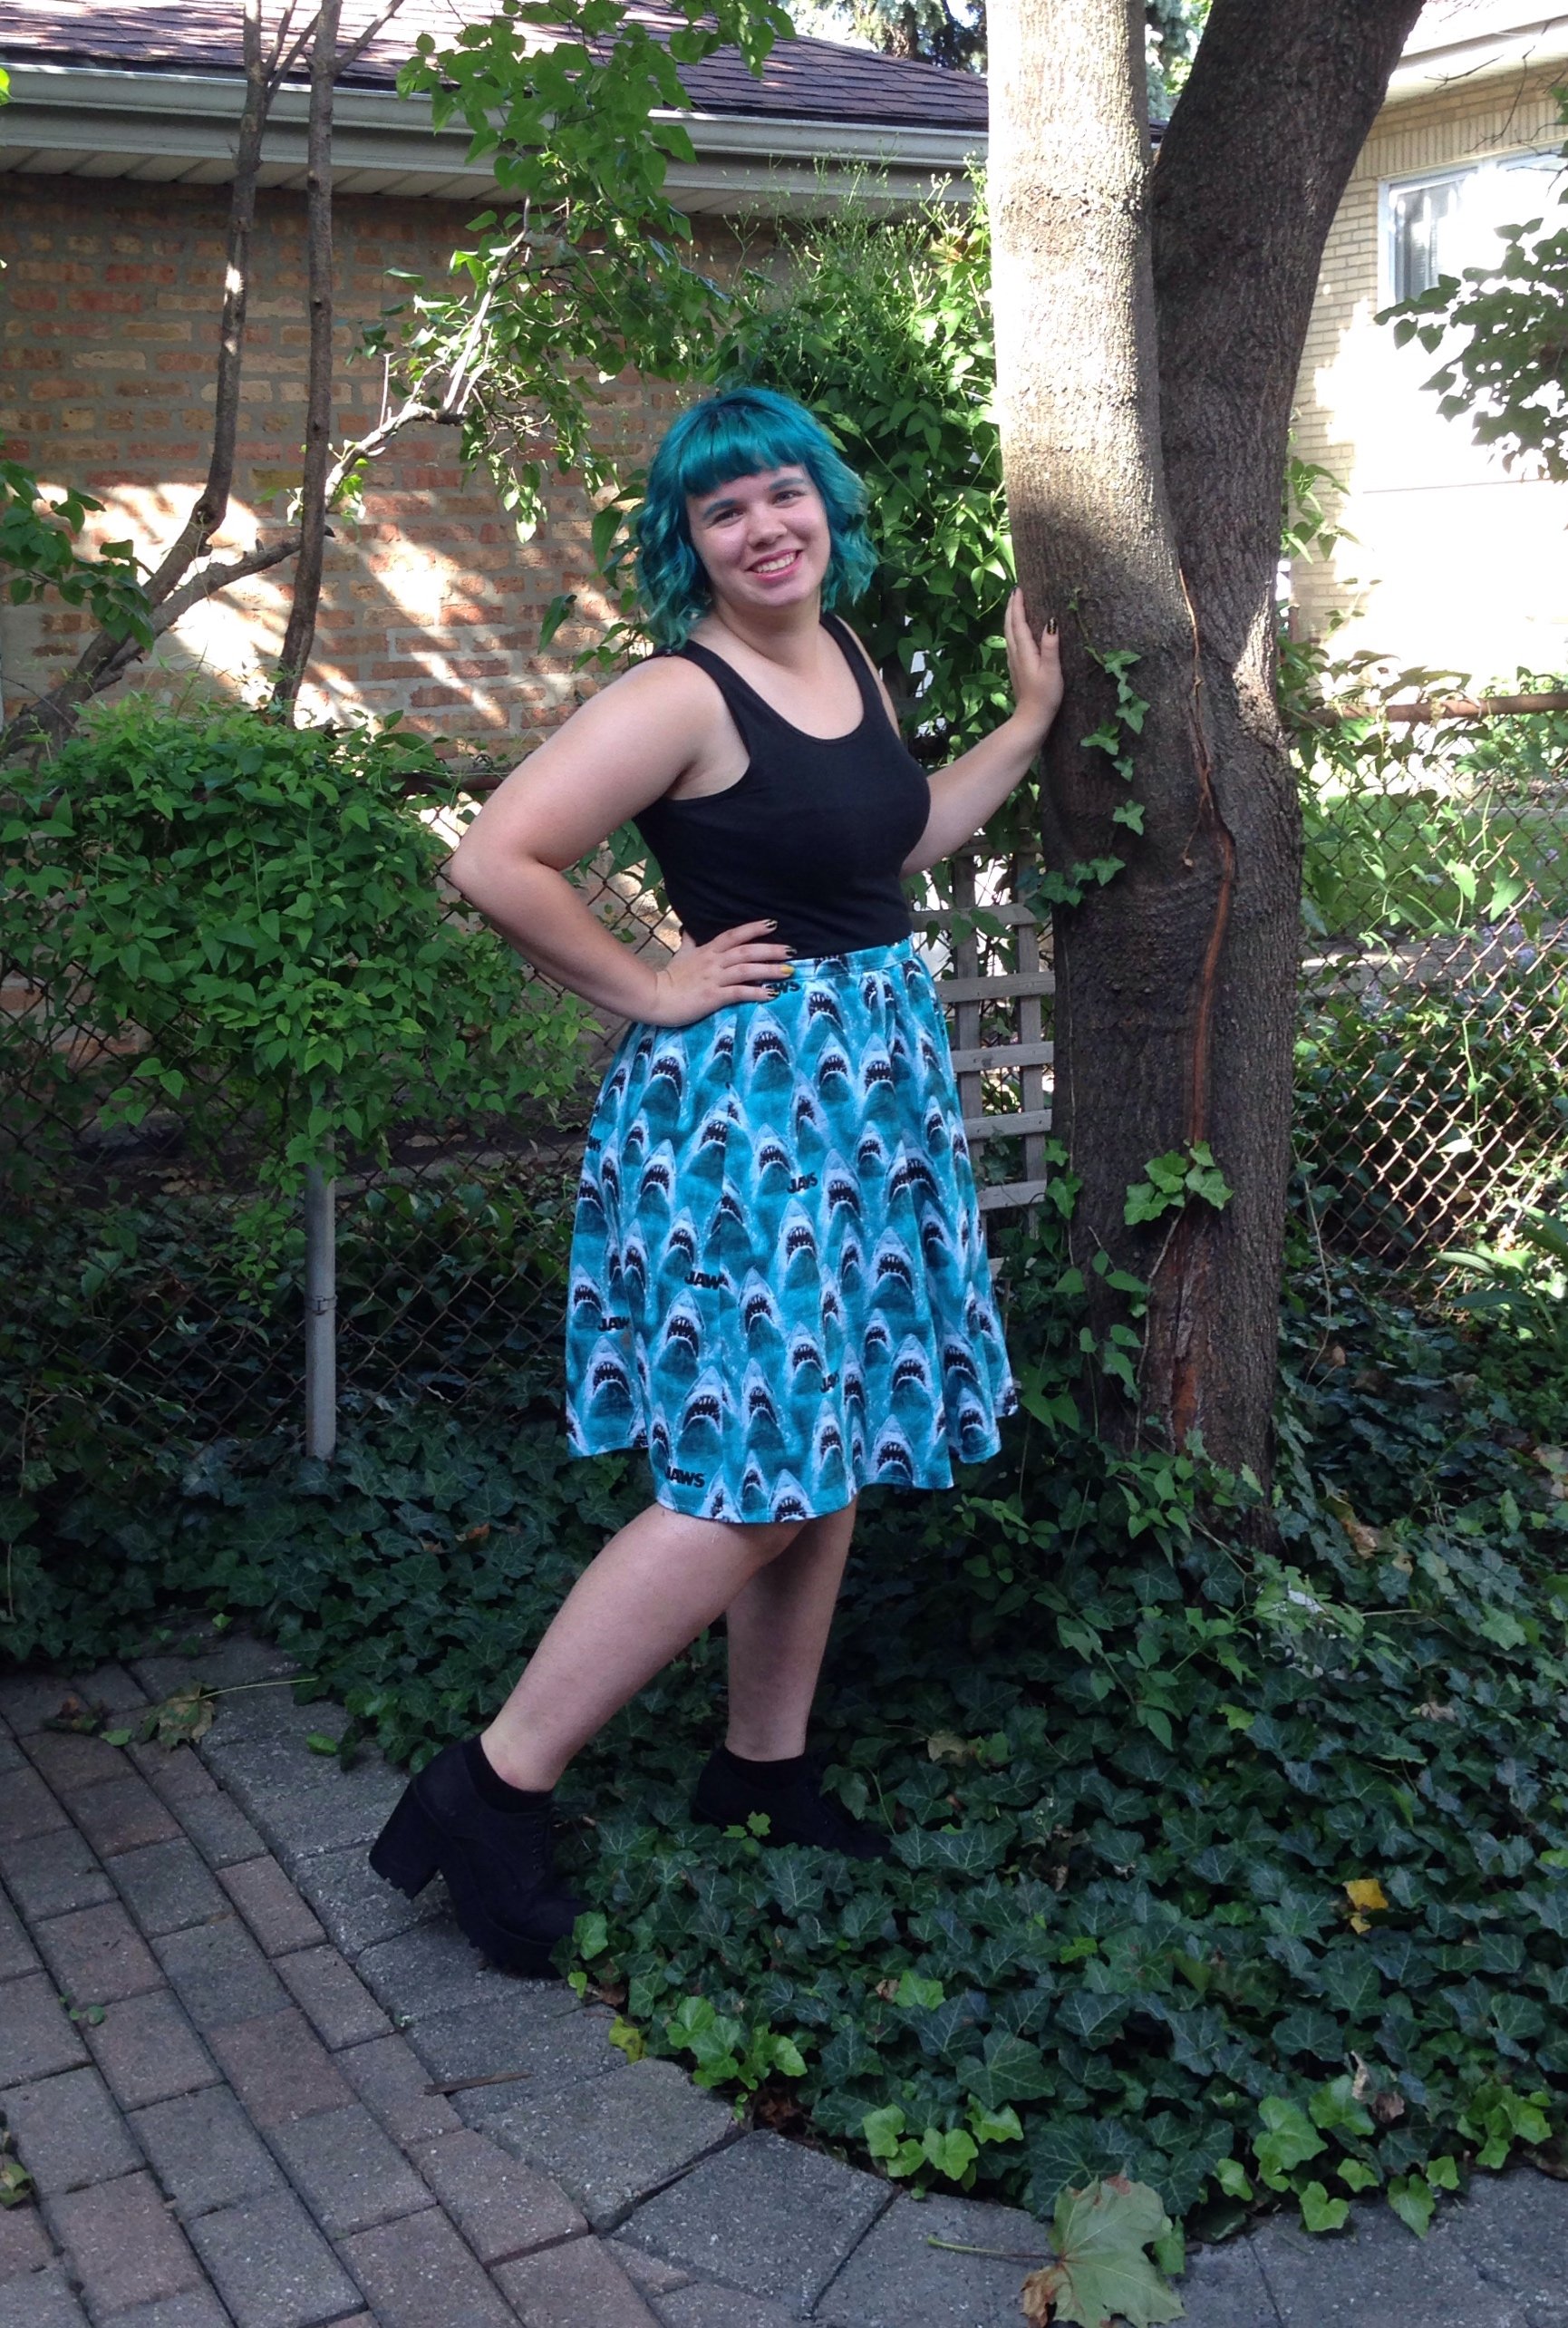 Clearly, I did not end up with shorts or a shirt. Initially, I used about two yards of the fabric to attempt to make a pair of shorts that looked like a skirt, similar to short culottes but with a gathered waist.
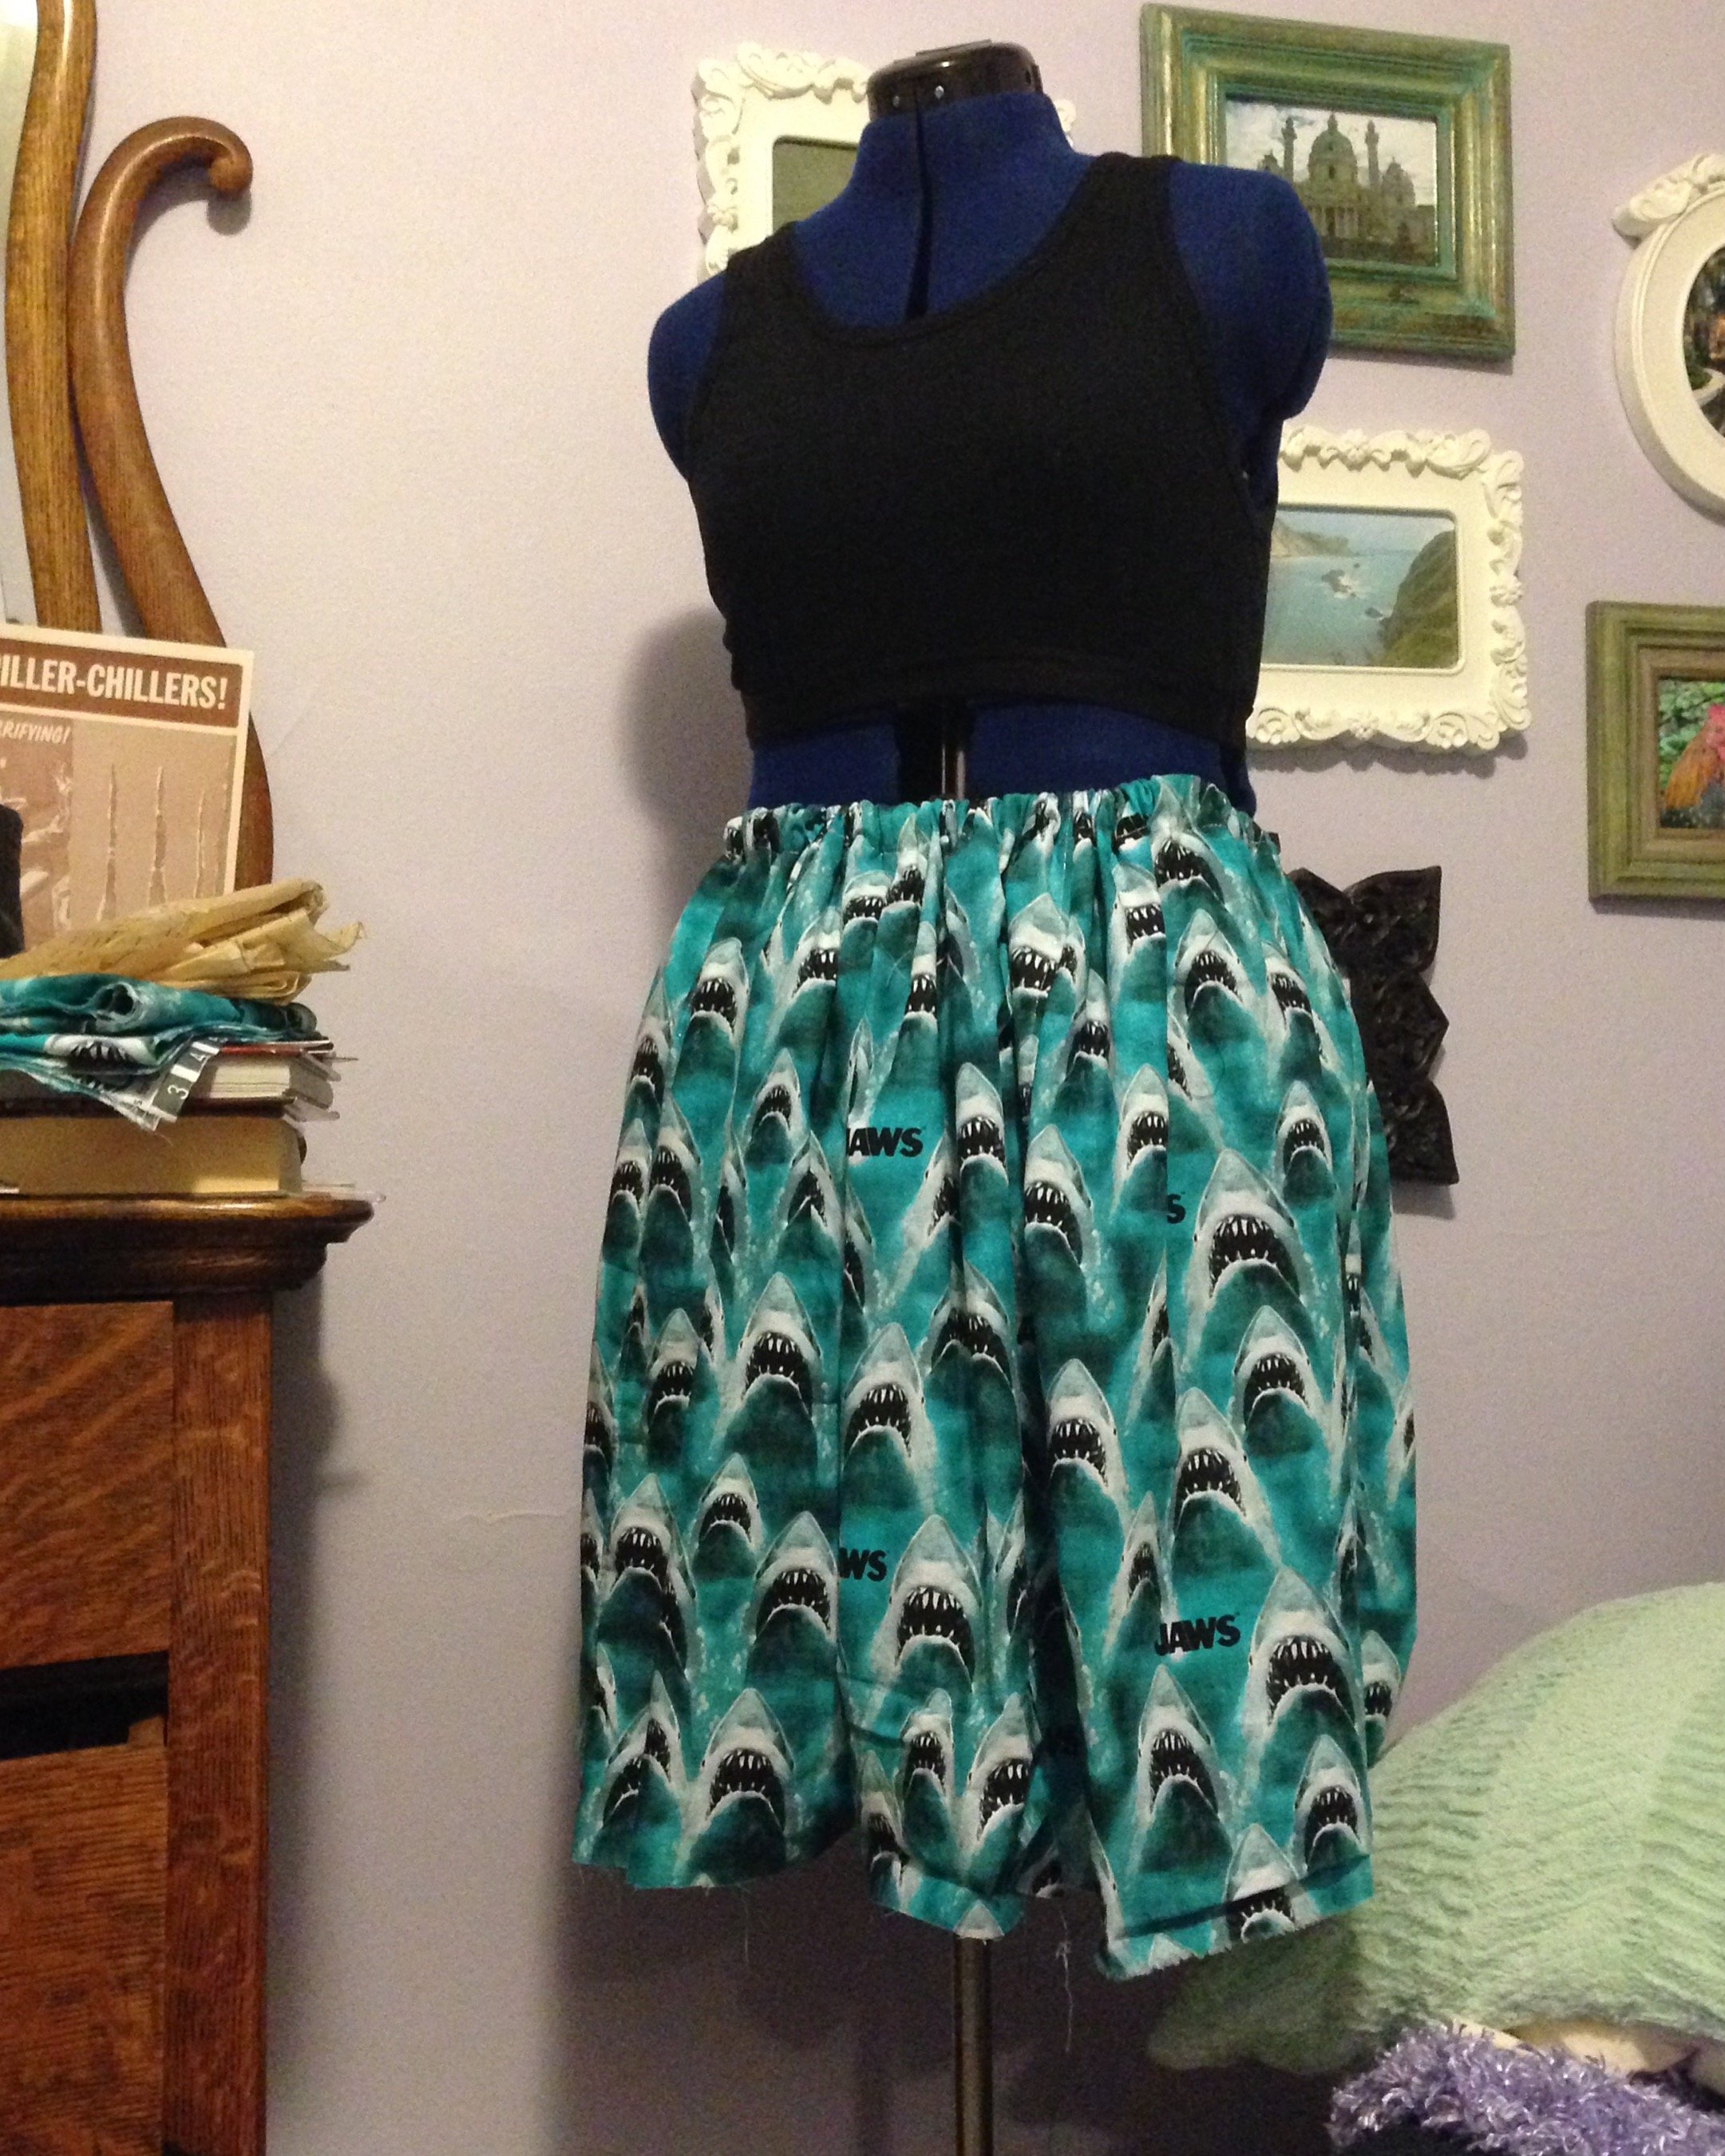 This is how the shorts looked around my second attempt. The looked fine on the mannequin, but when I put them on there was a weird triangular gap in the lower center front and back. Not only that, but when I sat down, they pulled in weird places and were uncomfortable to sit in.
 I left the shorts alone for about a week, trying to figure out what to make from them. Eventually, I just cut the shorts into 6 large isosceles trapezoids. I sewed the sides of the trapezoids together, leaving one side open, and gathered the top into a waistband.
 On the side that was still open, I sewed in an invisible zipper and two hooks and eyes. I then folded over the waistband and top stitched across the bottom with a silver glittery thread.
 I had already hemmed the shorts with the glittery silver fabric, so I just made sure to line up the bottoms of the pieces carefully so I wouldn't have to sew another hem.
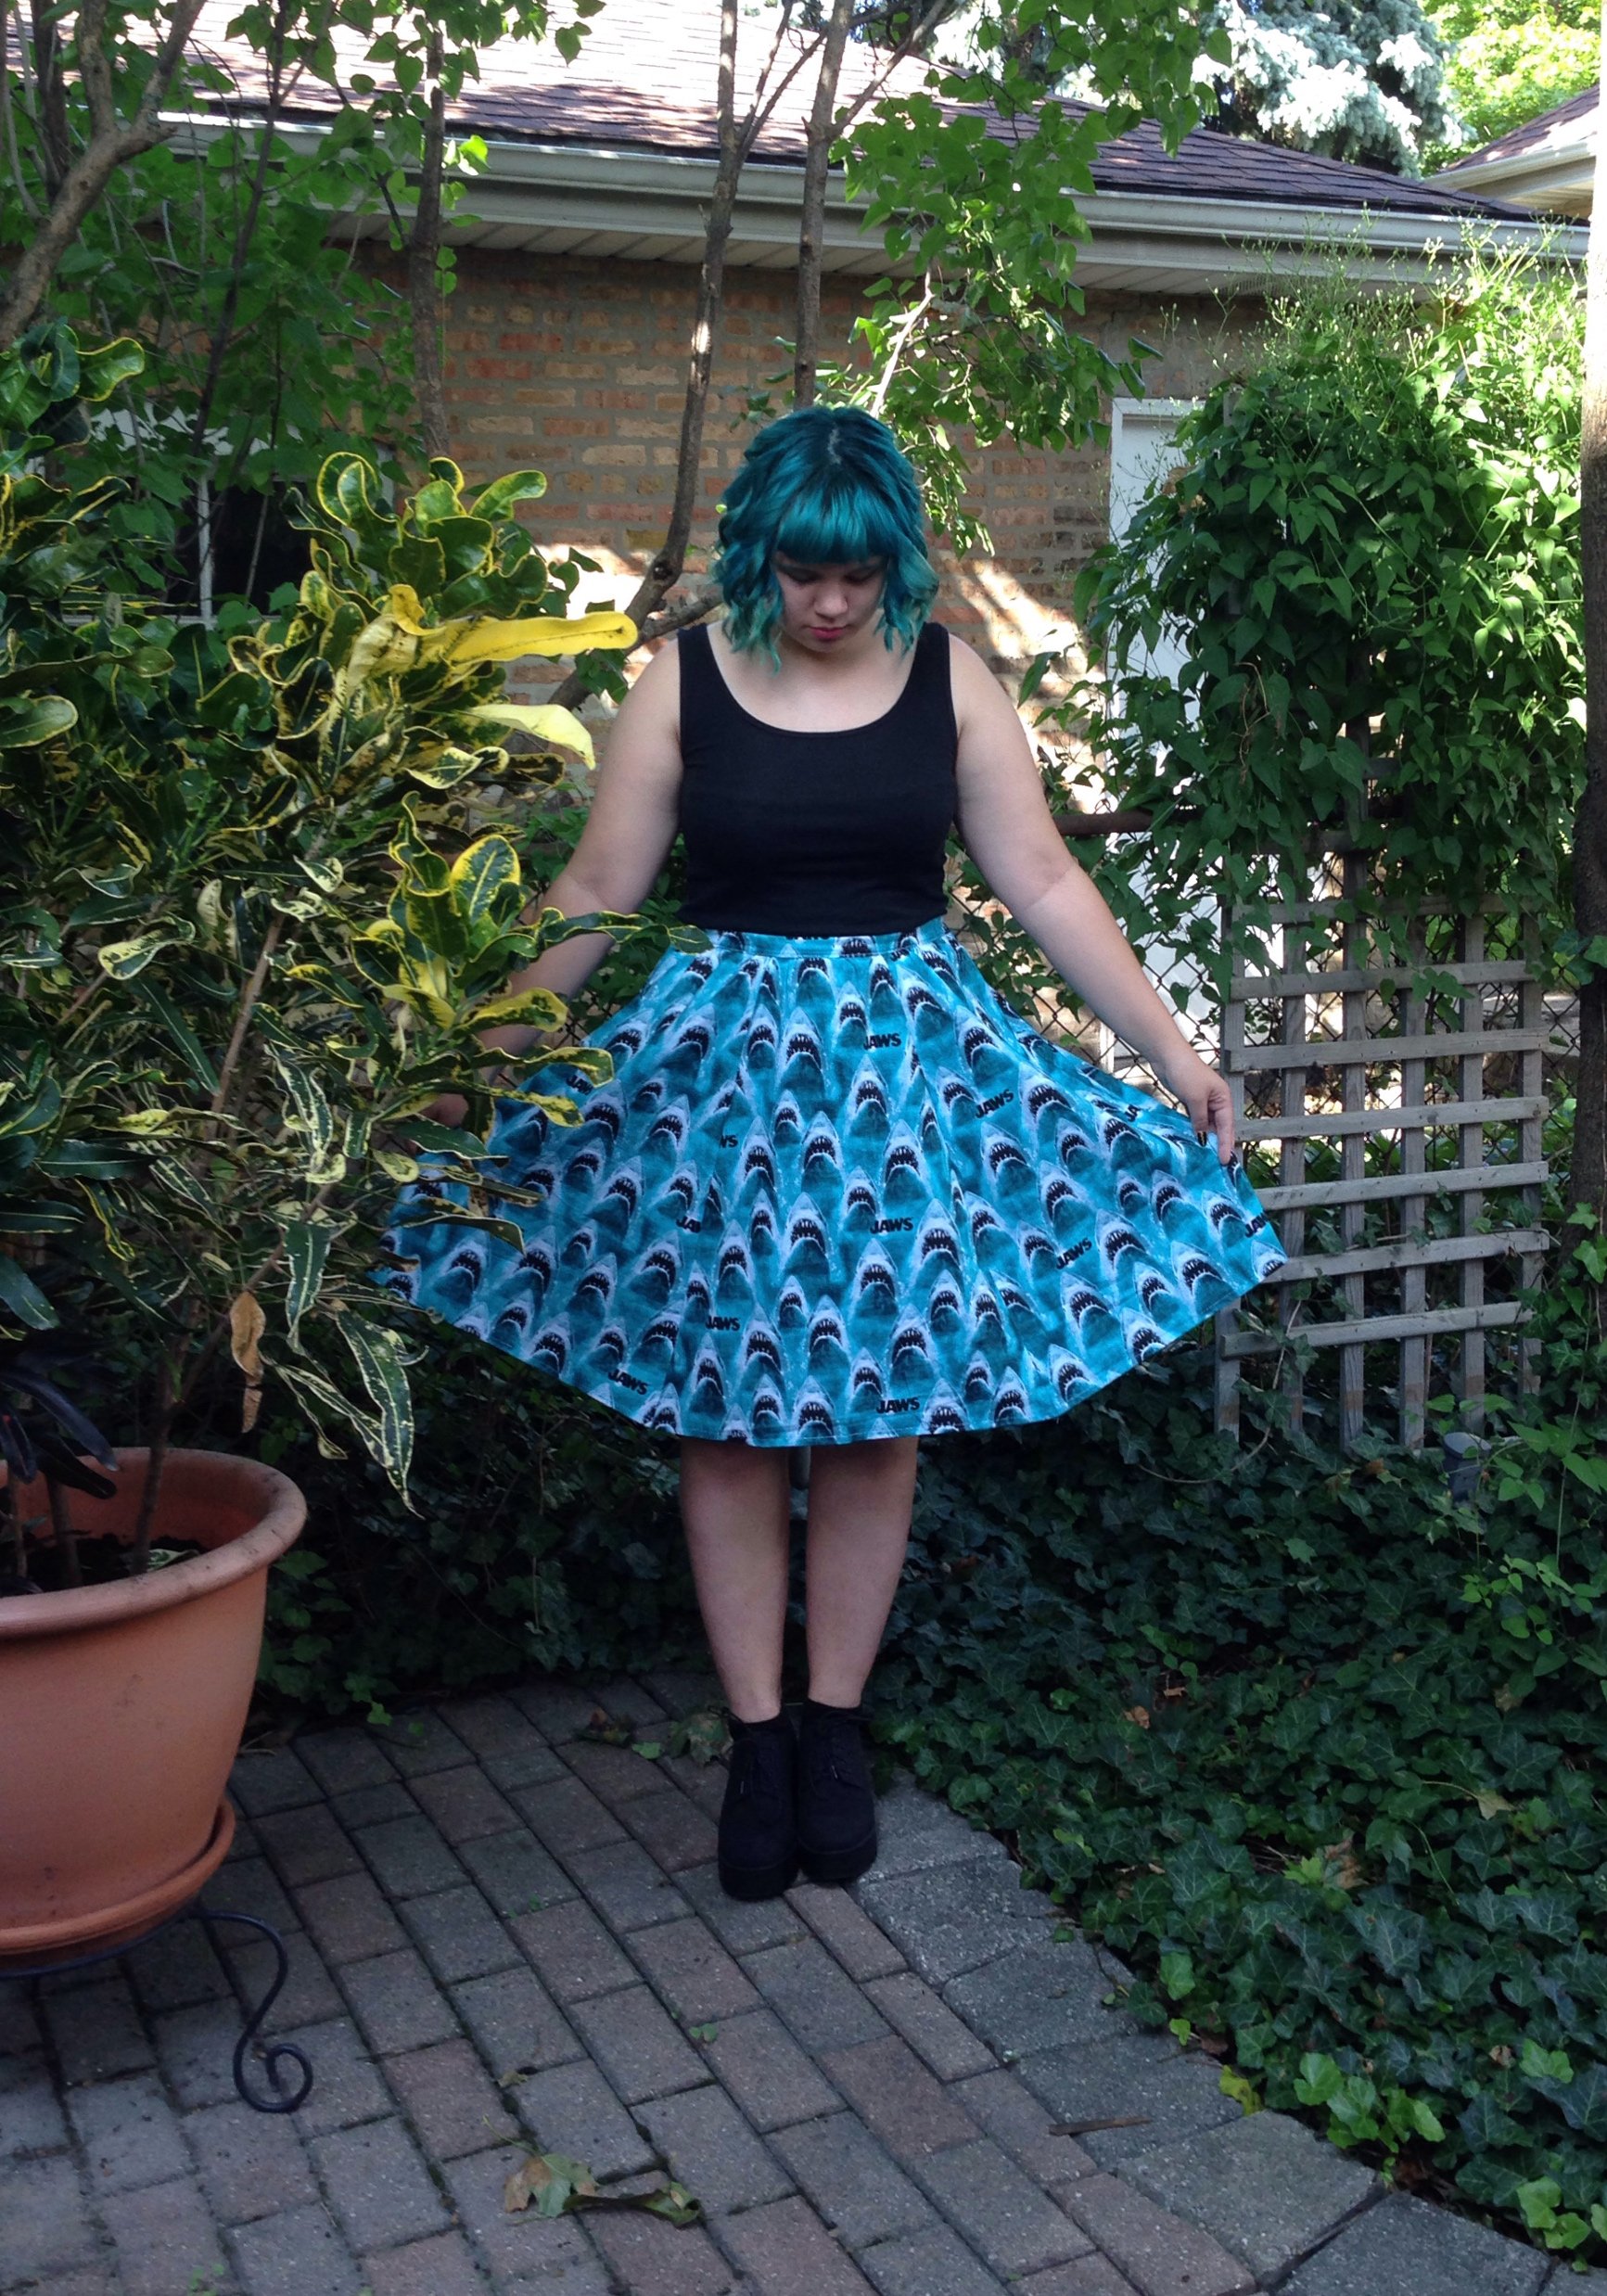 After I finished the skirt, I did not have enough fabric left to make myself a matching shirt. There might be enough left to make my little sister a skirt, so there may be another Jaws Skirt post in the future!I really like how this skirt turned out and have already worn it twice. I will definitely be wearing this a lot more!
Winter Gifts! (Part One)
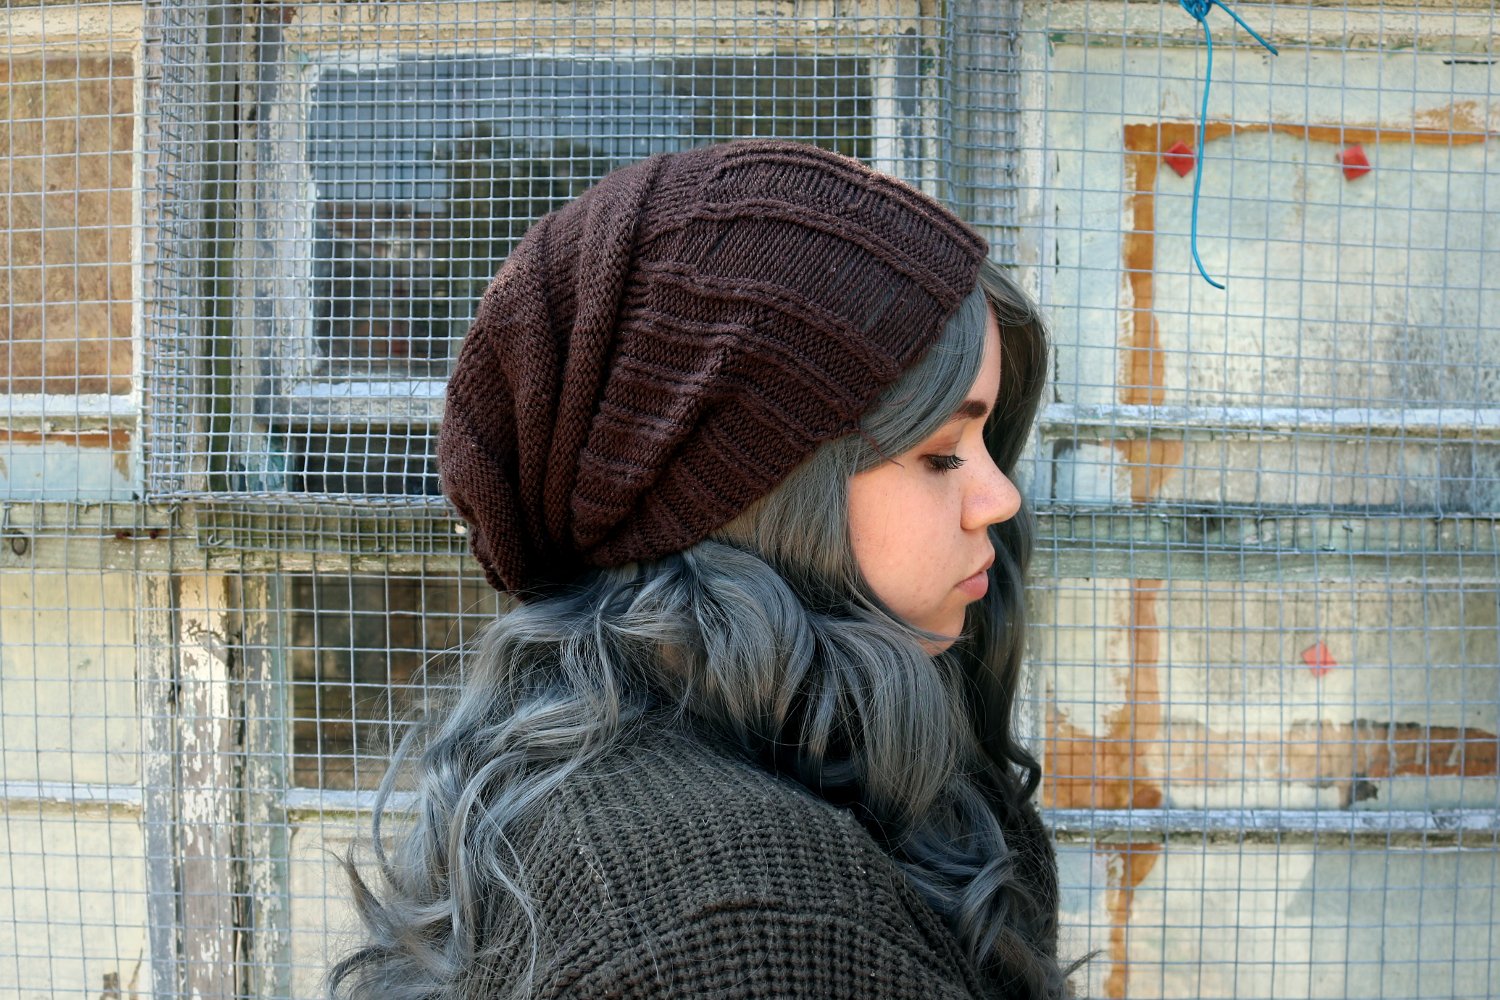
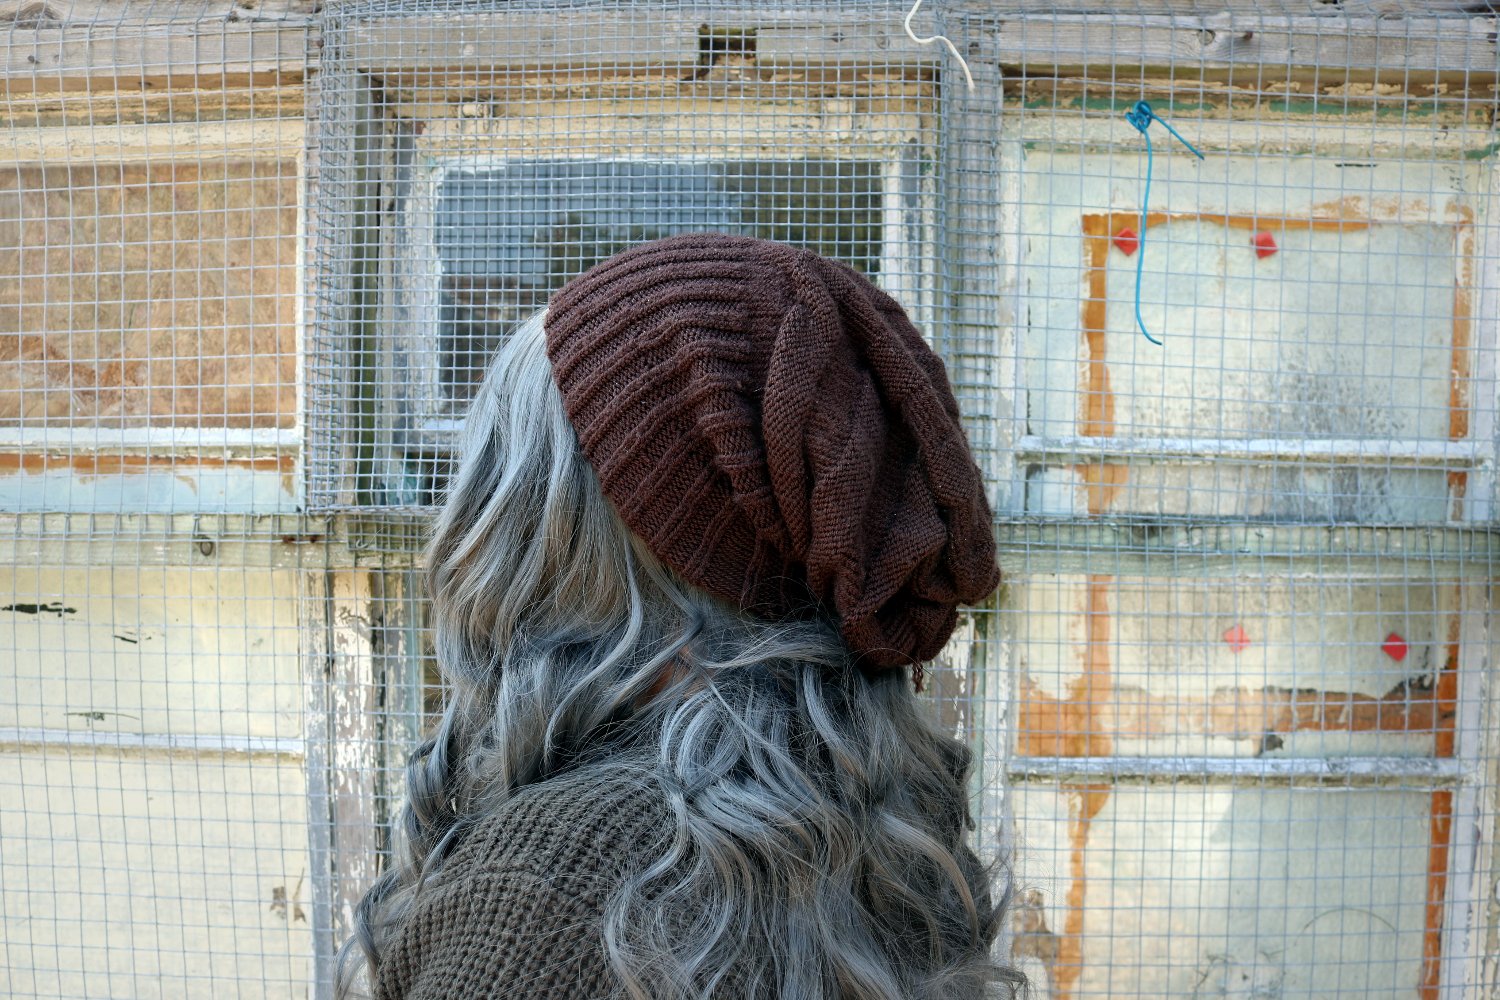
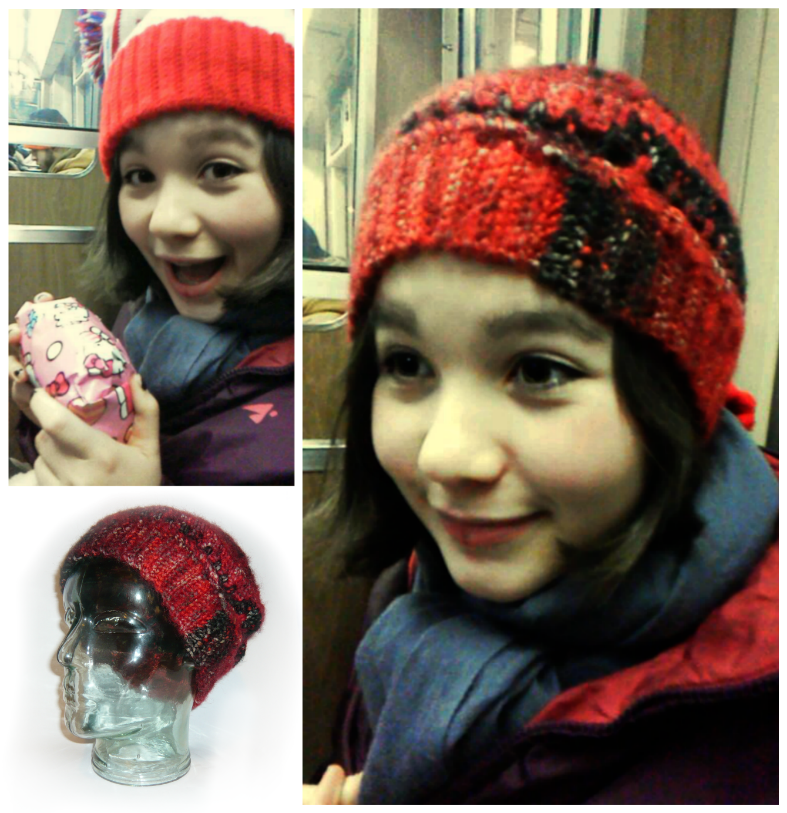 I made this hat out of a very nice wool blend yarn for my friend Georgia. I modified my "Spark" Slouchy Hat pattern by adding a band and stopping the dome of the hat early so that it would be a closer fit.I'm allergic to wool, but I did not have any difficulties working with the yarn, and the hat worked up fairly quickly. However, when I went to try the hat on, I discovered I was too allergic to wear it. Georgia had no problems with the yarn and was very excited to receive her gift.
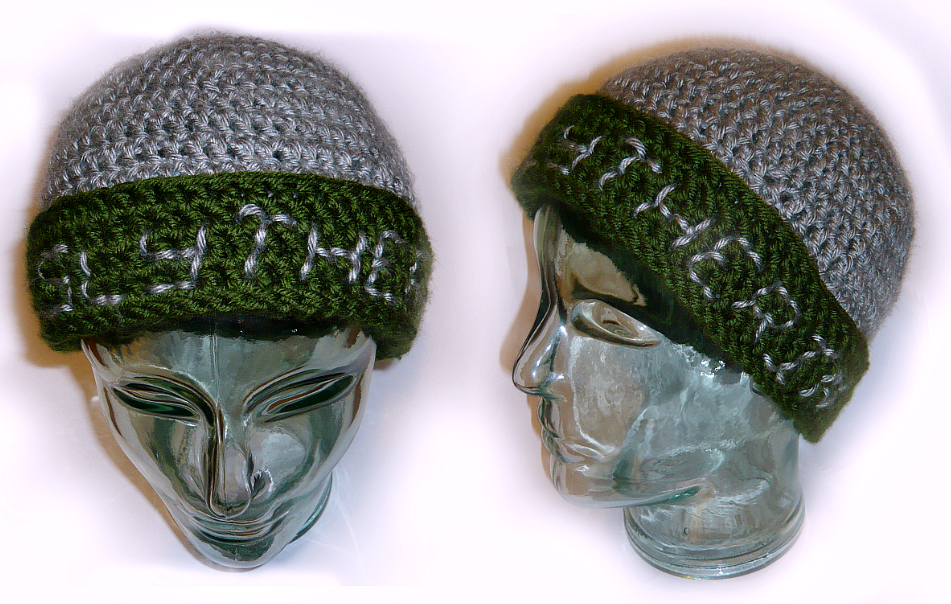 This hat I made for my friend Kate, who lives far enough away that I had to mail it to her. I originally wanted this hat to be an earflap hat, but I miscalculated how much grey yarn I had, and ran out very early on. I was able to fix the problem, and made a green brim for the hat instead of earflaps, adding the Hogwarts house name "Slytherin" to the brim in the remaining silver yarn.Over the next few days/weeks I will be uploading pictures of the remaining gifts I have given to my friends, as well as one I received. I will also be taking pictures of older garments that I may not have mentioned before, and posting those.
18" Doll's Earflap Hat


Stuffed Animal Top Hats!

"Spark" Slouchy Hat

 [gallery link="http%3A%2F%2Fwww.ravelry.com%2Fpatterns%2Flibrary%2Fspark-slouchy-hat"]
A slouchy hat made with three colors of yarn in double and treble crochet.