
Citrus Beret

New Pattern Alert!!
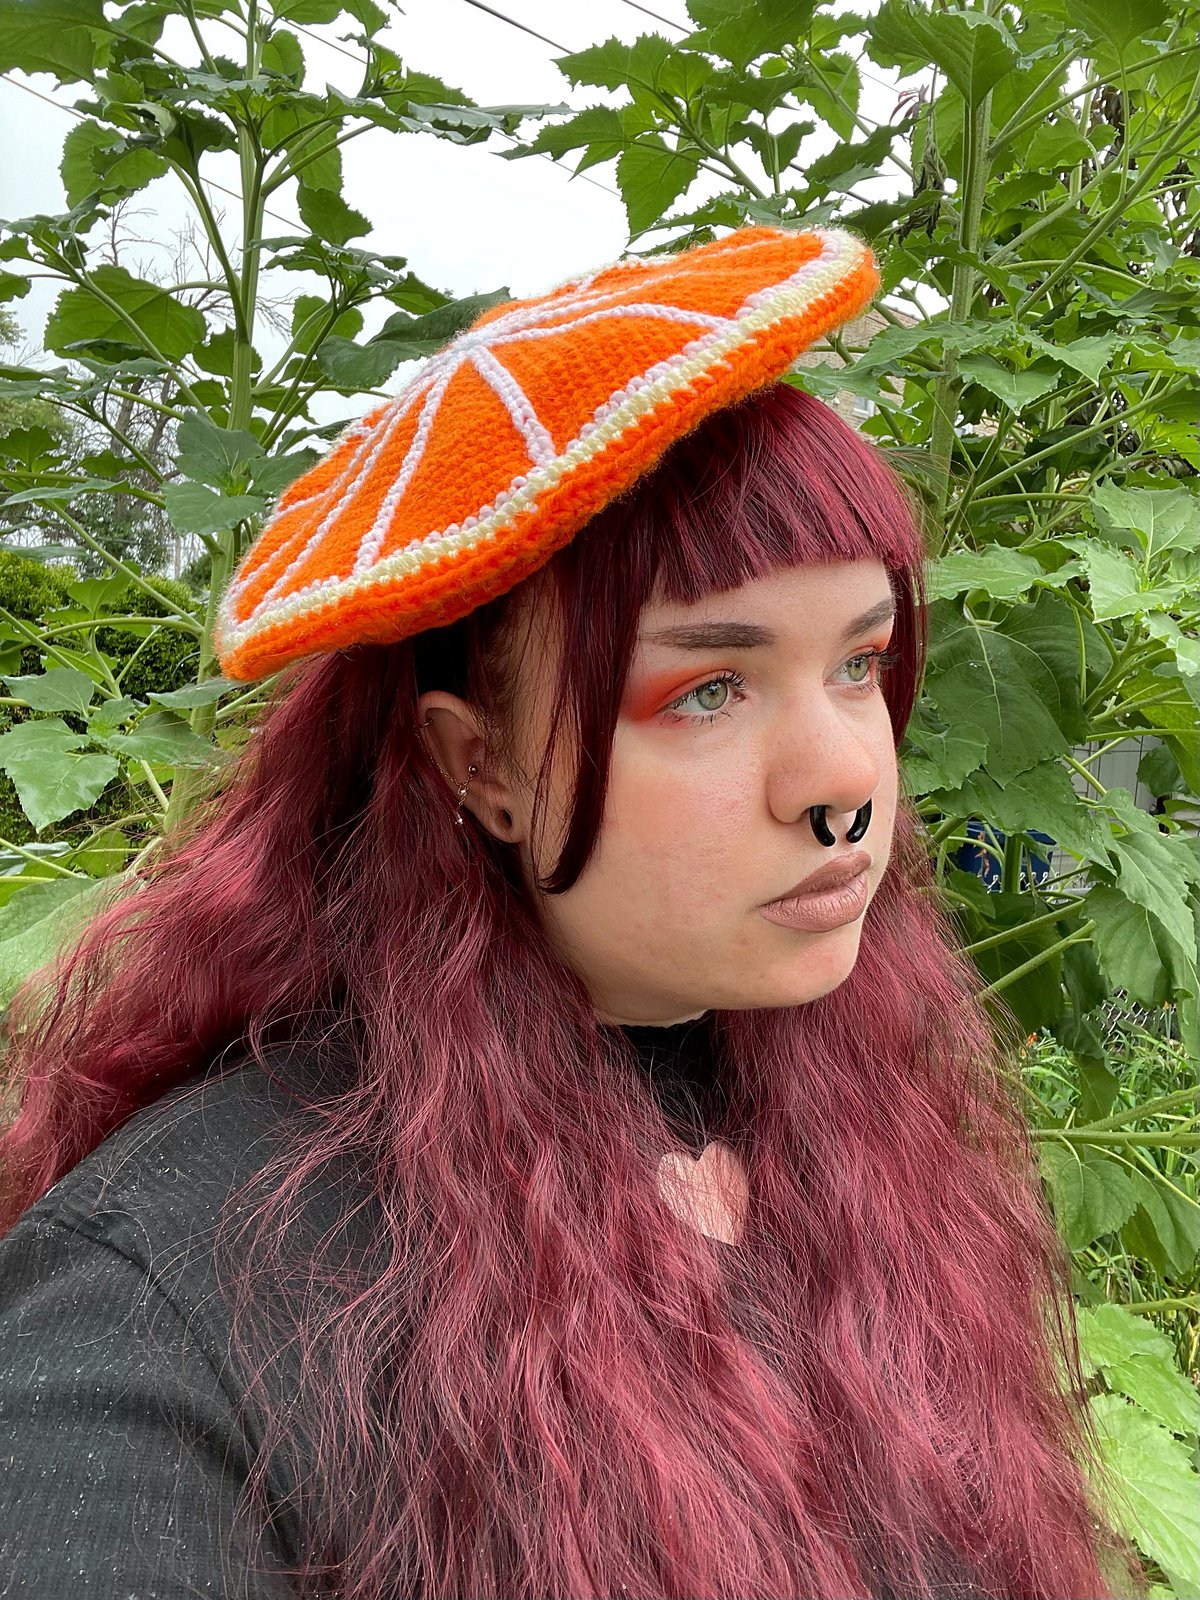
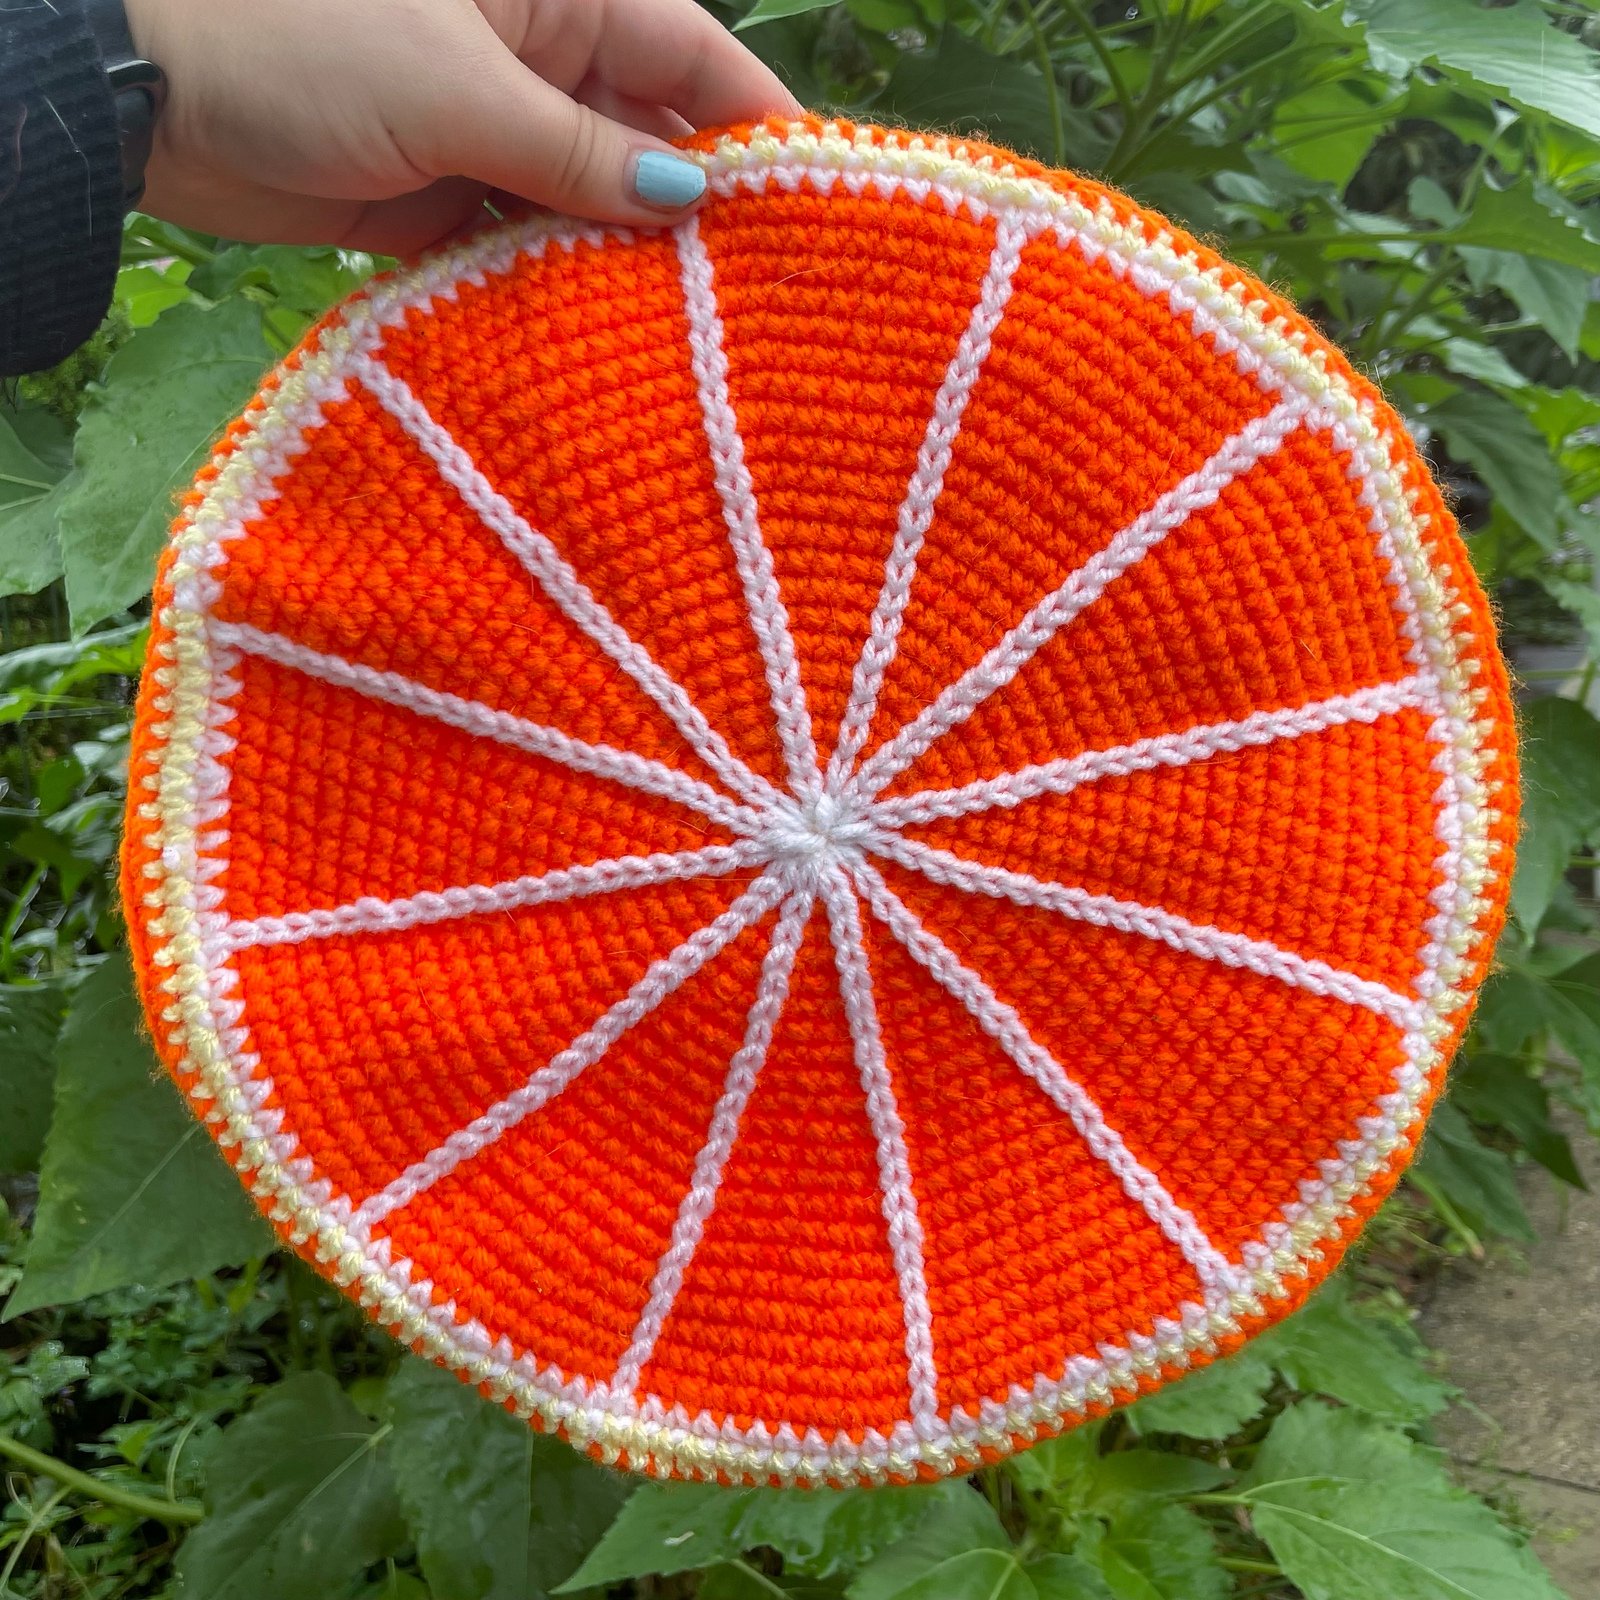
The Citrus Beret is based on, well, citrus! This hat features a segmented design reminiscent of the inside of a sliced citrus fruit, with a textured underside meant to evoke the peel.
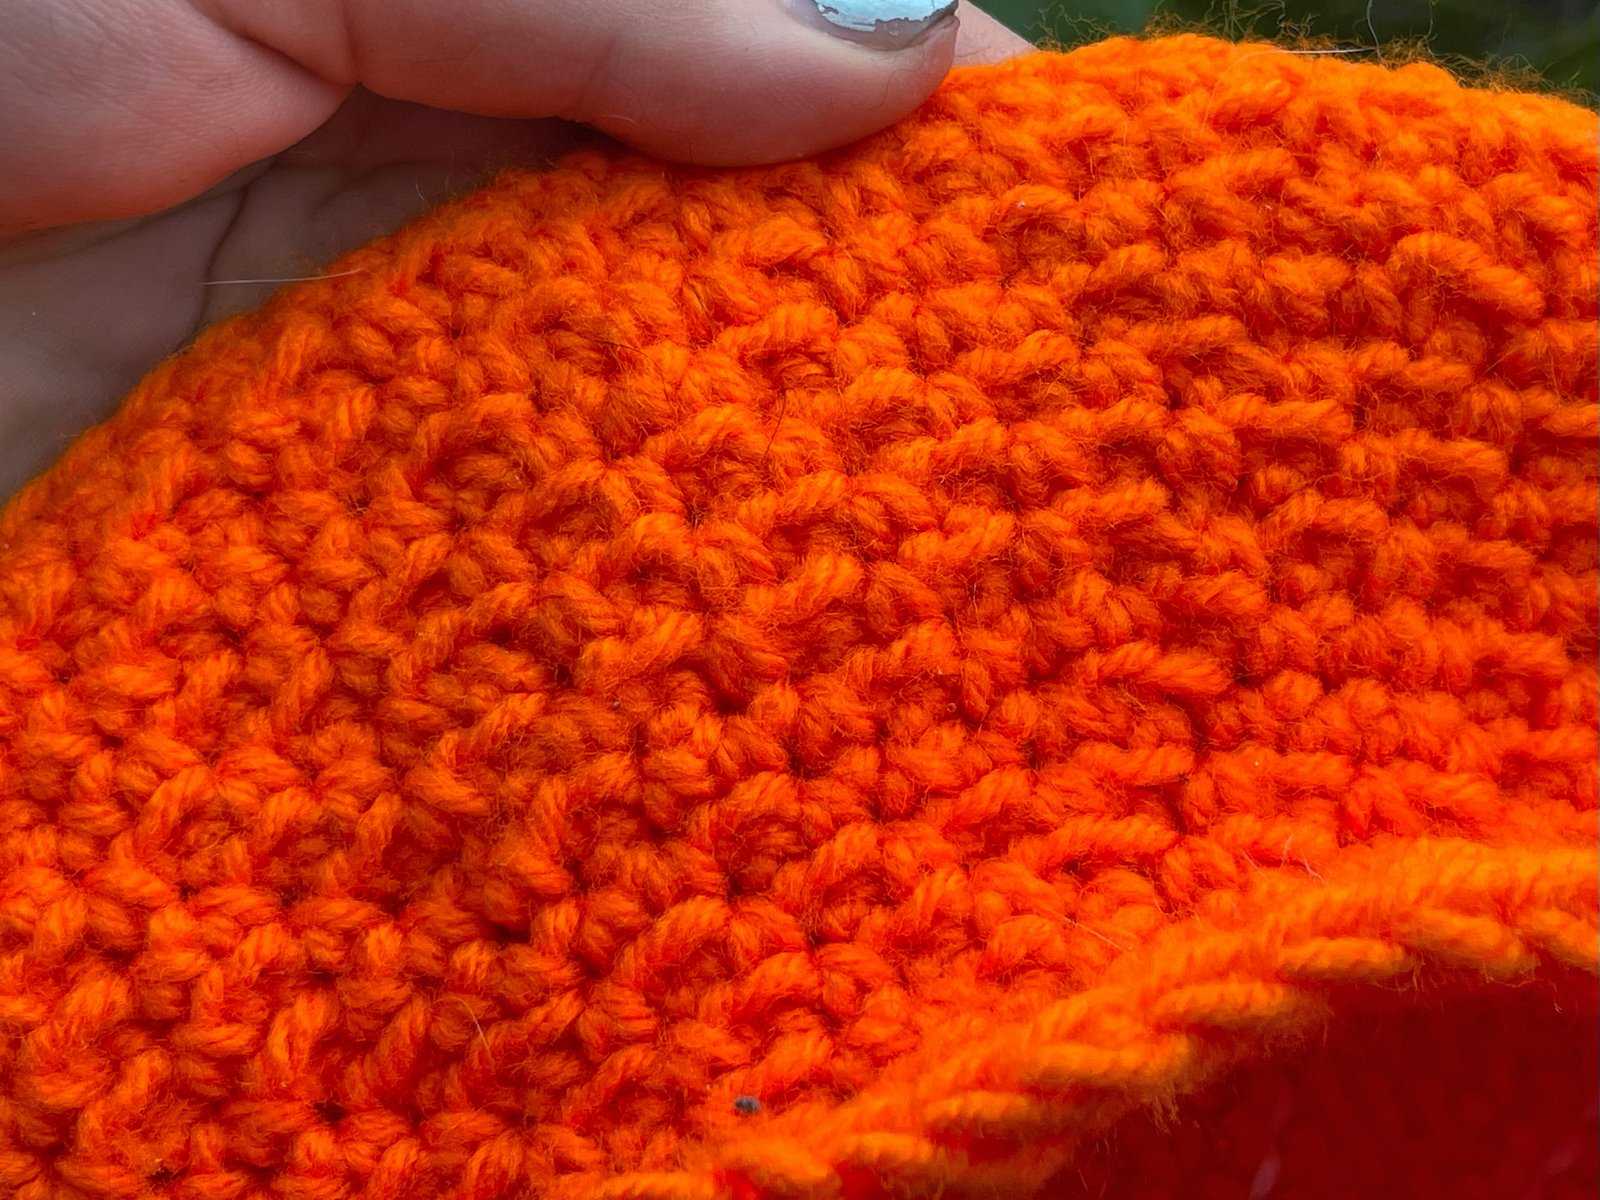
This hat is worked in the round, some details are worked directly onto the top of the hat, no sewing required!
Granny Hearts Bag
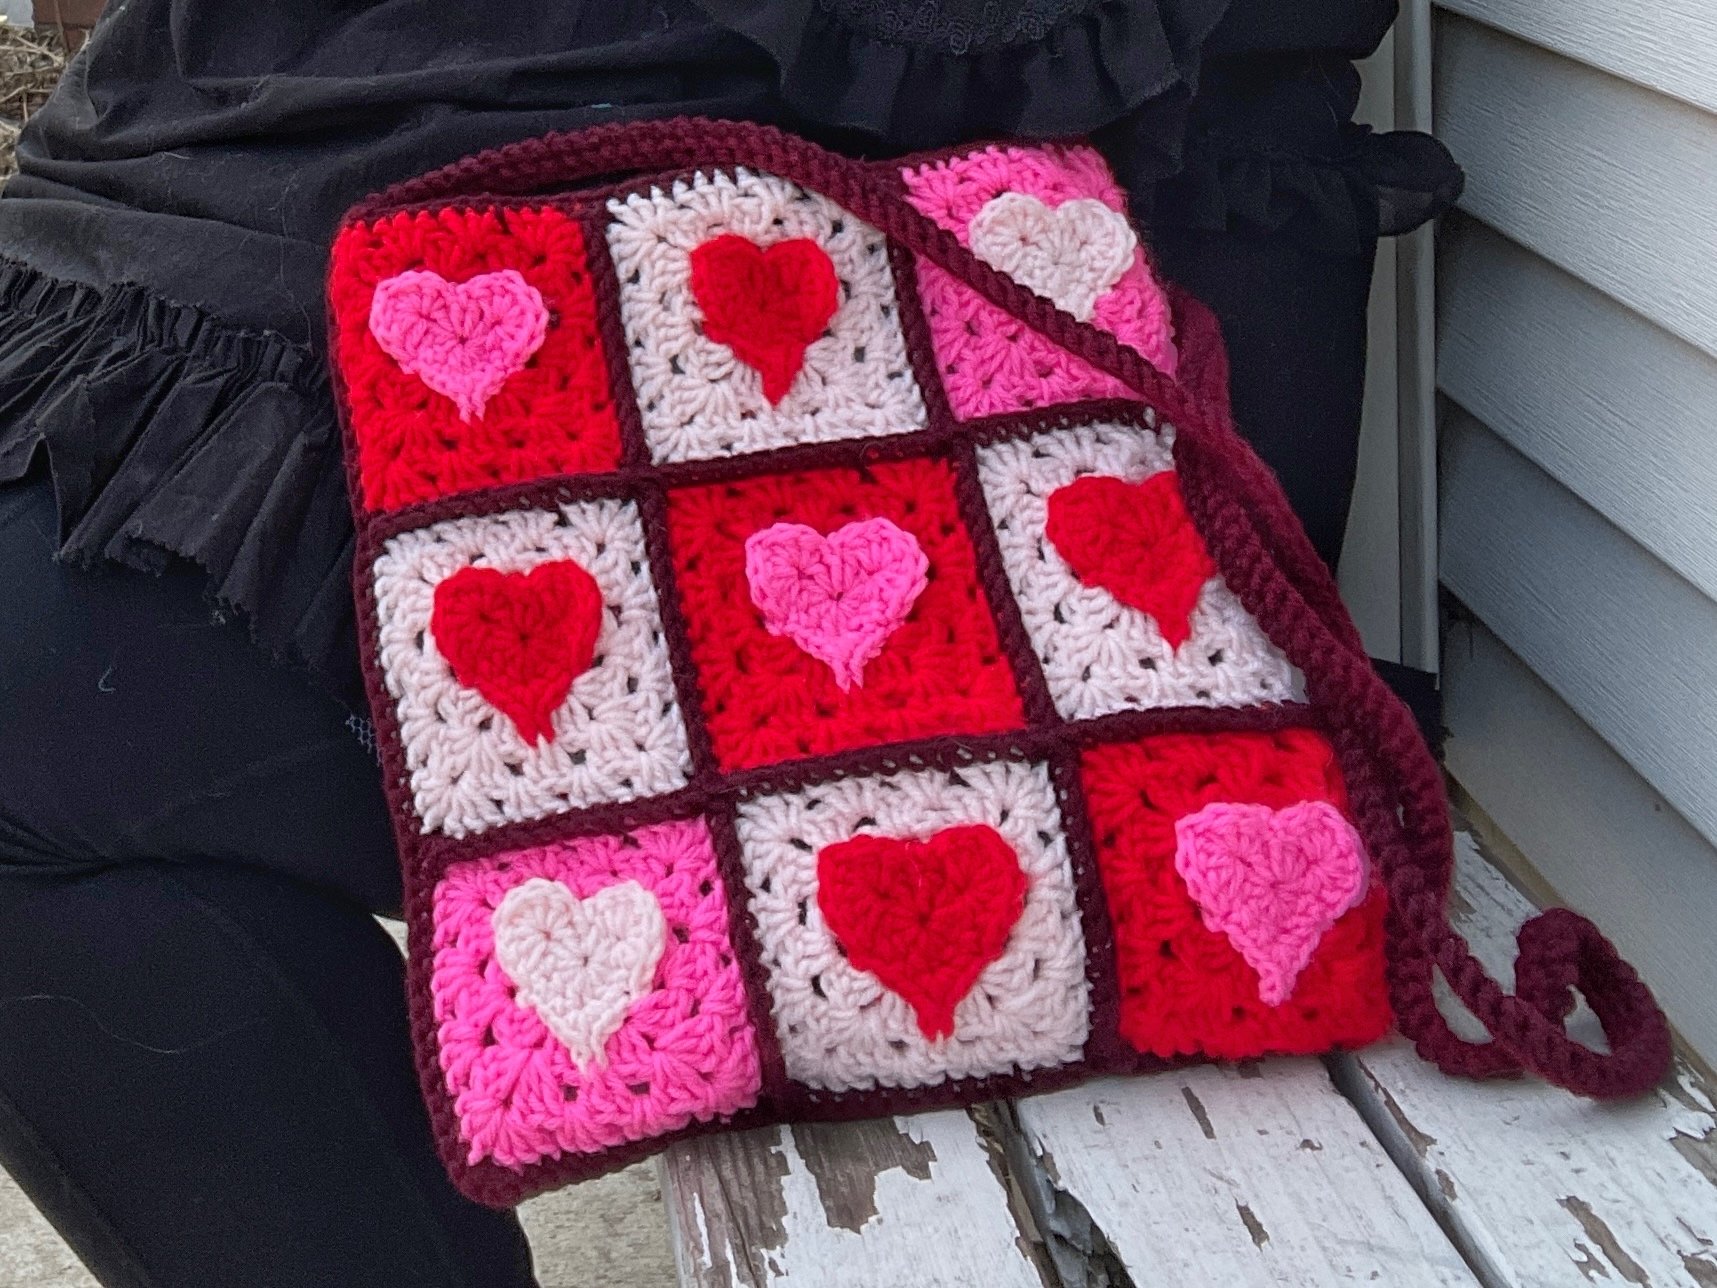
This bag is maybe a little late for this Valentine's Day, or maybe it's just really early for the next one? Whichever it is, it's a fun, textured bag that's a good use of some smaller balls of yarn!
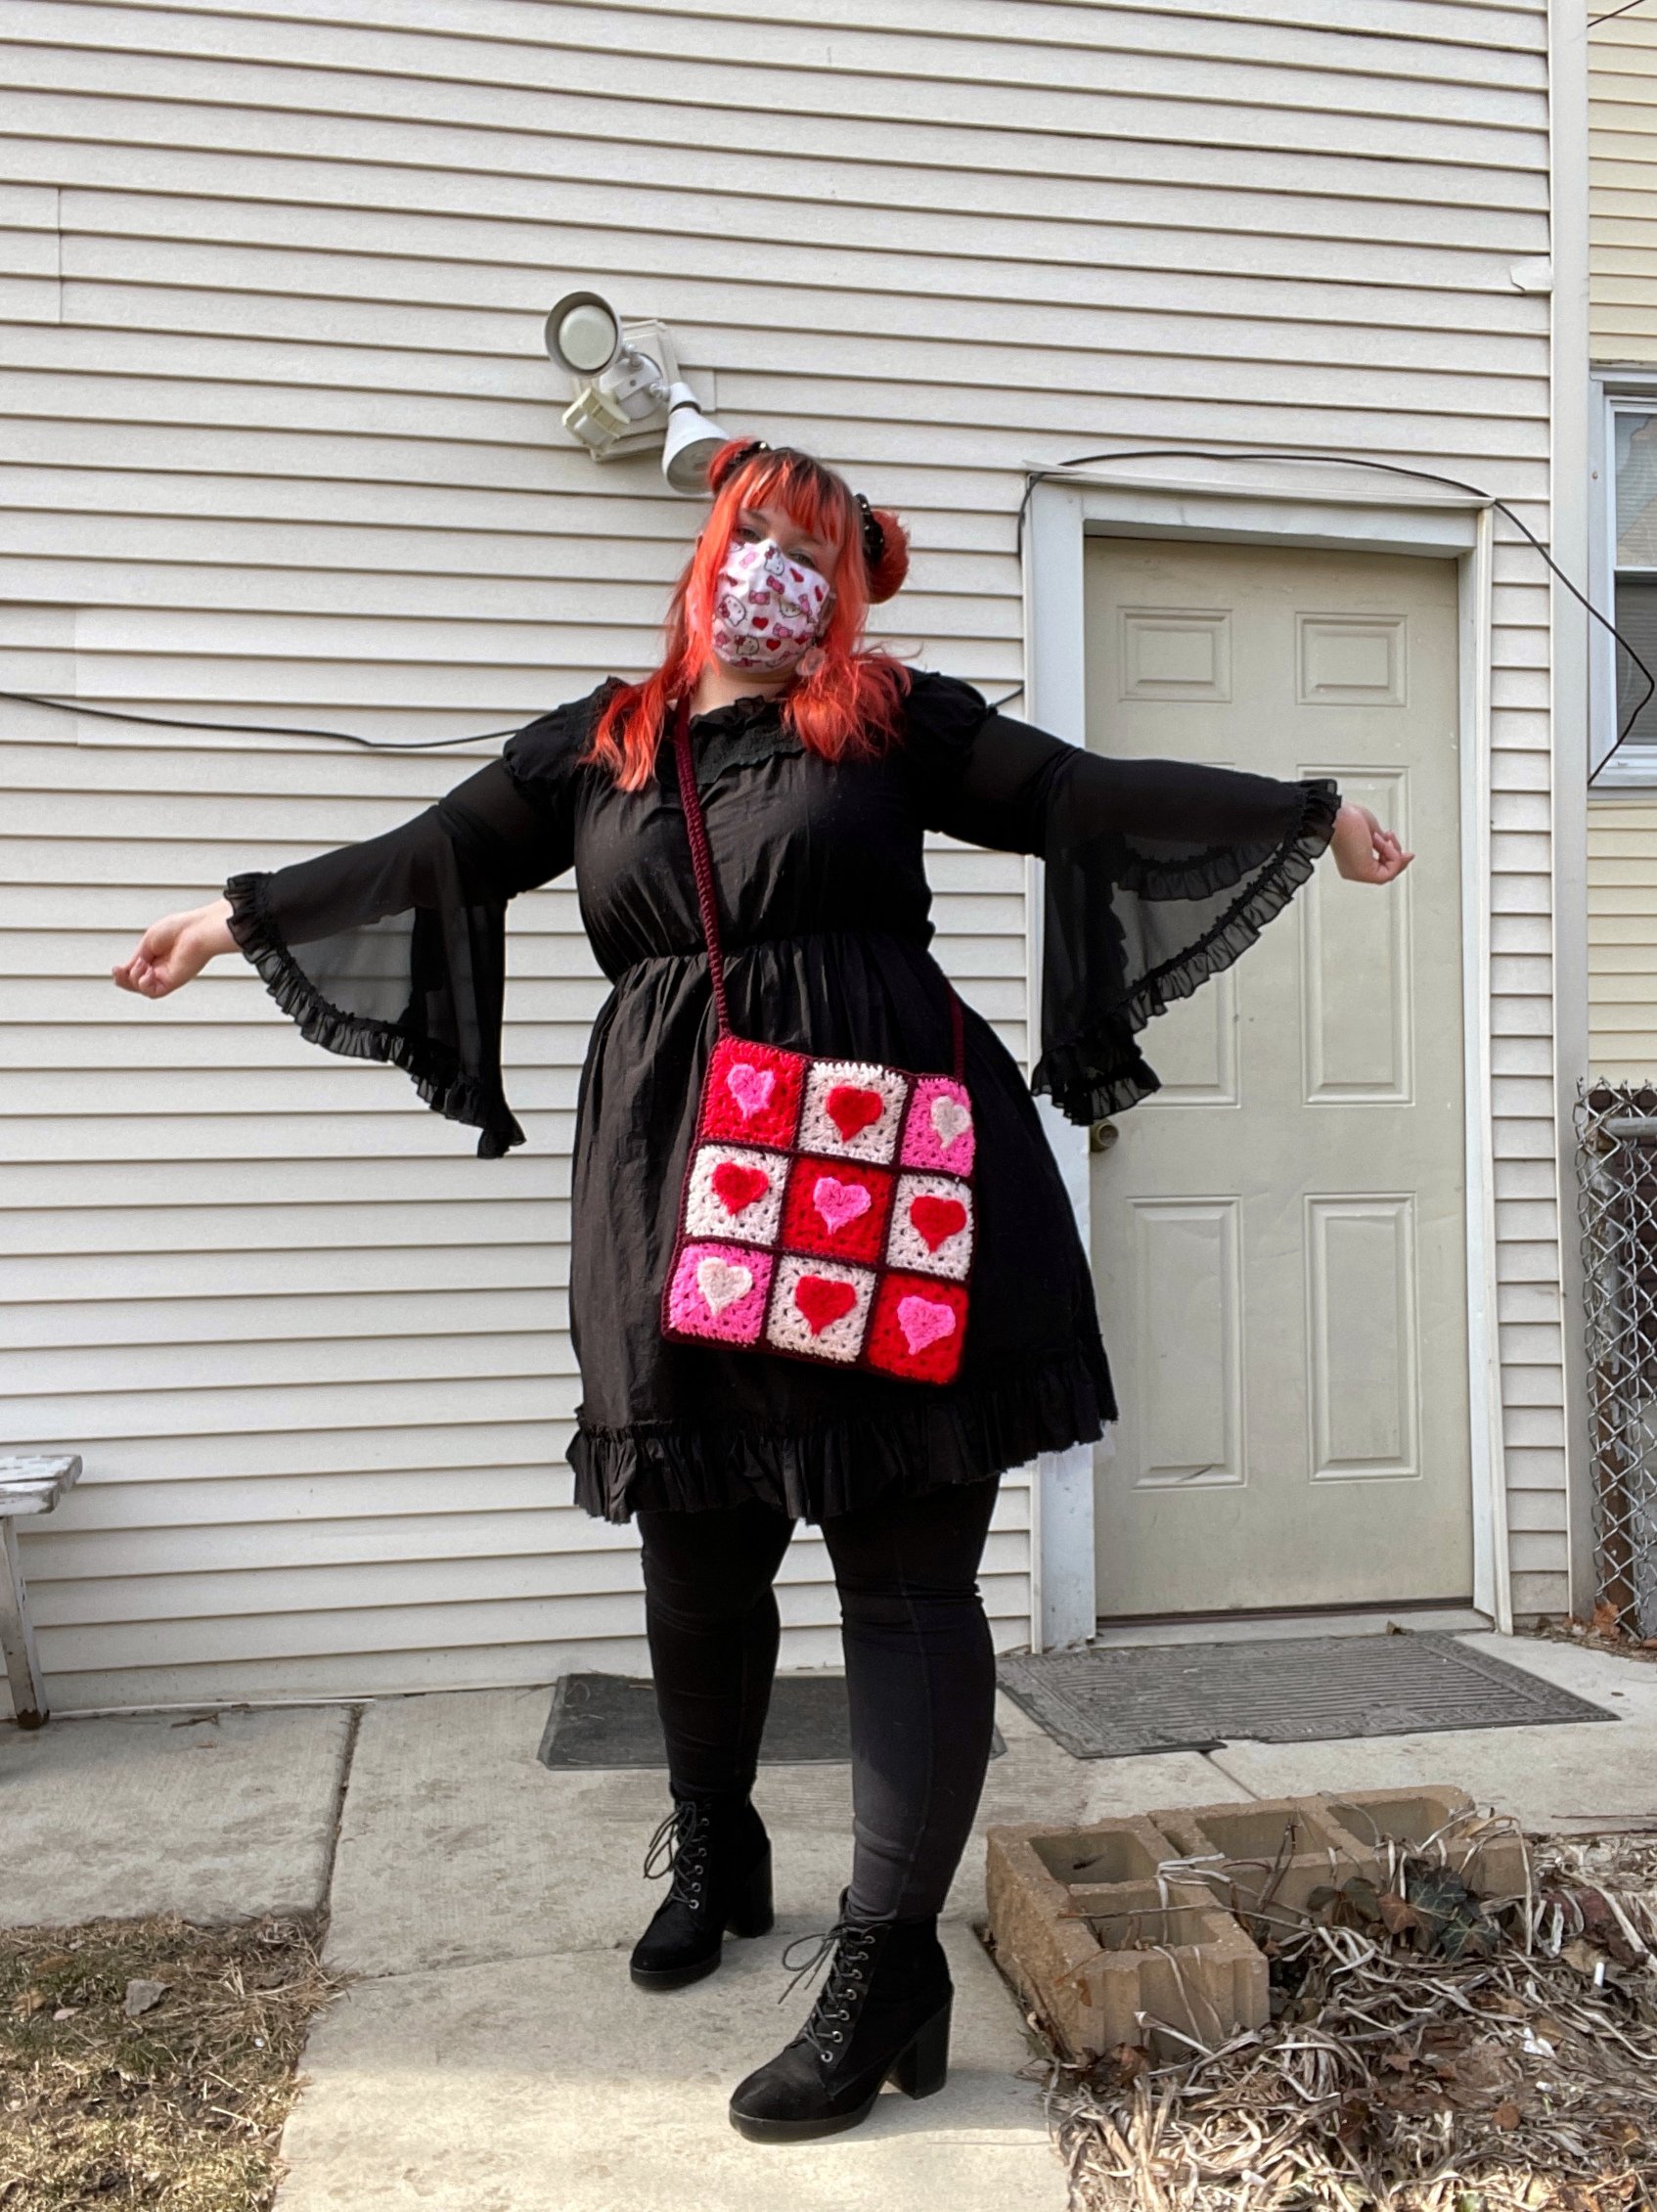
The bag itself is made up of 18 granny squares crochet together, with a denim lining and a crochet strap. The pattern for it details how to make the granny squares, as well as how to put it all together and make a bag. A good thing about this pattern is the granny squares themselves can be used to make any other item that uses granny squares as a base!
Not only is this pattern up for sale on Ravelry, but it's now up for sale on Etsy too! Please be sure to check it out!
Stellar Sailor Dickey
Recently I was lucky enough to be a test knitter for the Stellar Sailor Dickey pattern by Paul Haesemeyer. It's definitely one I would recommend as a good weekend project - as long as you're comfortable with charted cables, this is a pretty quick knit!
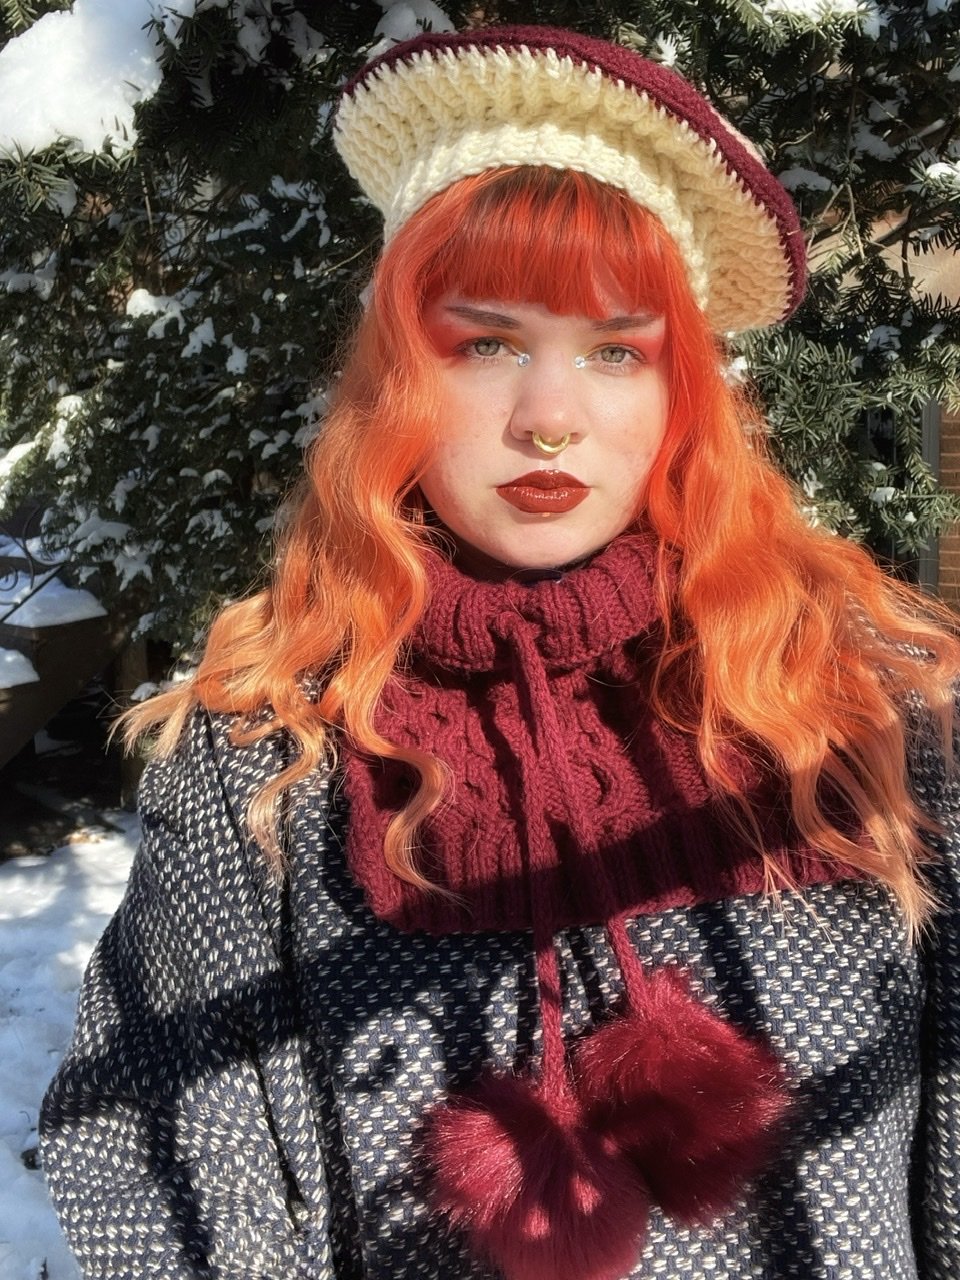
I worked mine up using my favorite yarn - Joann's Big Twist. I did deviate just a touch by adding in some store bought pompoms instead of making my own, but the color was a perfect match! How could I resist?
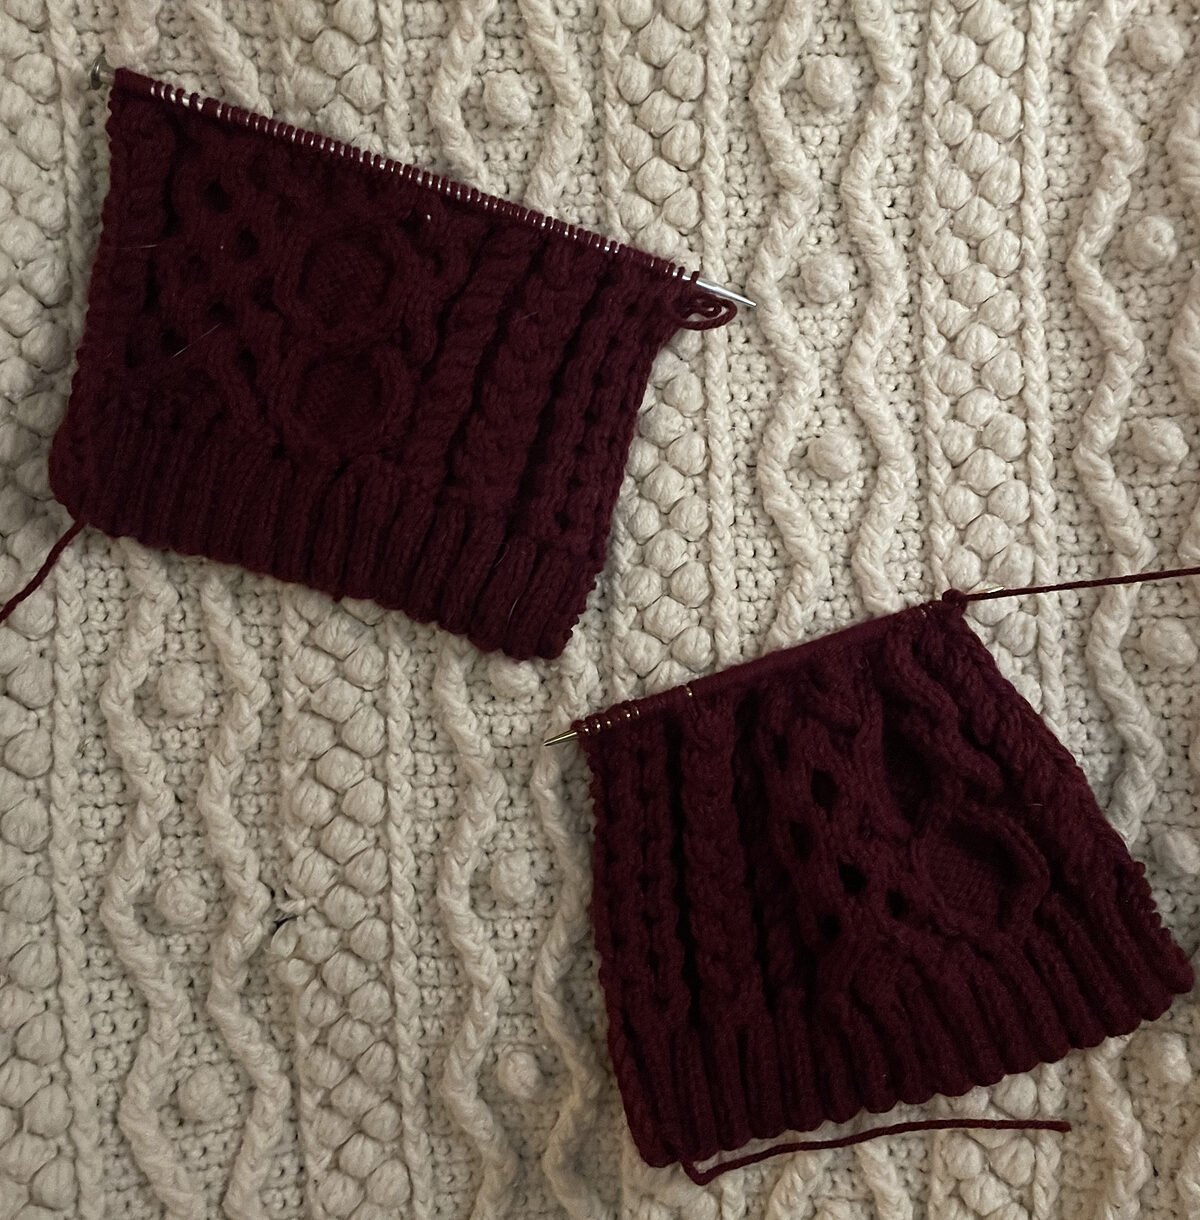
in progress, just before joining front and back to work in the round
One of the things that I really like about this piece is that it tucks in really smoothly. Wearing it outside a coat or jacket really shows off the cables, but wearing it tucked in does an incredible job of shielding from wind and snow. I've actually already started on a second one in brown, which is going to go to my roommate.


If you haven't already, be sure to head on over to Paul Haesemeyer's ravelry page to check out his patterns!
Mushroom Beret Hat Pattern
First thing's first:
Happy New Year!


One of the last things I did in 2021 was make and design this Mushroom Beret. This is definitely in my top three designs of 2021. I made this hat using two colors of yarn and fairly simple stitches.

I've had the idea to make a Mushroom Beret for a while, but was only able to focus on this project recently. This beret’s design was inspired by amanita muscaria, or the fly agaric mushroom. One of the things that was super important to me was the look of the "gills" on the bottom of the hat. I managed to achieve what I was looking for in just a few days, and then patterned it and have uploaded it to Ravelry!

As always, thank you for reading, and be sure to share your projects when you're done!
Solstand Shawl
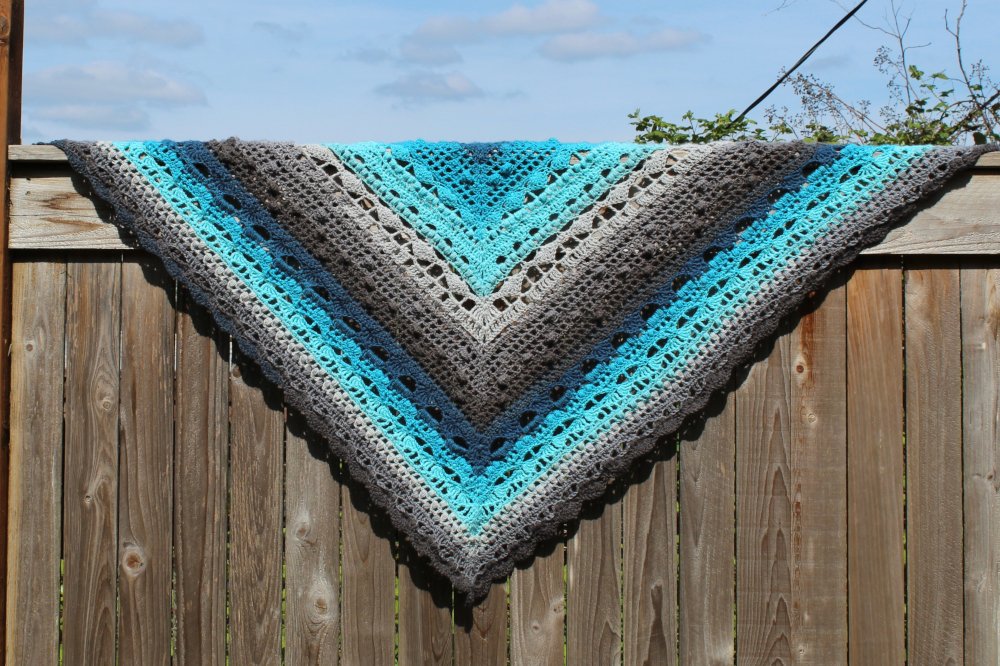

I picked up some Lion Brand Mandala yarn and immediately knew I wanted to make a shawl with it. The question was: which shawl? I searched for a while, but was unable to find any pattern that fit my specific vision, so I decided to design and make my own.
Over the course of about ten days, I turned my 2 skeins of Lion Brand Mandala in Spirit into a shawl and wrote up a pattern for it! This shawl pattern requires knowledge of basic stitches, as well as front post and back post stitches. The shawl uses about 1000-1200 yards of DK yarn and a size 5 mm (H) crochet hook Instructions for bobble and puff stitches are included. Scroll down to the bottom of this page for a link to purchase the pattern!

Jupiter would prefer if I didn't put my crochet on his ottoman
For the most part I was super happy with the yarn I used. It didn't become 'fuzzy' even after ripping out and crocheting repeatedly, and the colors were beautiful. Each skein had 1 complete repeat of the colors so they were easy to cut apart and match up when changing over.

My only complaint is that inside the second skein, there was a tiny knot tying two completely different shades of blue together. I'm used to yarn having a small knot in it, but I am not pleased with the color change. I ended up cutting it apart and was able to match up the colors, but it's not ideal.

However, I'd still recommend using Lion Brand Mandala for this shawl. It has good drape and stitch definition. I also think that the length of each color in two skeins creates a very nice gradient.

Click here to purchase this pattern in UK and US terms for $4.99
Use code 'autumn' to get 20% off your total pattern purchase in my ravelry store from now until Halloween 2019!
Be sure to upload a picture to Ravelry and link it to the pattern! I love seeing everyone's creations!
Scrappy Stripes Sweater
I've completed yet another pattern! This time I used a bunch of my leftover yarn bits and bobs to create a rainbow sweaters I have dubbed the Scrappy Stripes Sweater! This pattern is available as a free downloadable pdf on Ravelry.

Evelyn is sitting down wearing a rainbow crochet sweater
The sweater body is worked from the bottom up, while the sleeves are worked from the top down. Each colored stripe only uses about 80 yards of each scrap, and about 440 yards of a base color, in my case I used cream. This brings the total amount of yarn to about 1720 yards.

If you've got sharp eyes, you might notice some yarns that I have used in previous projects! The sweater is primarily made from aran weight yarn, but there are a couple dk and worsted bits snuck in there, with careful consideration as to how that would affect the gauge.

The sweater is made from dc and sc, the cuffs using the back loop only to create texture and stretch, while the sleeves use dc2tog for shape. The stripes keep their clean look using the standing crochet stitch. If you're unfamiliar with what that is, I'd recommend checking out this tutorial on Moogly.

Scrappy Stripes Sweater Side
Although the weather is a bit warm for this scrappy sweater, I still want to wear it all the time! It was fun to use up the ends of yarn and think about other projects I had made using it.
The pattern is available for free download here. I listed all the yarns I can remember here, but I can't guarantee the one you're eyeing is listed. Remember to let me know if you make something using this pattern! You can link it to the project page on Ravelry, or tag me on social media.
Tanabota Top


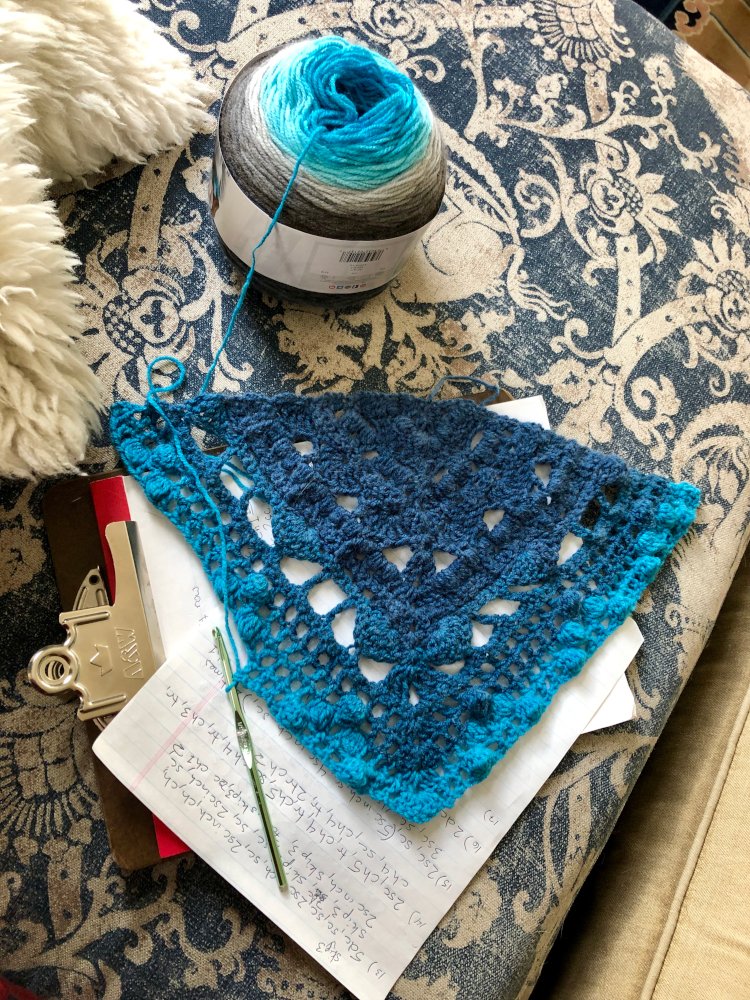
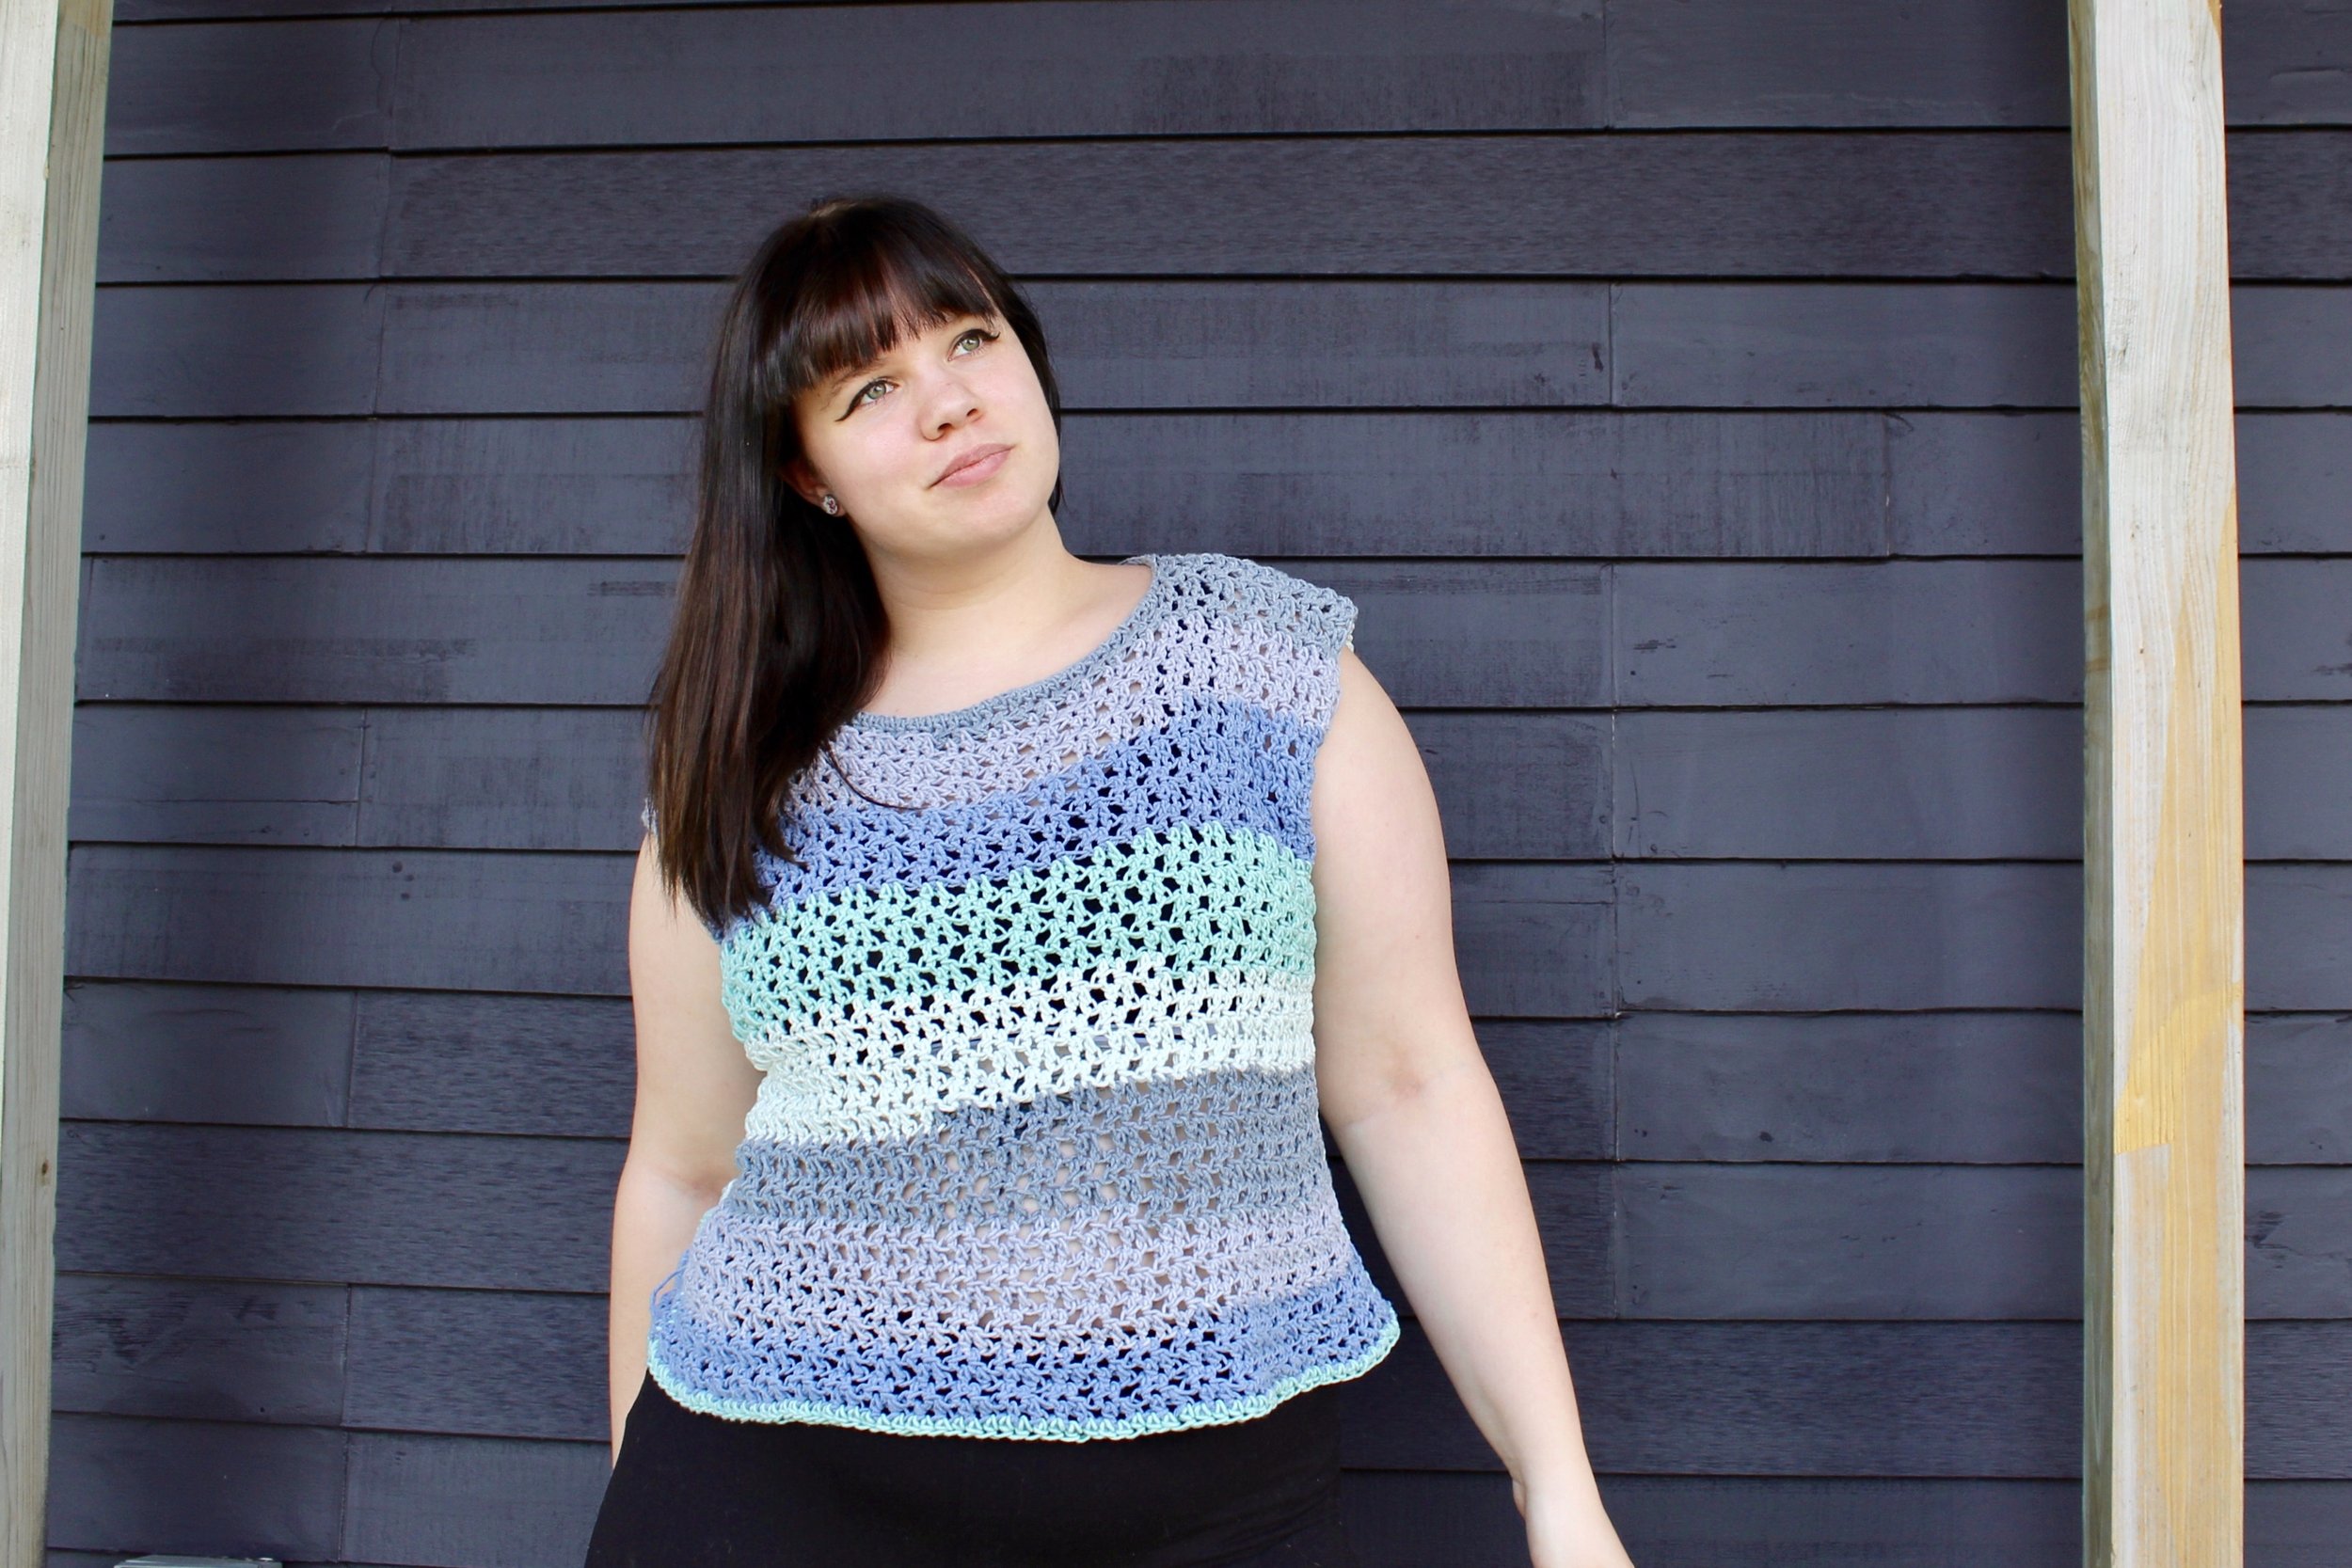
I've just released a new pattern for sale on Ravelry! The Tanabota Top comes in sizes XS-XXL, fitting a bust range of 32-49 inches. It uses a size L/8mm crochet hook and worsted weight yarn. It's the perfect top for summer - it's sleeveless with an open, light stitch pattern. The patterns is also fairly easy to make, using only half double crochet, chain stitch, and slip stitch.
The yarn I used is Caron Cotton Cake in Hydrangea. It's an easy to work with yarn with good stitch definition. However, the 530 yard ball I used had eight knots tying ends together in it. I've never come across a yarn with so many knots in it, but the colors are so pretty I didn't mind too much.
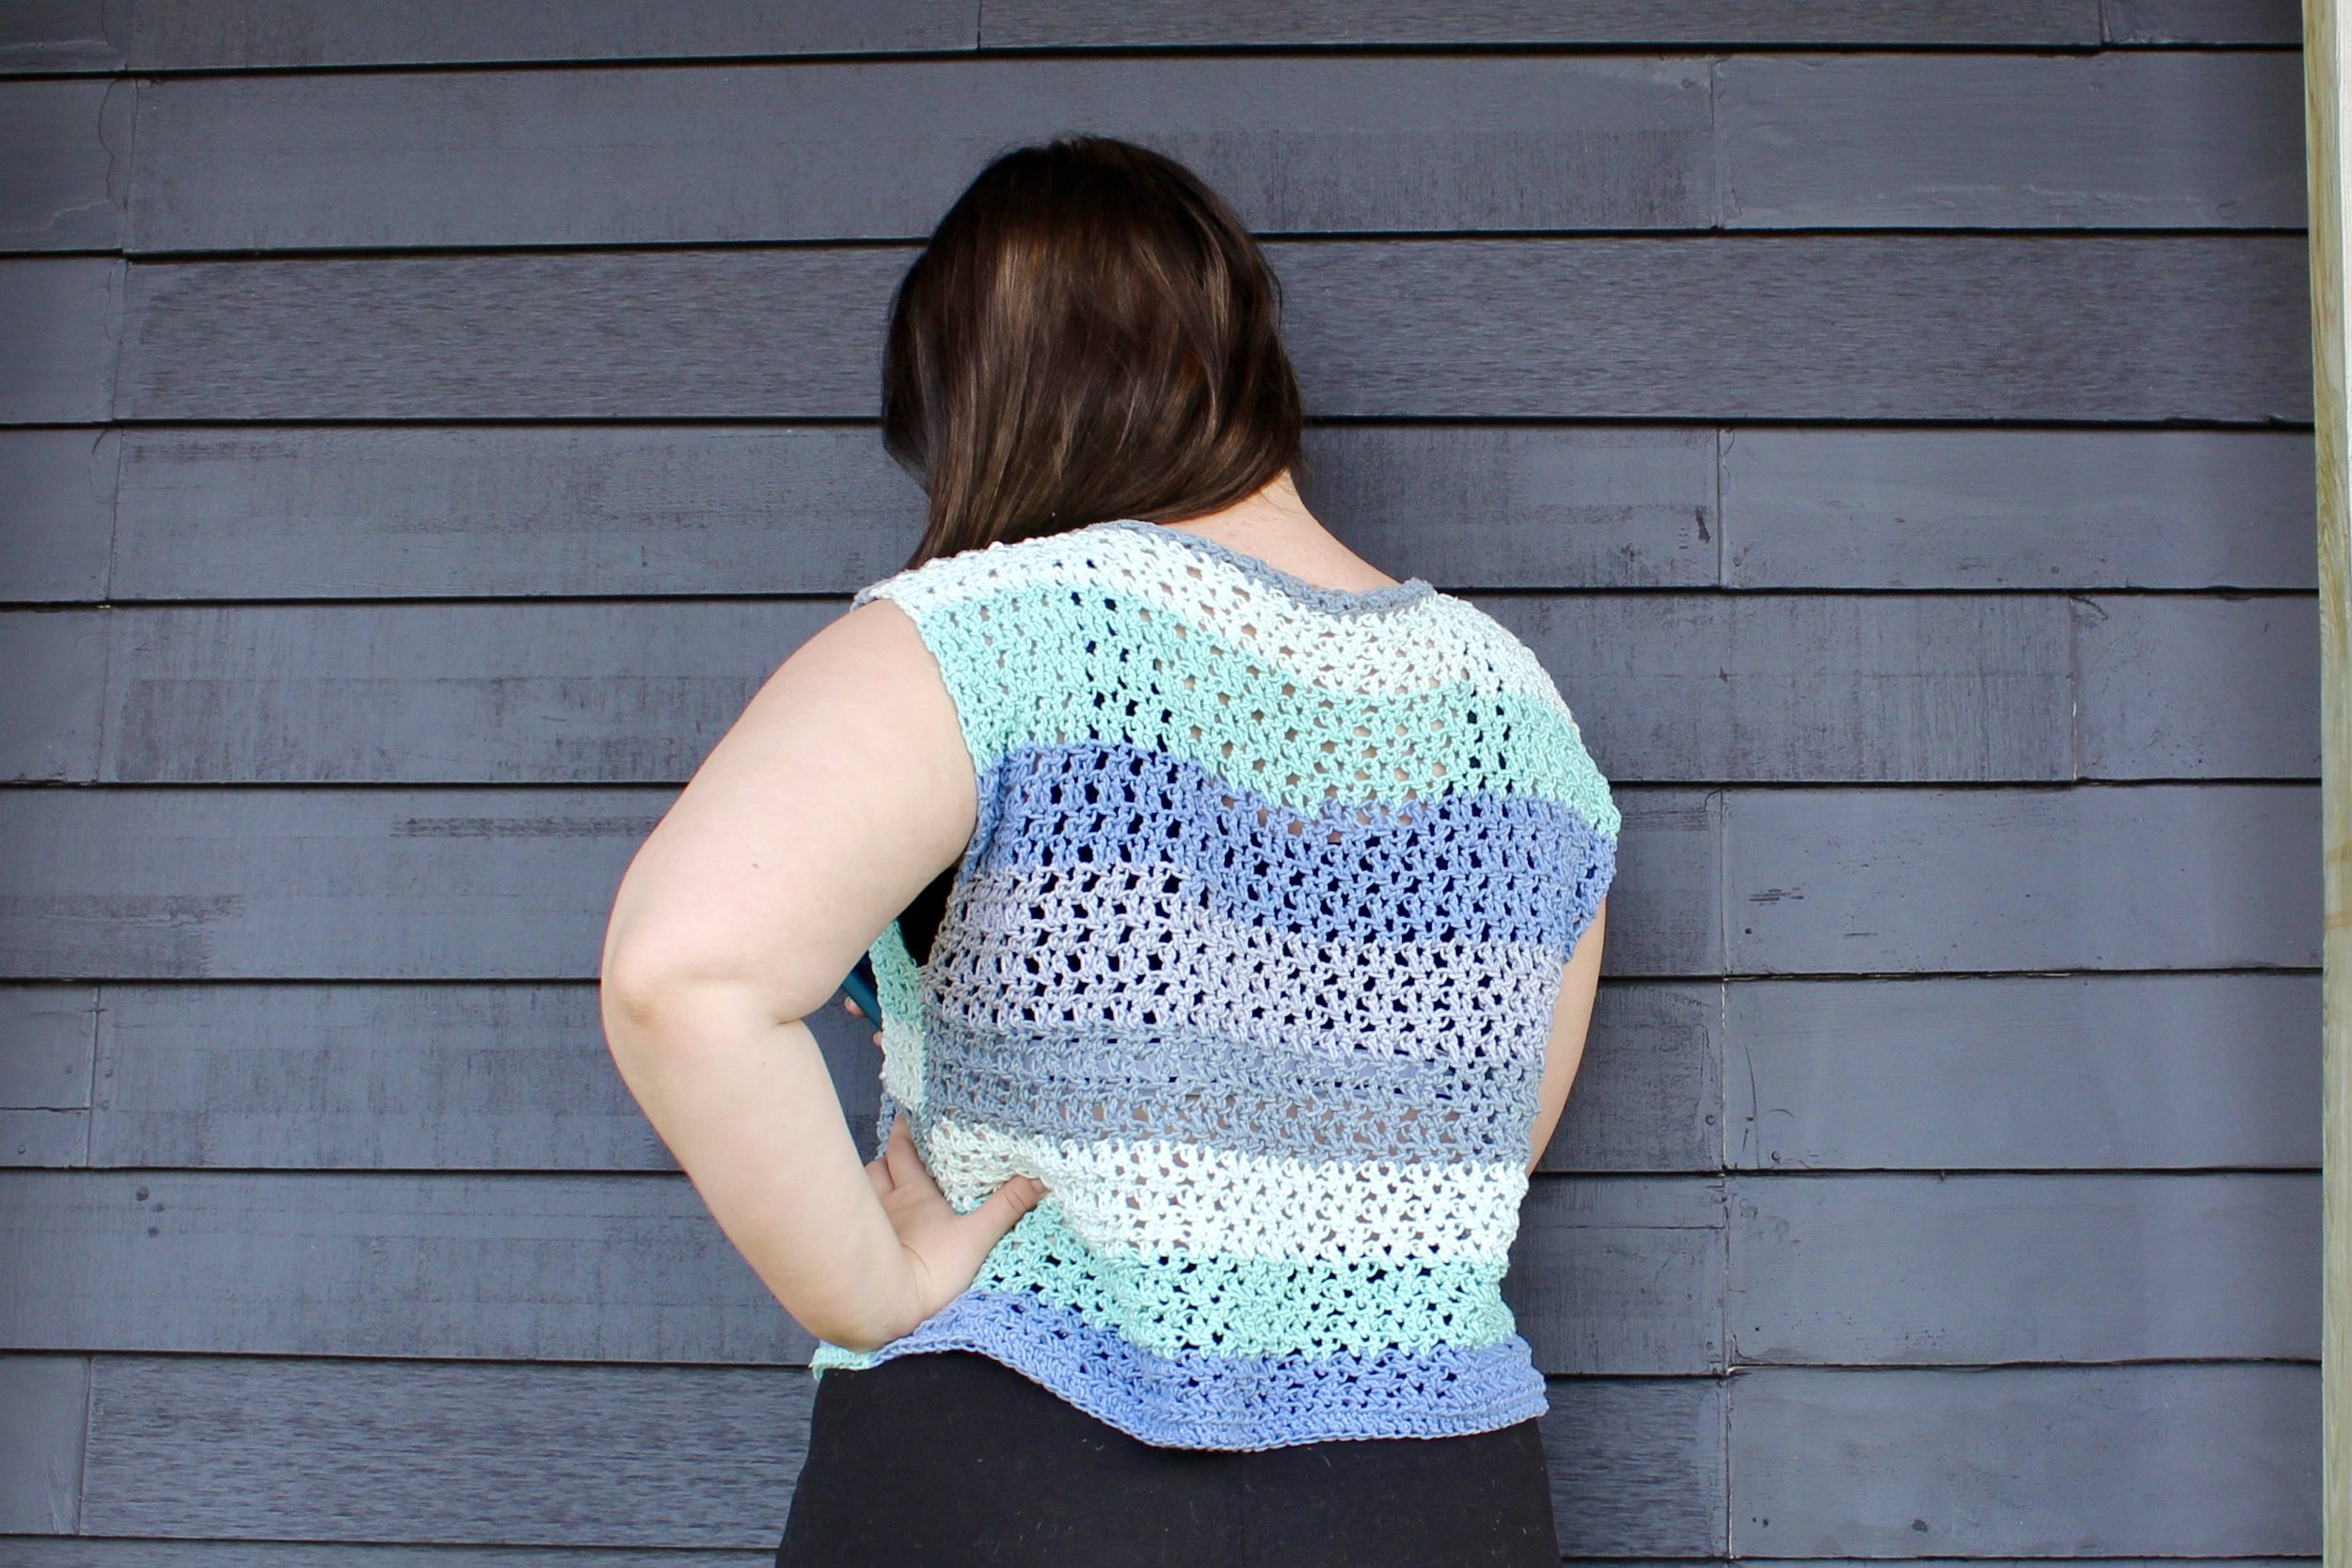
The Tanabota Top is worked in one piece from front to back with side seams. Here's a close up of the join between the front and back along the sides, joined with a whipstitch. I was a bit worried with the color changing properties of the yarn that my stitches might look out of place, but it blended in rather well, I think.
This pattern is currently available on Ravelry for $2.99. If you're interested in this pattern, please check it out or click here to buy it now! Be sure to share pictures of what you make, I love to see what everyone comes up with!
New Pansy Fabric!

I'm pleased to announce that I've released a new floral fabric on Spoonflower! Pansy Field is also available in a gift wrap and at a smaller scale.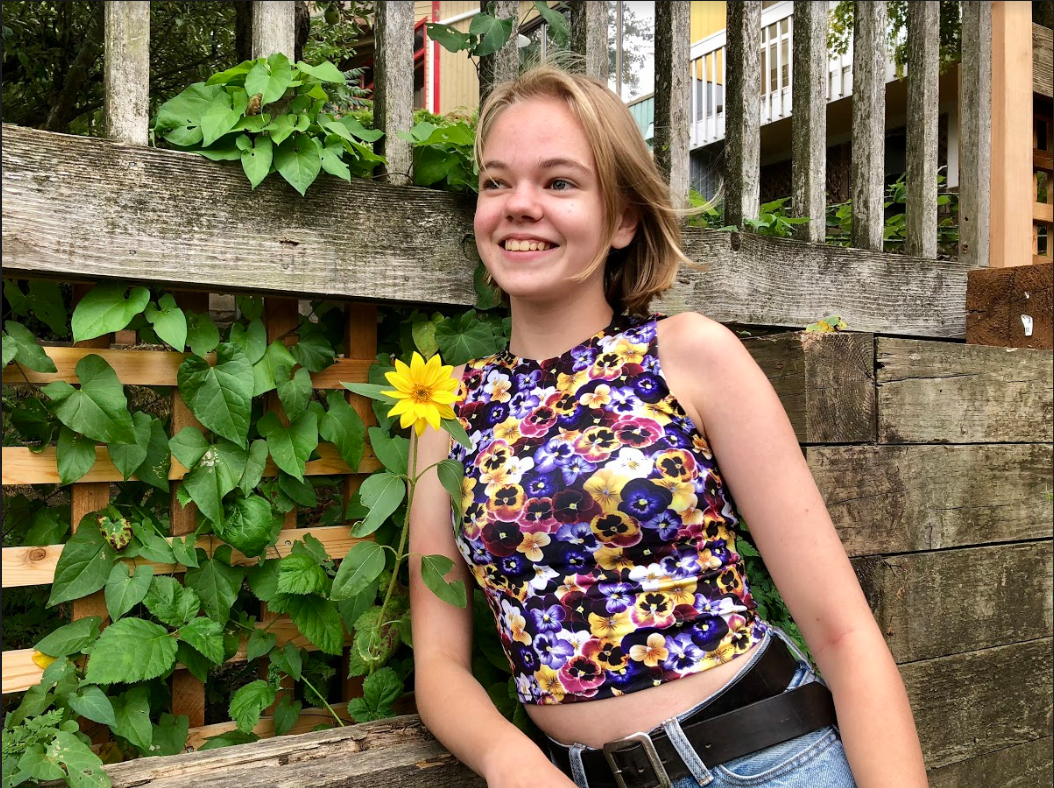 I was inspired to make this fabric when I went to the garden center and saw all the different flowers they had there. The fabric pattern is made using my photos of some of my favorite pansies.
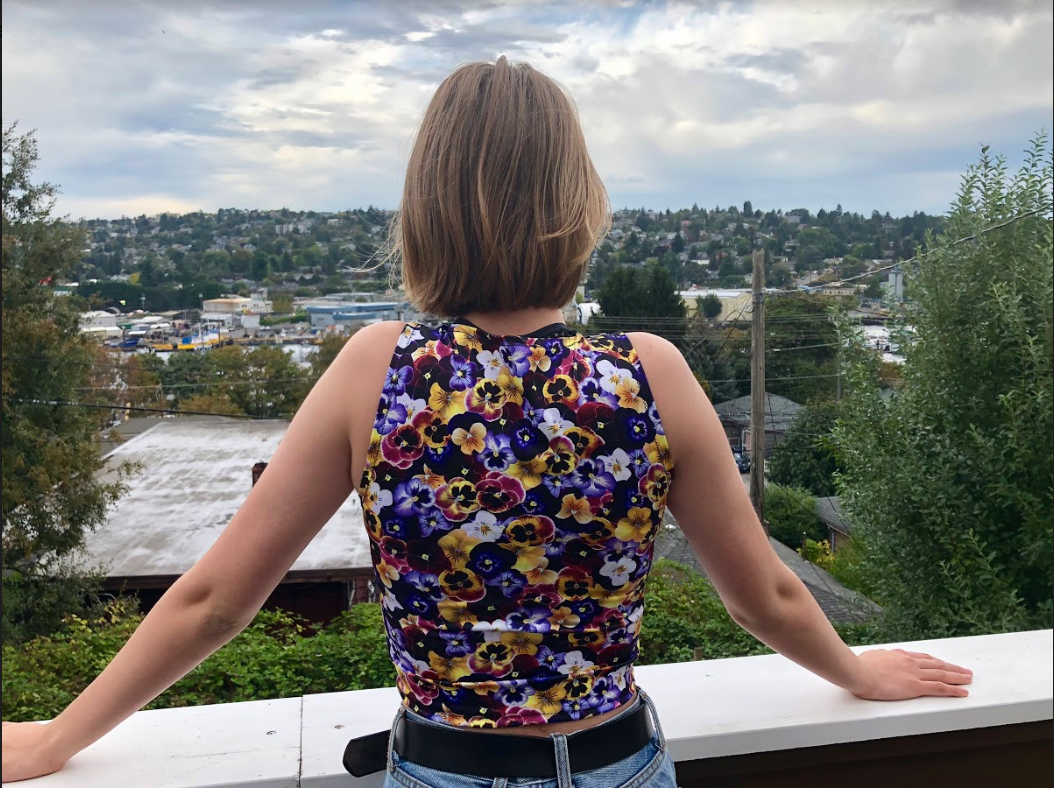 I had the fabric printed onto Sport Lycra in order to make my sister a crop top. I was a little worried about the print appearing faded or washing out, but these pictures were taken after the shirt had already been through the wash. The print is just as bright as when I got it!
 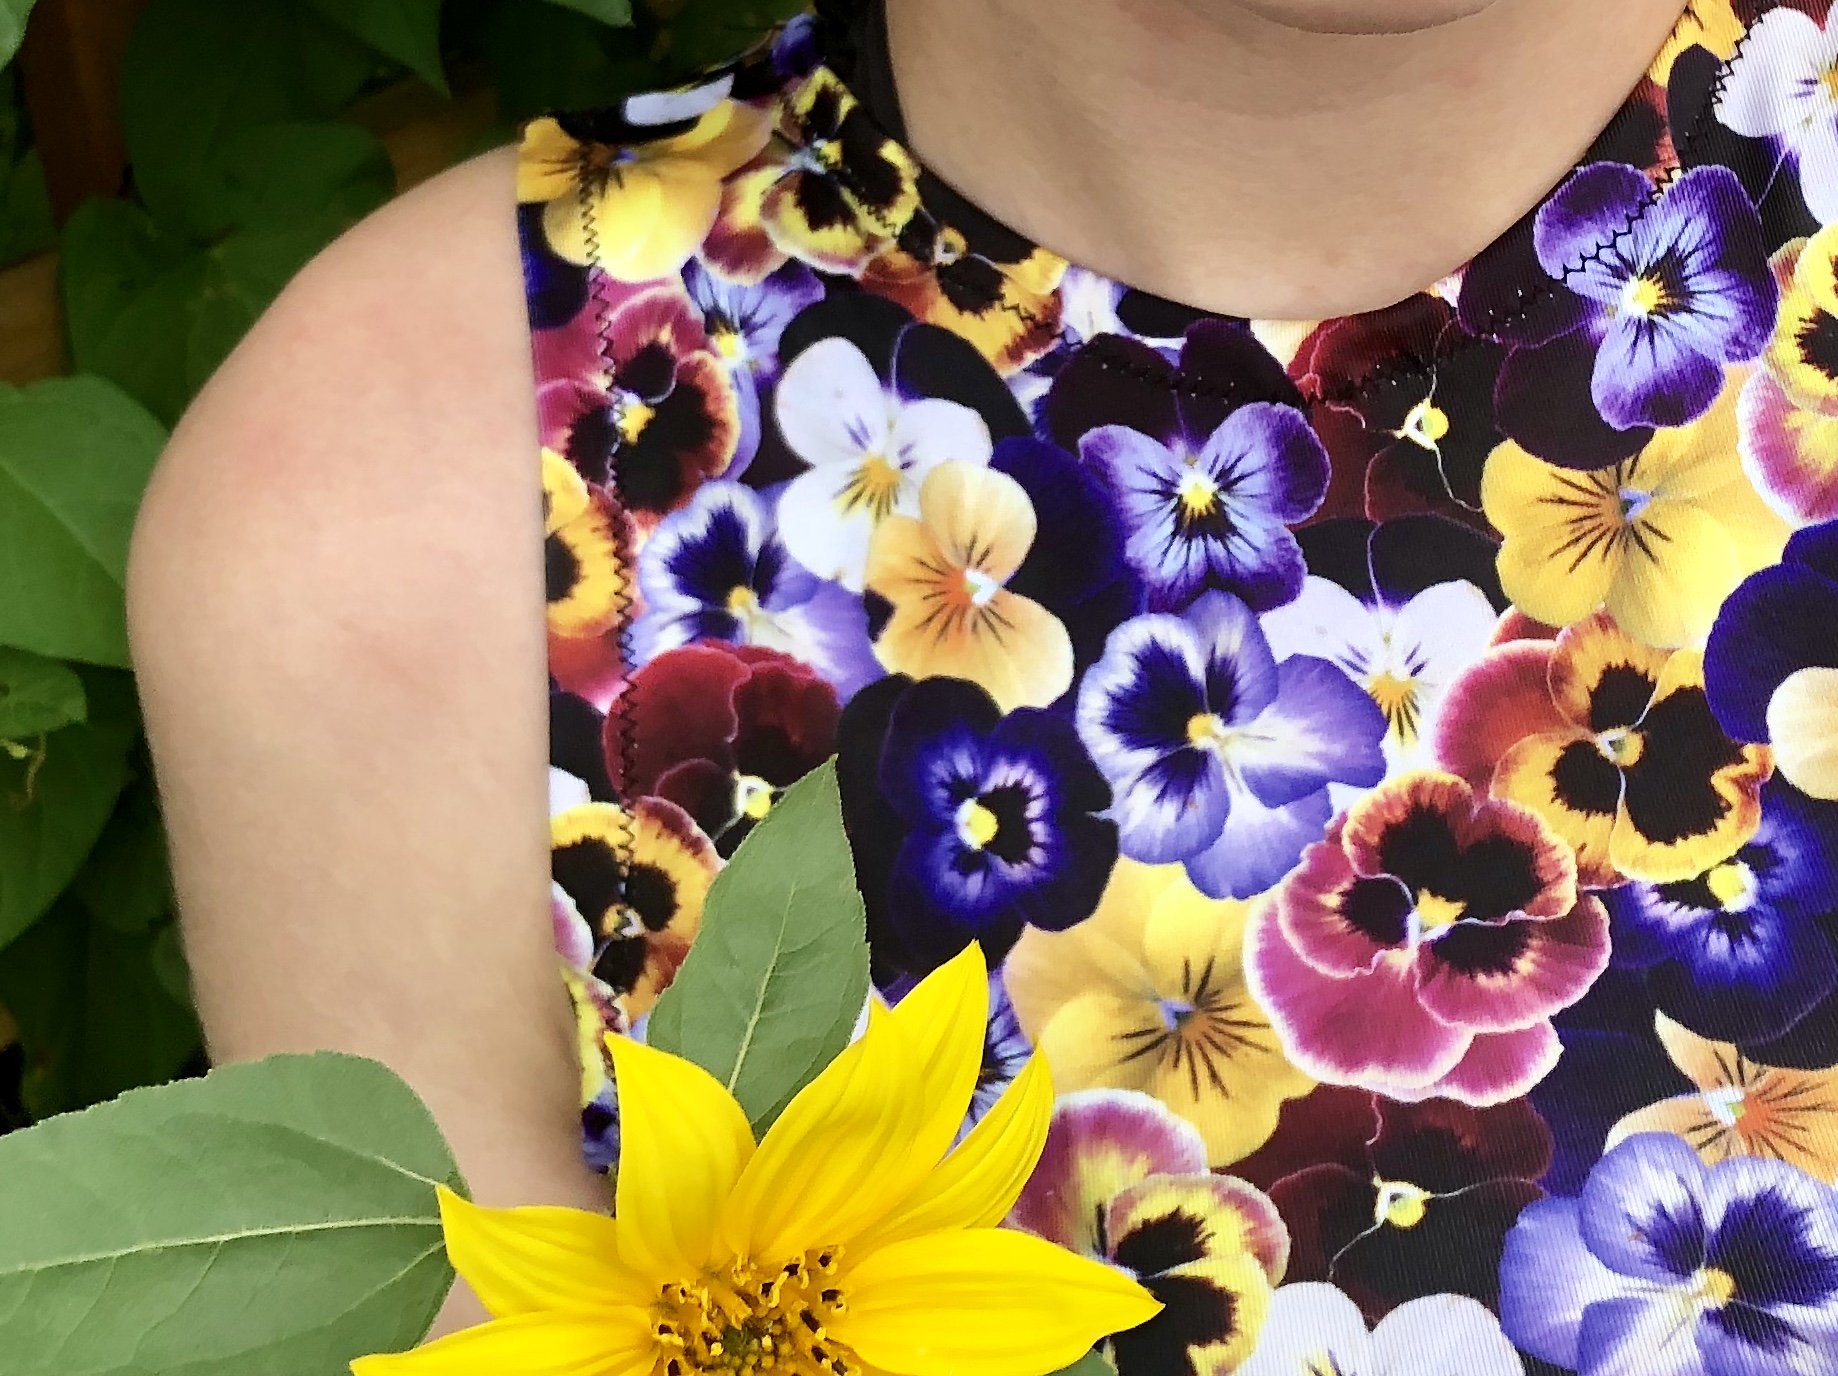 The shirt itself is simply two pieces of fabric zig zagged together at the sides and shoulders. The neck, armhole, and bottom hem are folded over and zig zagged in place.If anyone ends up using my pansy fabric, please send mp pictures! I'd love to see what you make!
Elastigirl Cosplay
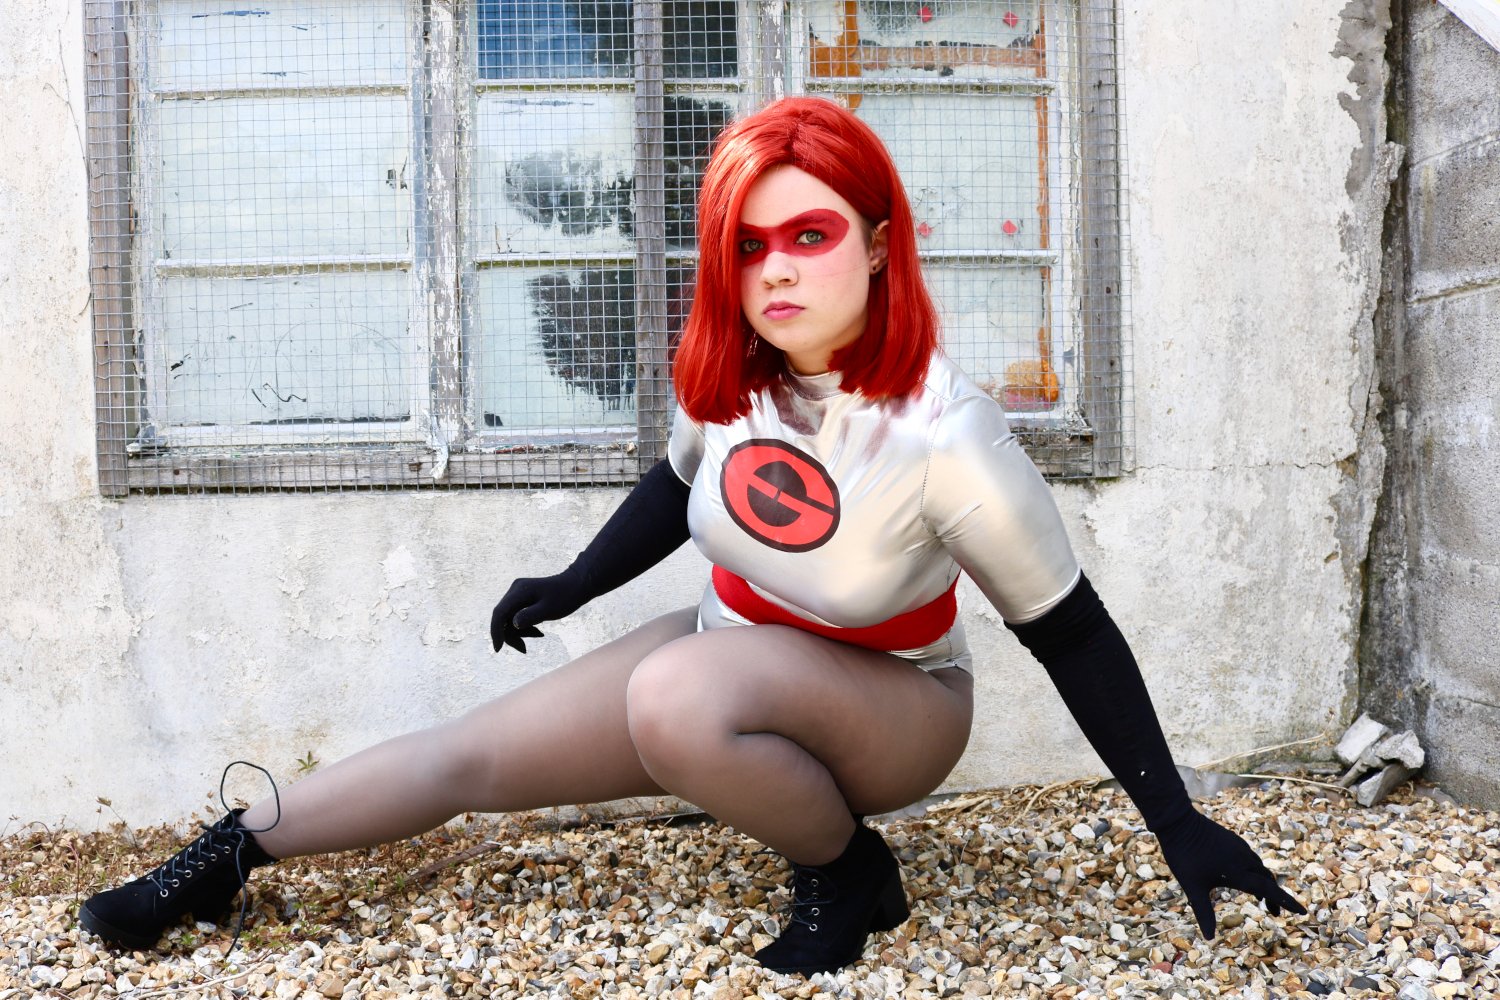 I just completed Elastigirl in time for LFCC! I watched the Incredibles 2 and immediately began working on this. This was a super spur of the moment cosplay, so a lot of the material was made from leftover fabrics. The silver was leftovers from Stocking, the belt is from an Amy Pond scrap, and the gloves are from an old pair of leggings. The whole thing was surprisingly easy to make.
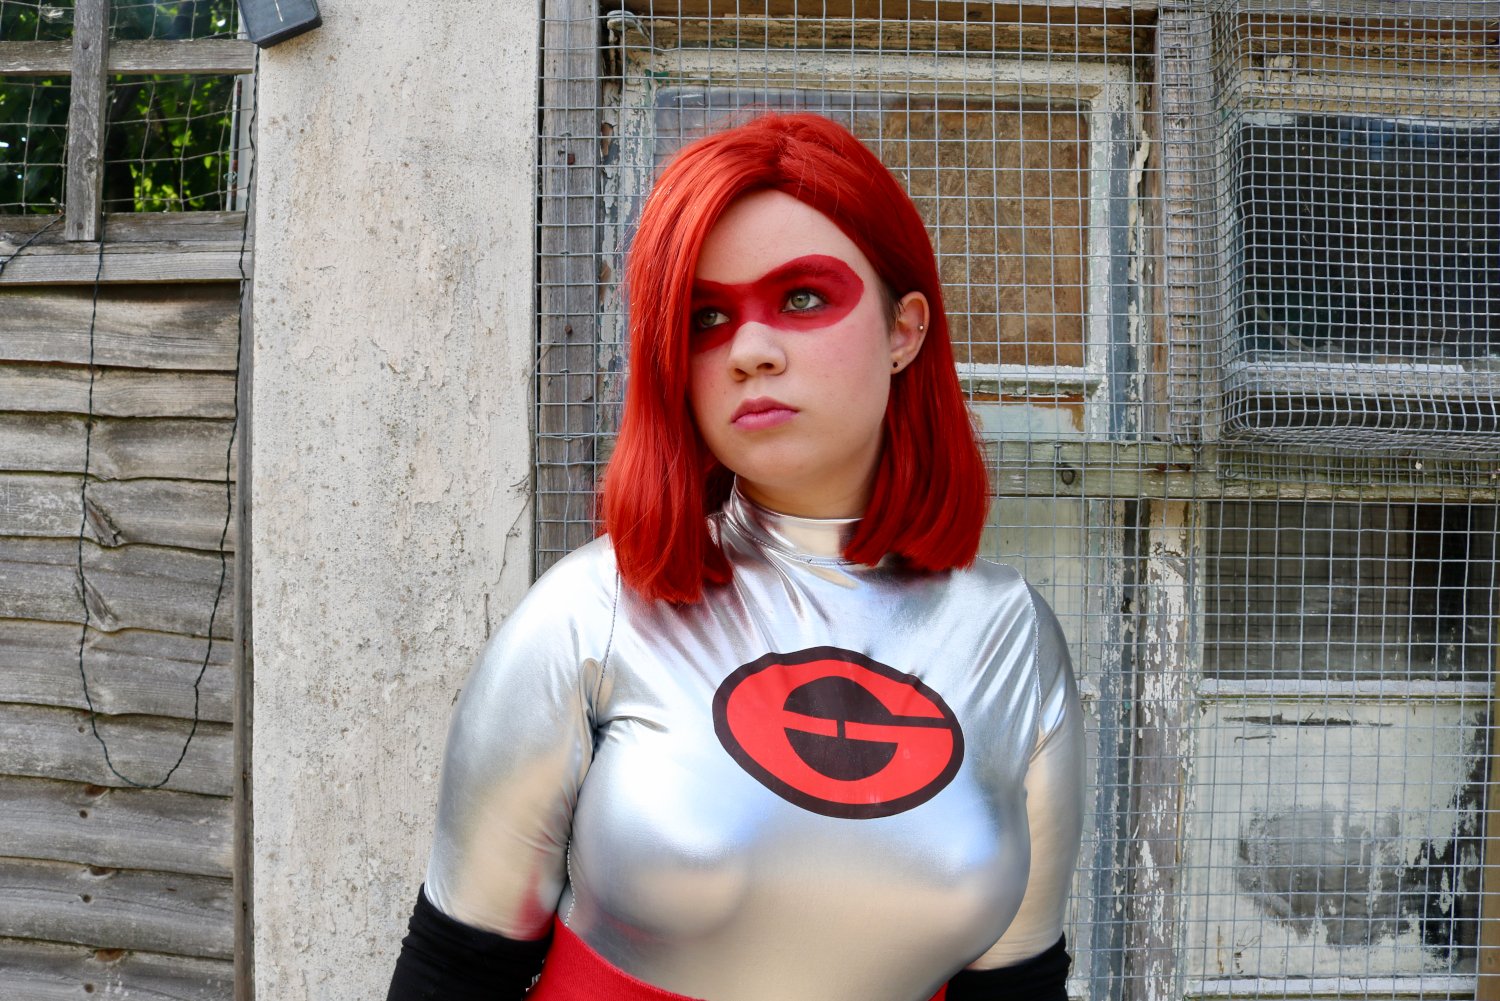 I made the leotard by looking closely at knit leotards and shirts that fit me and drawing that shape onto the fabric. This fabric is always a bit of a pain to work with because pins make holes in it, but I can get away with putting the pins through the seam allowance so it worked out. The fabric also doesn't fray, so I left the edges raw around the leg holes and wrists. I made the Elastigirl symbol in GIMP and applied it the same way that I applied the stripes to my 13th Doctor shirt. If you want your own, here's a link to the one I made.
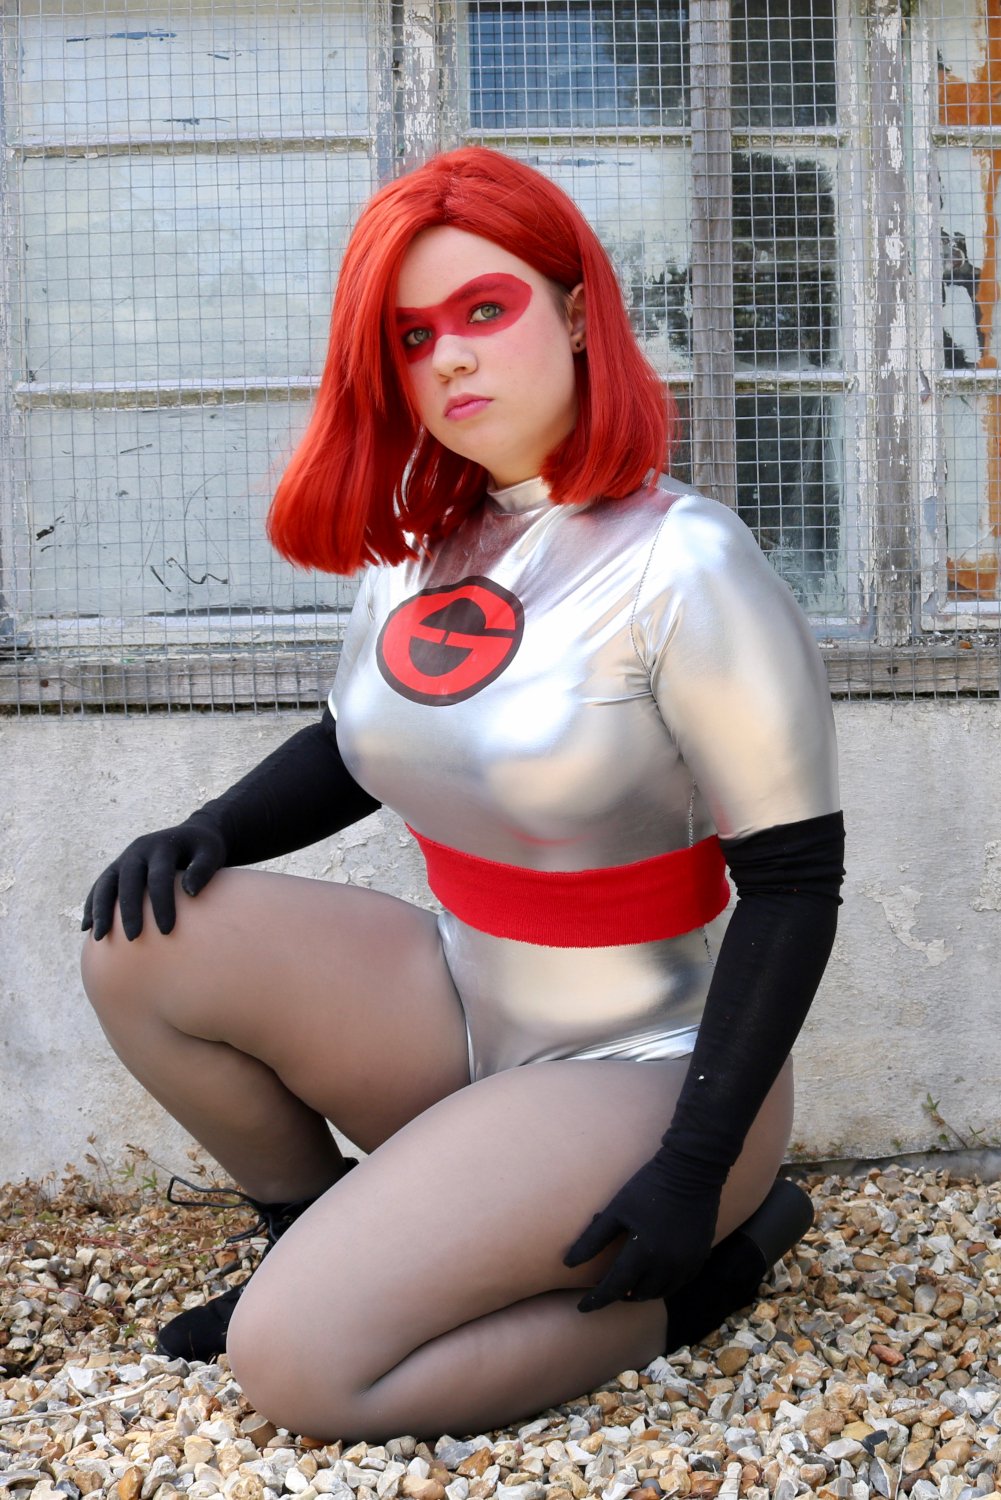 In the Incredibles 2, Elastigirl wears elbow length gloves and boots that go up to her thighs. I, unfortunately, was unable to find boots or gloves that were that long. I decided to make the gloves and leave the boots for now, the leotard was warm enough already and I wasn't about to add another layer. The gloves are made from an old pair of leggings that had ripped by tracing around my arm and sewing with a narrow zig-zag stitch. I do not recommend this fabric. They barely have any stretch to them, and because of this, I had to add length to the fingers for my long nails. They're also very difficult to get on, and the fabric rips very easily. It probably would have been worth buying fabric for these.
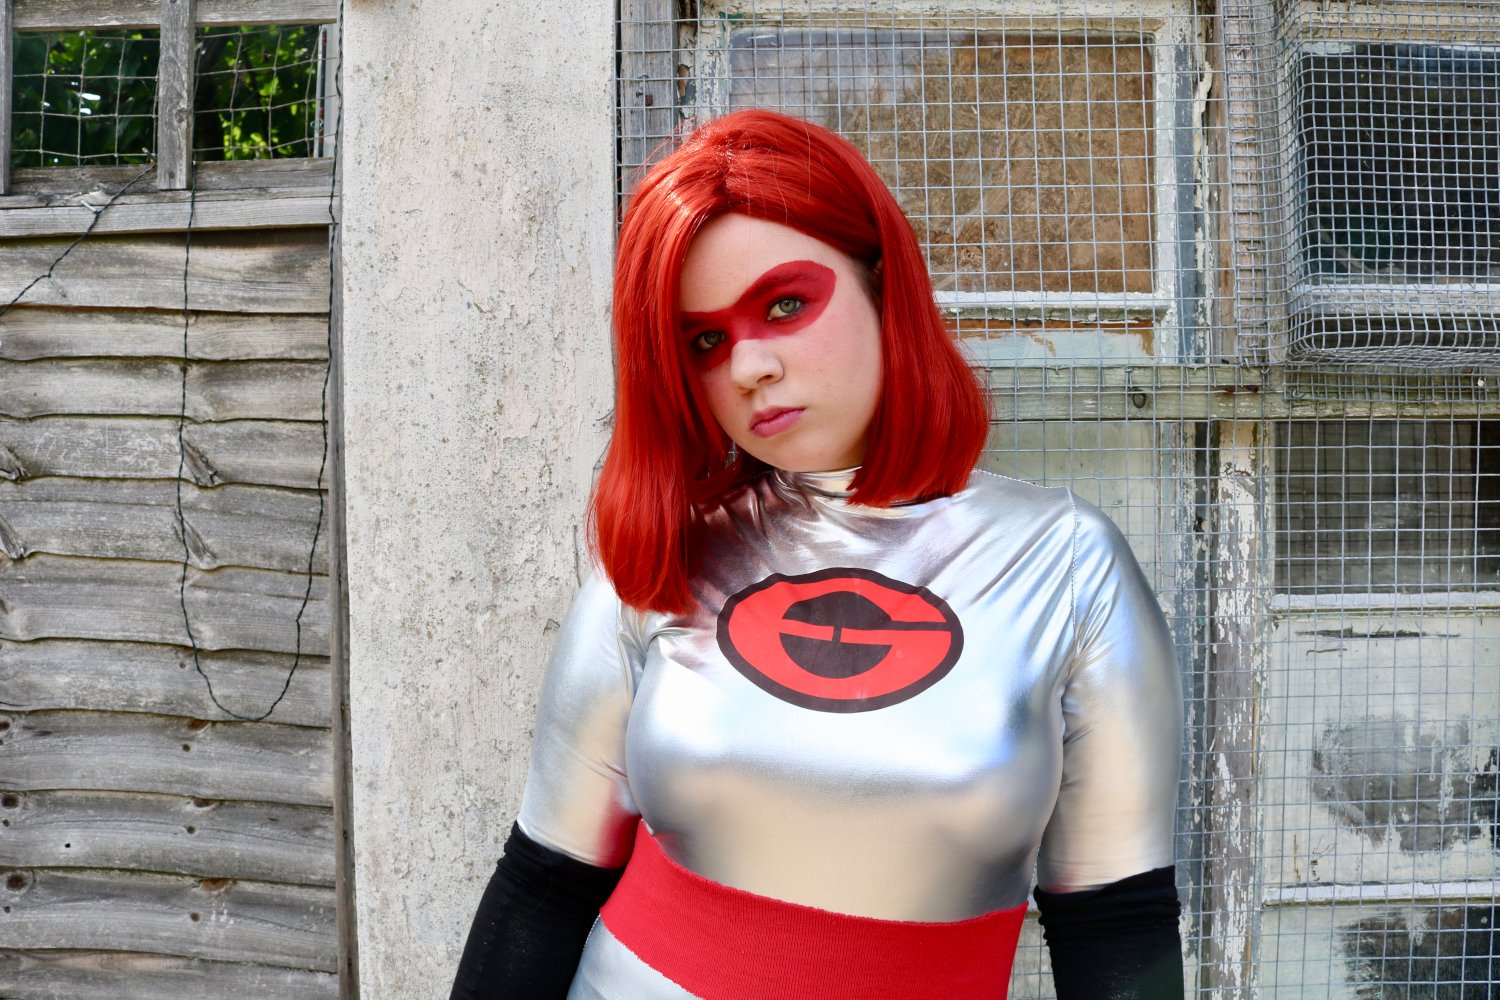 I recorded a video of how I did my makeup and styled the wig and will have that up next week!
Razor's Hat from World Enough and Time
I was recently asked to make Razor's Hat from the Doctor Who episode World Enough and Time. I wrote up a pattern just in case anyone else was interested in making one for themself!What you'll need:
US size 6 needles (4.0 mm)
Double knit yarn
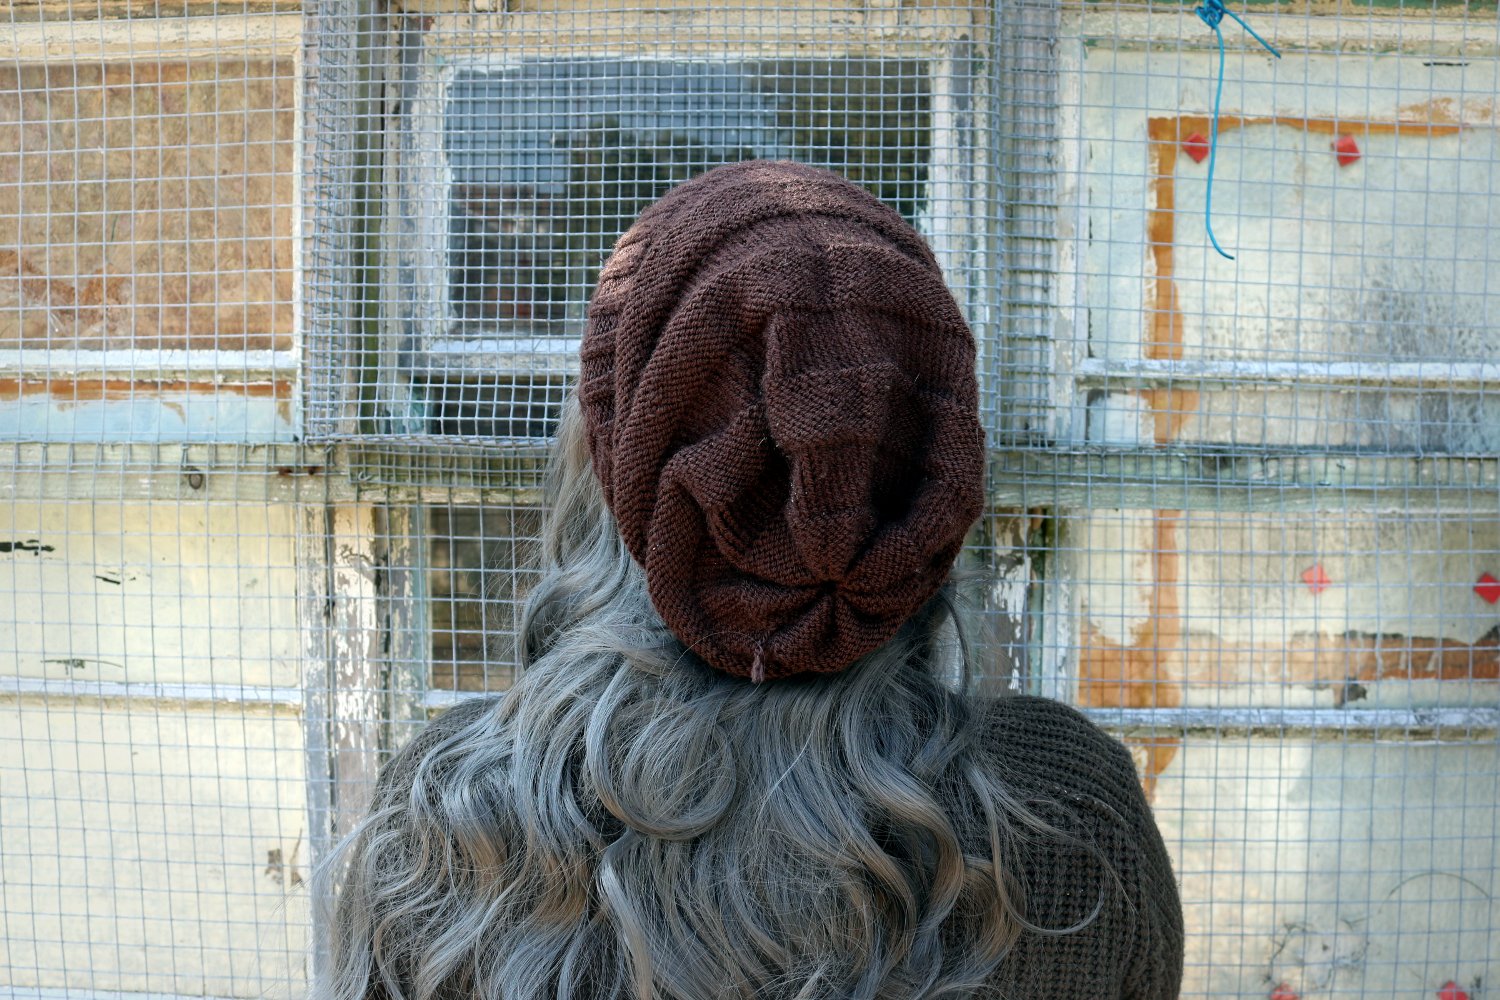


I used Stylecraft Special DK in Dark Brown Shade 1004I found that if you want to make your hat distressed in a similar way to the show, it is easier to prevent unraveling if you create the distressing as you go. I've included two versions of the hat, one with distressing and one without.
Unfamiliar terms explained:
DSPU: drop stitch and pull out stitches all the way to the brim, pick up a stitch on your left needle, ready to be worked as the next stitchCO 112 stitches in the round
With Distressing
Row 1-17: (K2, P2) 28 times
Row 18: (K2, P2) 2 times, K2, DSPU, P2, (K2, P2) 25 times [112 st]
Row 19-20: (K2, P2) 28 times
Row 21: K112
Row 22-33: (K2, P2) 28 times
Row 34: (K2, P2) 17 times, K2, DSPU, P2 (K2, P2) 10 times [112 st]
Row 35-40: (K2, P2) 28 times
Row 41: (K2, P2) 16 times, K1, DSPU, K1, P2 (K2, P2) 11 times [112 st]
Row 42-47: K112
Row 48: K71, DSPU, K 41 [112 st]
Row 49-51: K112
Without Distressing
Row 1-20: (K2, P2) 28 times
Row 21: K112
Row 22-41: (K2, P2) 28 times
Row 42-51: K112
Both Versions
Row 52-61: P112
Row 62-71: K112
Row 72-81: P112
Row 82-91: K112
Row 92-101: P112
Row 102-111: K112
Row 112-120: P112
Row 121: K2tog [56 st]
After working the last row, pull a piece of yarn through and pull as tight as possible. Weave in your ends and your hat is complete!
Lup from The Adventure Zone

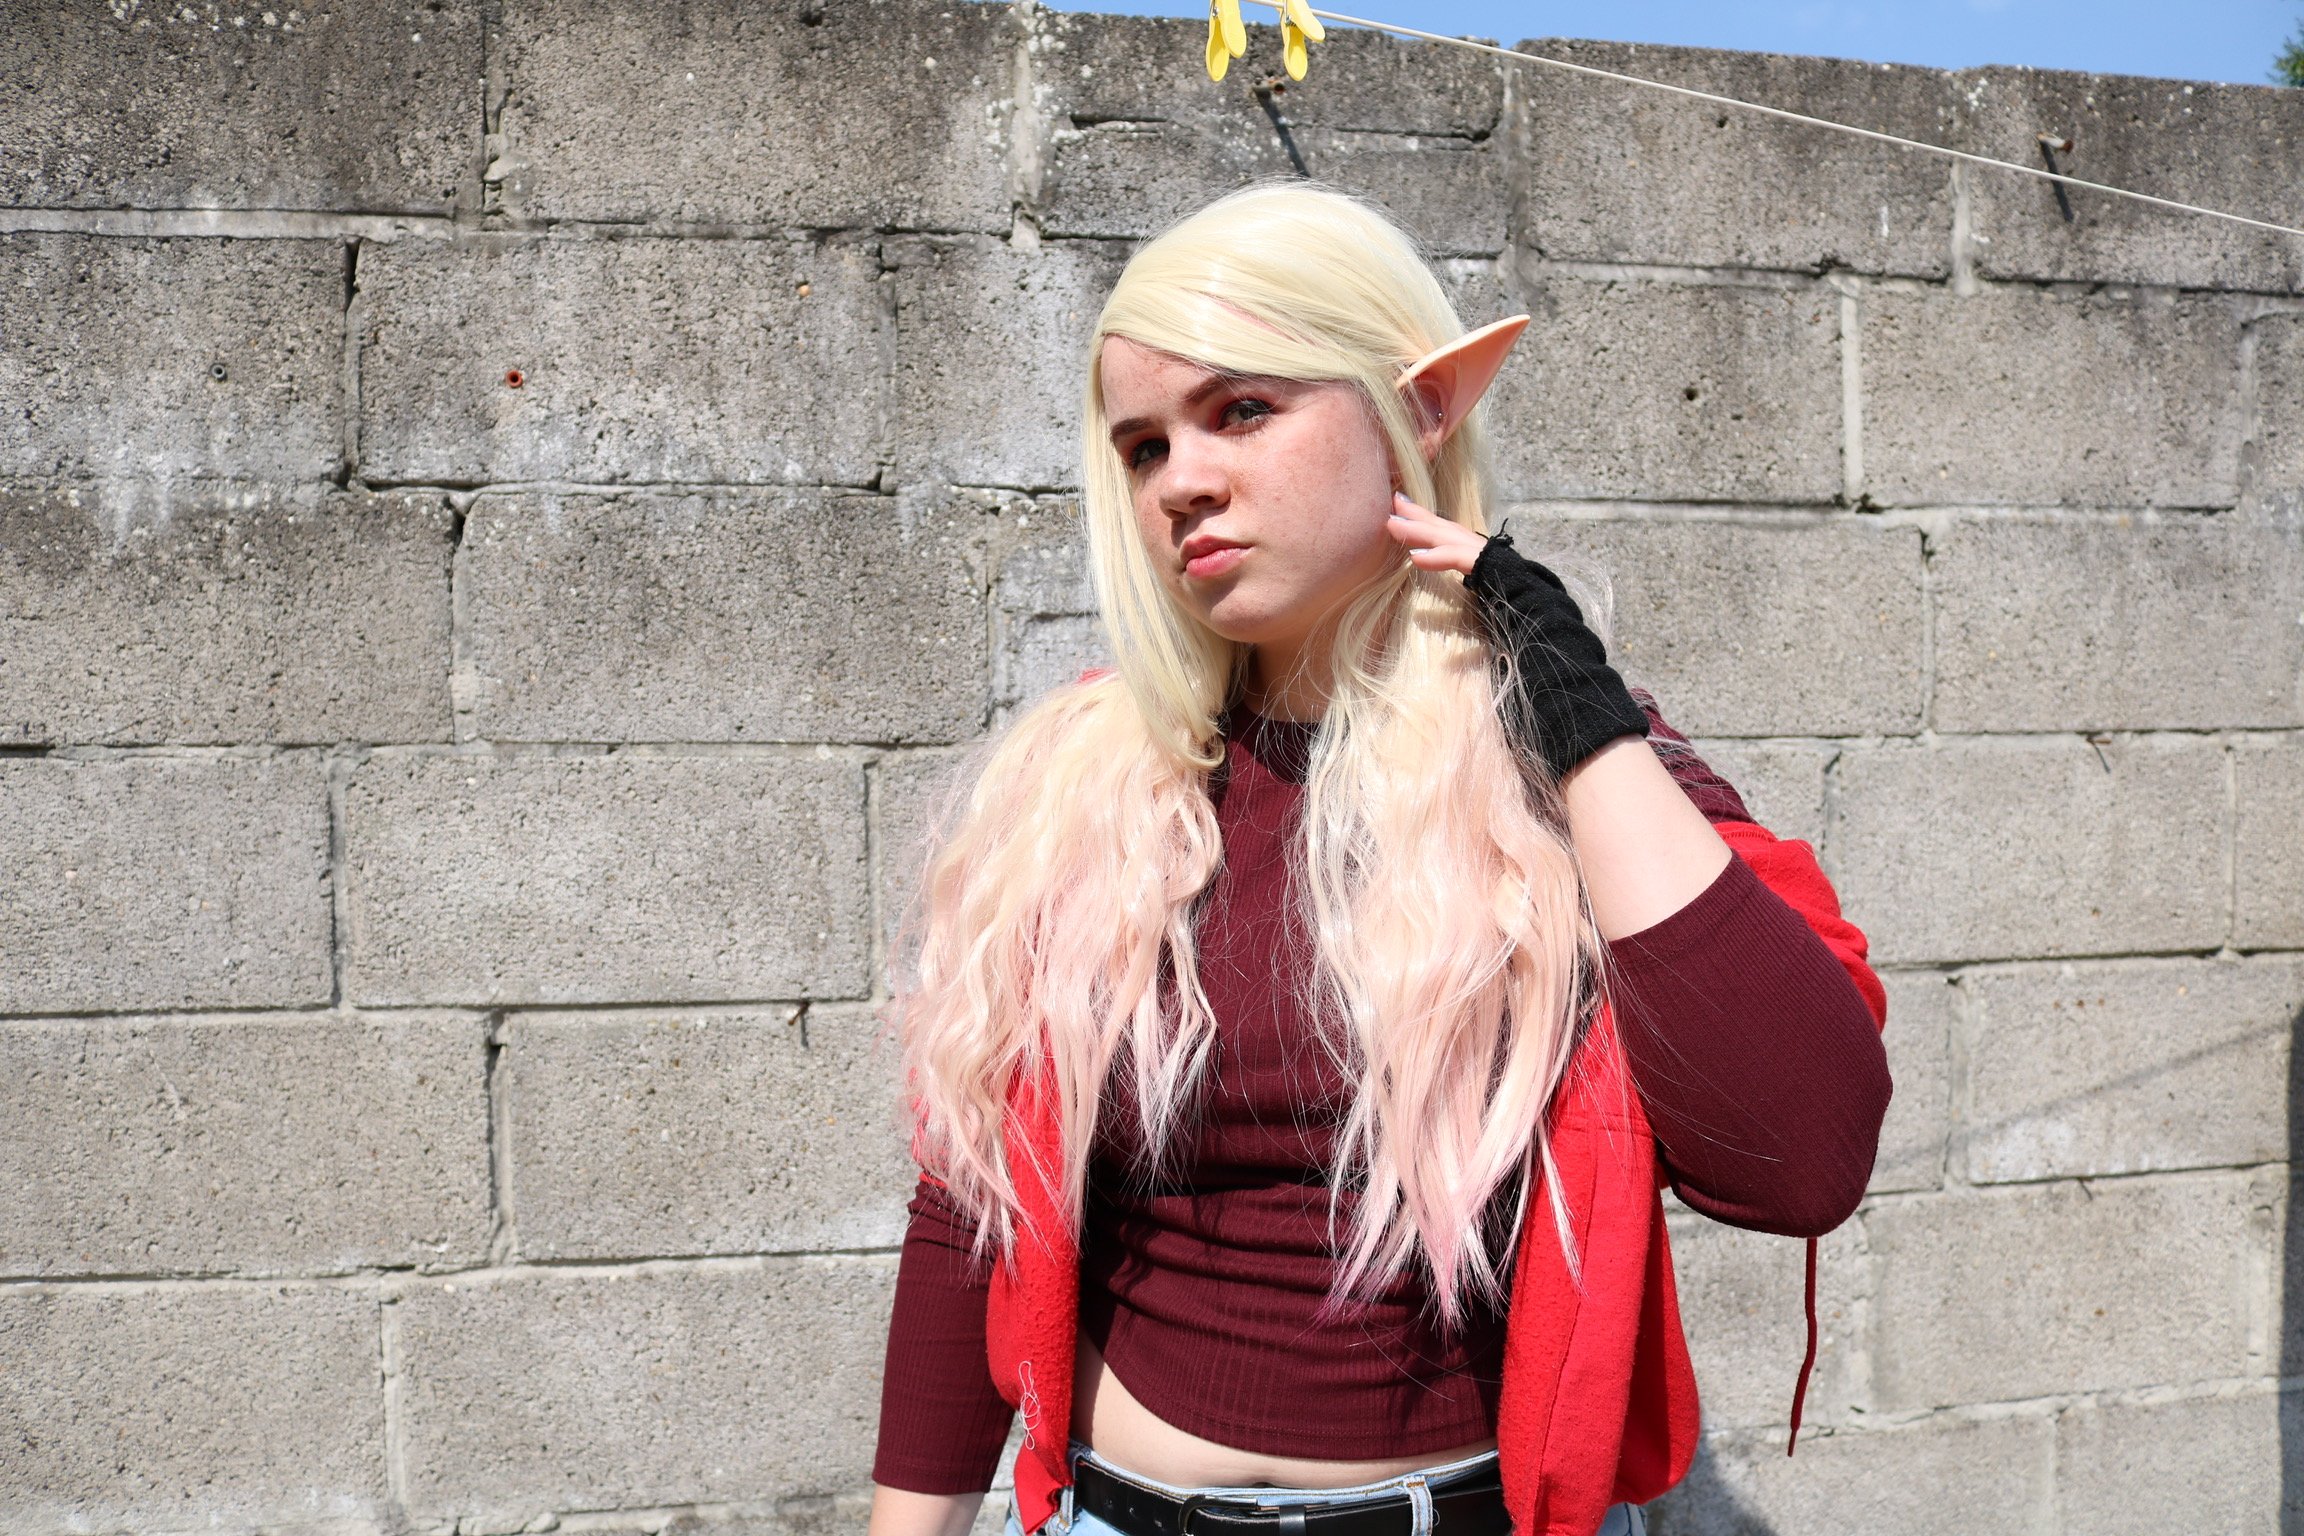 I recently completed a cosplay of the character Lup from the podcast The Adventure Zone. The Adventure Zone is an adventure comedy D&D podcast hosted by the McElroys. Lup is an accomplished elf wizard and is one of the first inter planar explorers.
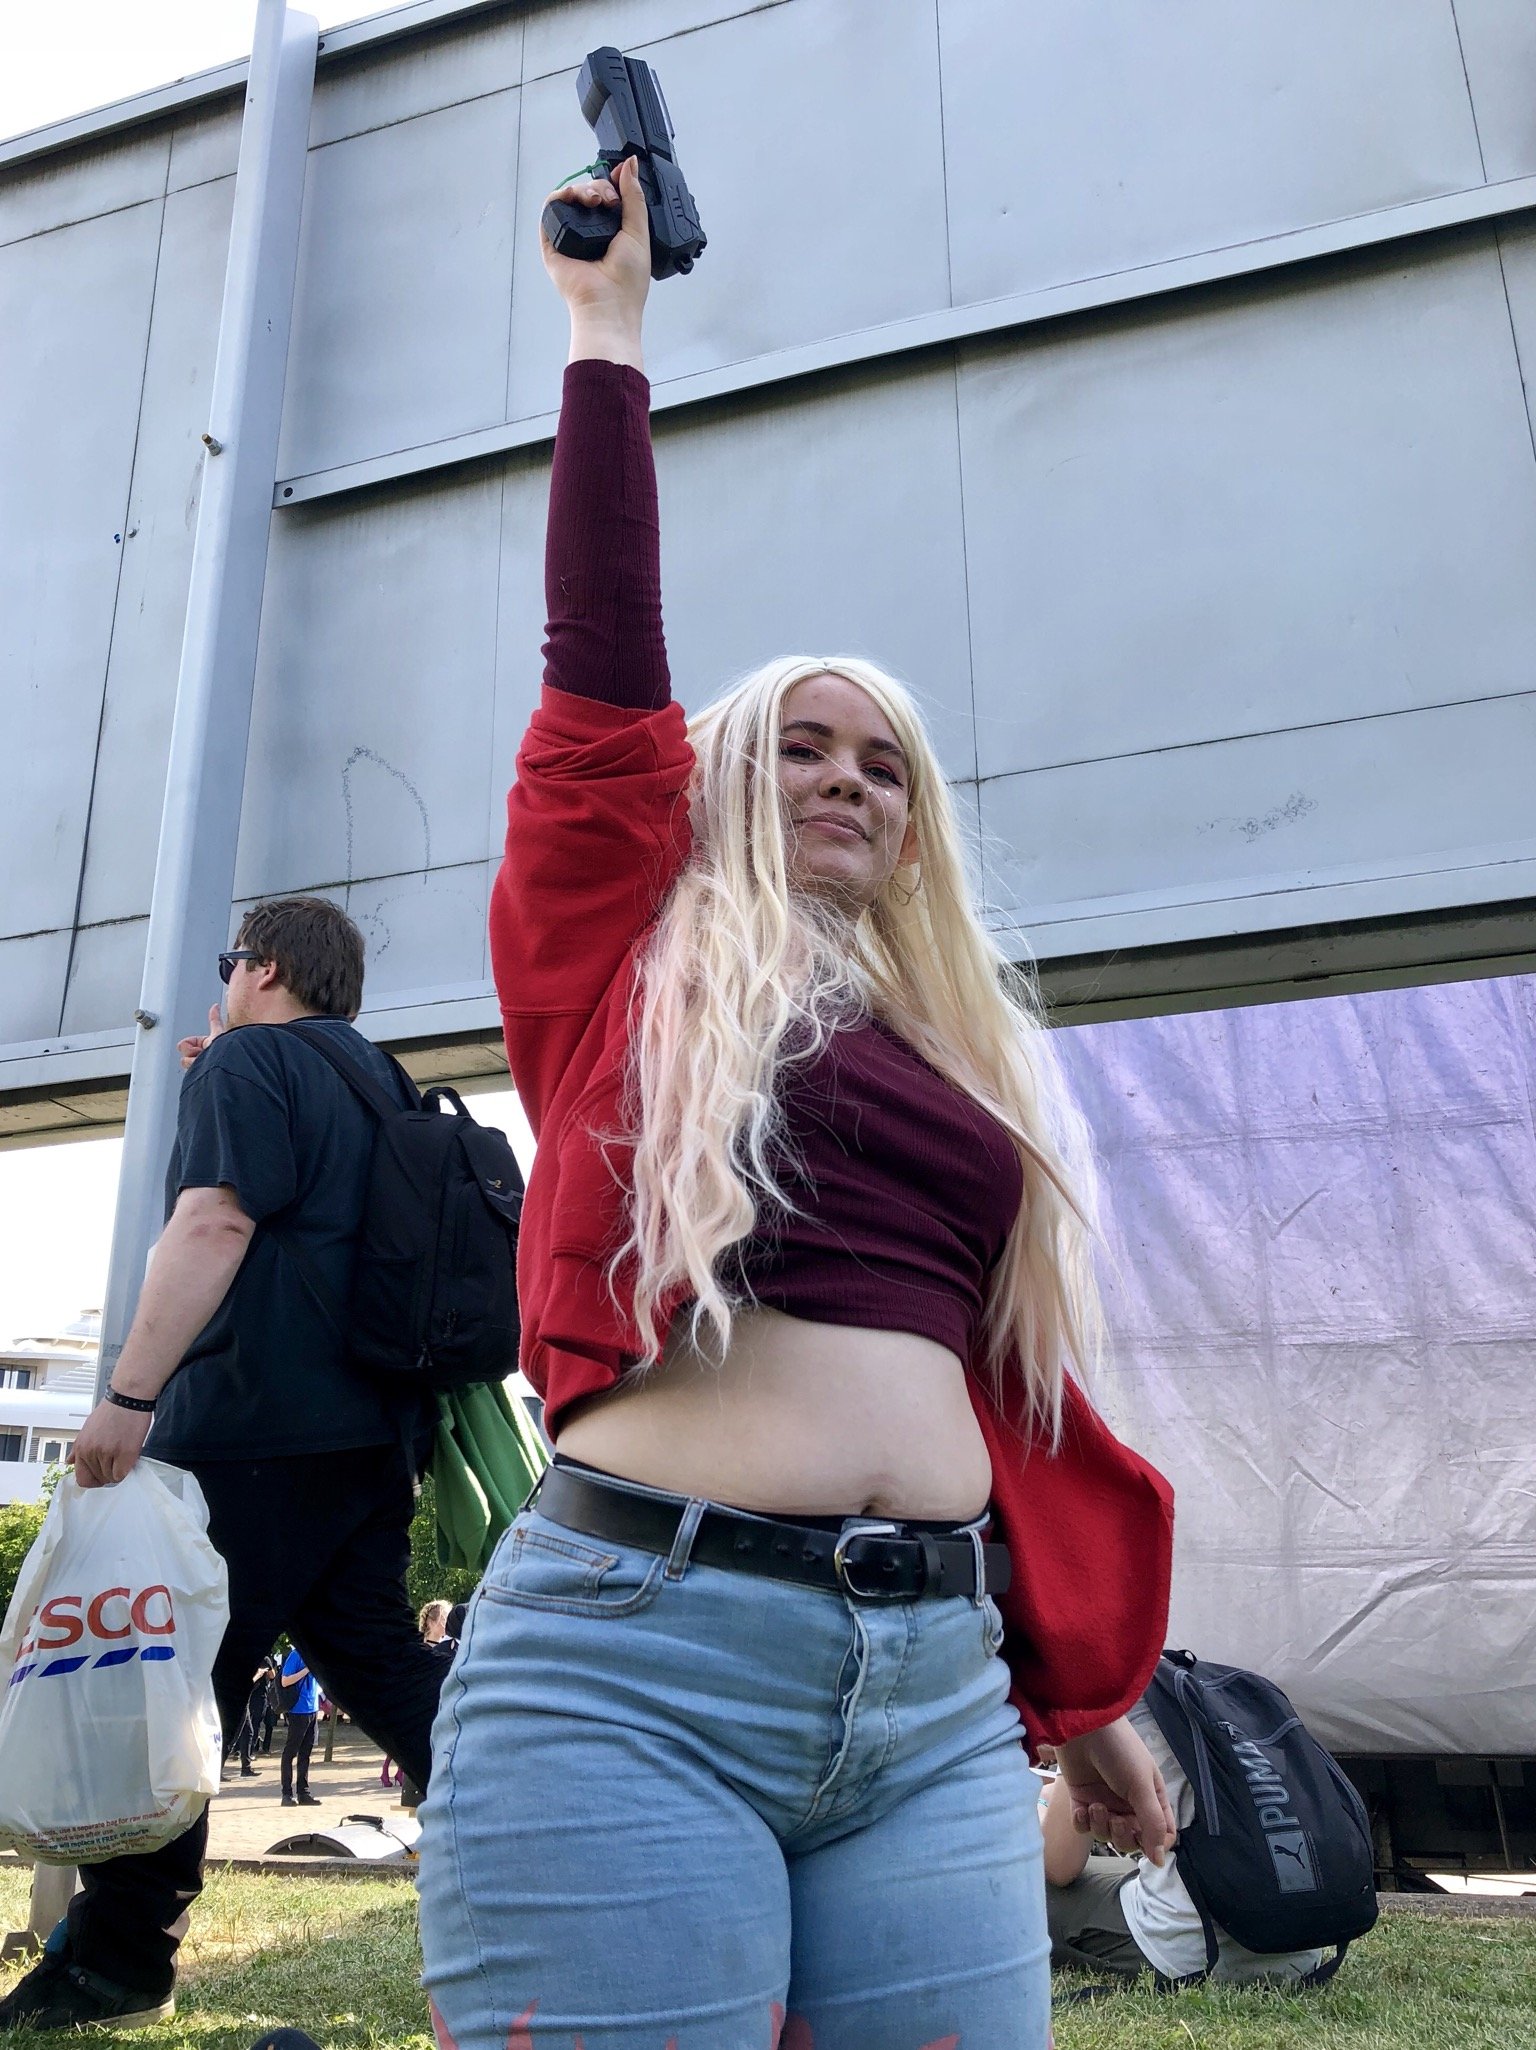 Since The Adventure Zone is solely audial, I based my costume on glowbat's art of the character. The maroon shirt and ears I bought specifically for this costume, while the earrings and shoes are items I already owned. I didn't have a sweatshirt that worked for this costume, but I did have a red pullover, so I cut it in half up the front and sewed the pockets closed. The gloves are just plain black gloves with the fingers cut off.
 The wig and shorts were probably the most time intensive part of the wold project. I dip dyed the wig using sharpie ink and rubbing alcohol in a spray bottle, which I documented here. I made the shorts by cutting a pair of jeans at the knee, painting on the flames, and rolling up the raw edge of the shorts. The paint I used for the flames is a 50/50 mix of acrylic paint (for color) and acrylic fabric medium (to set the paint into the fabric). I actually really like these shorts, and have been wearing them out of cosplay quite a bit!
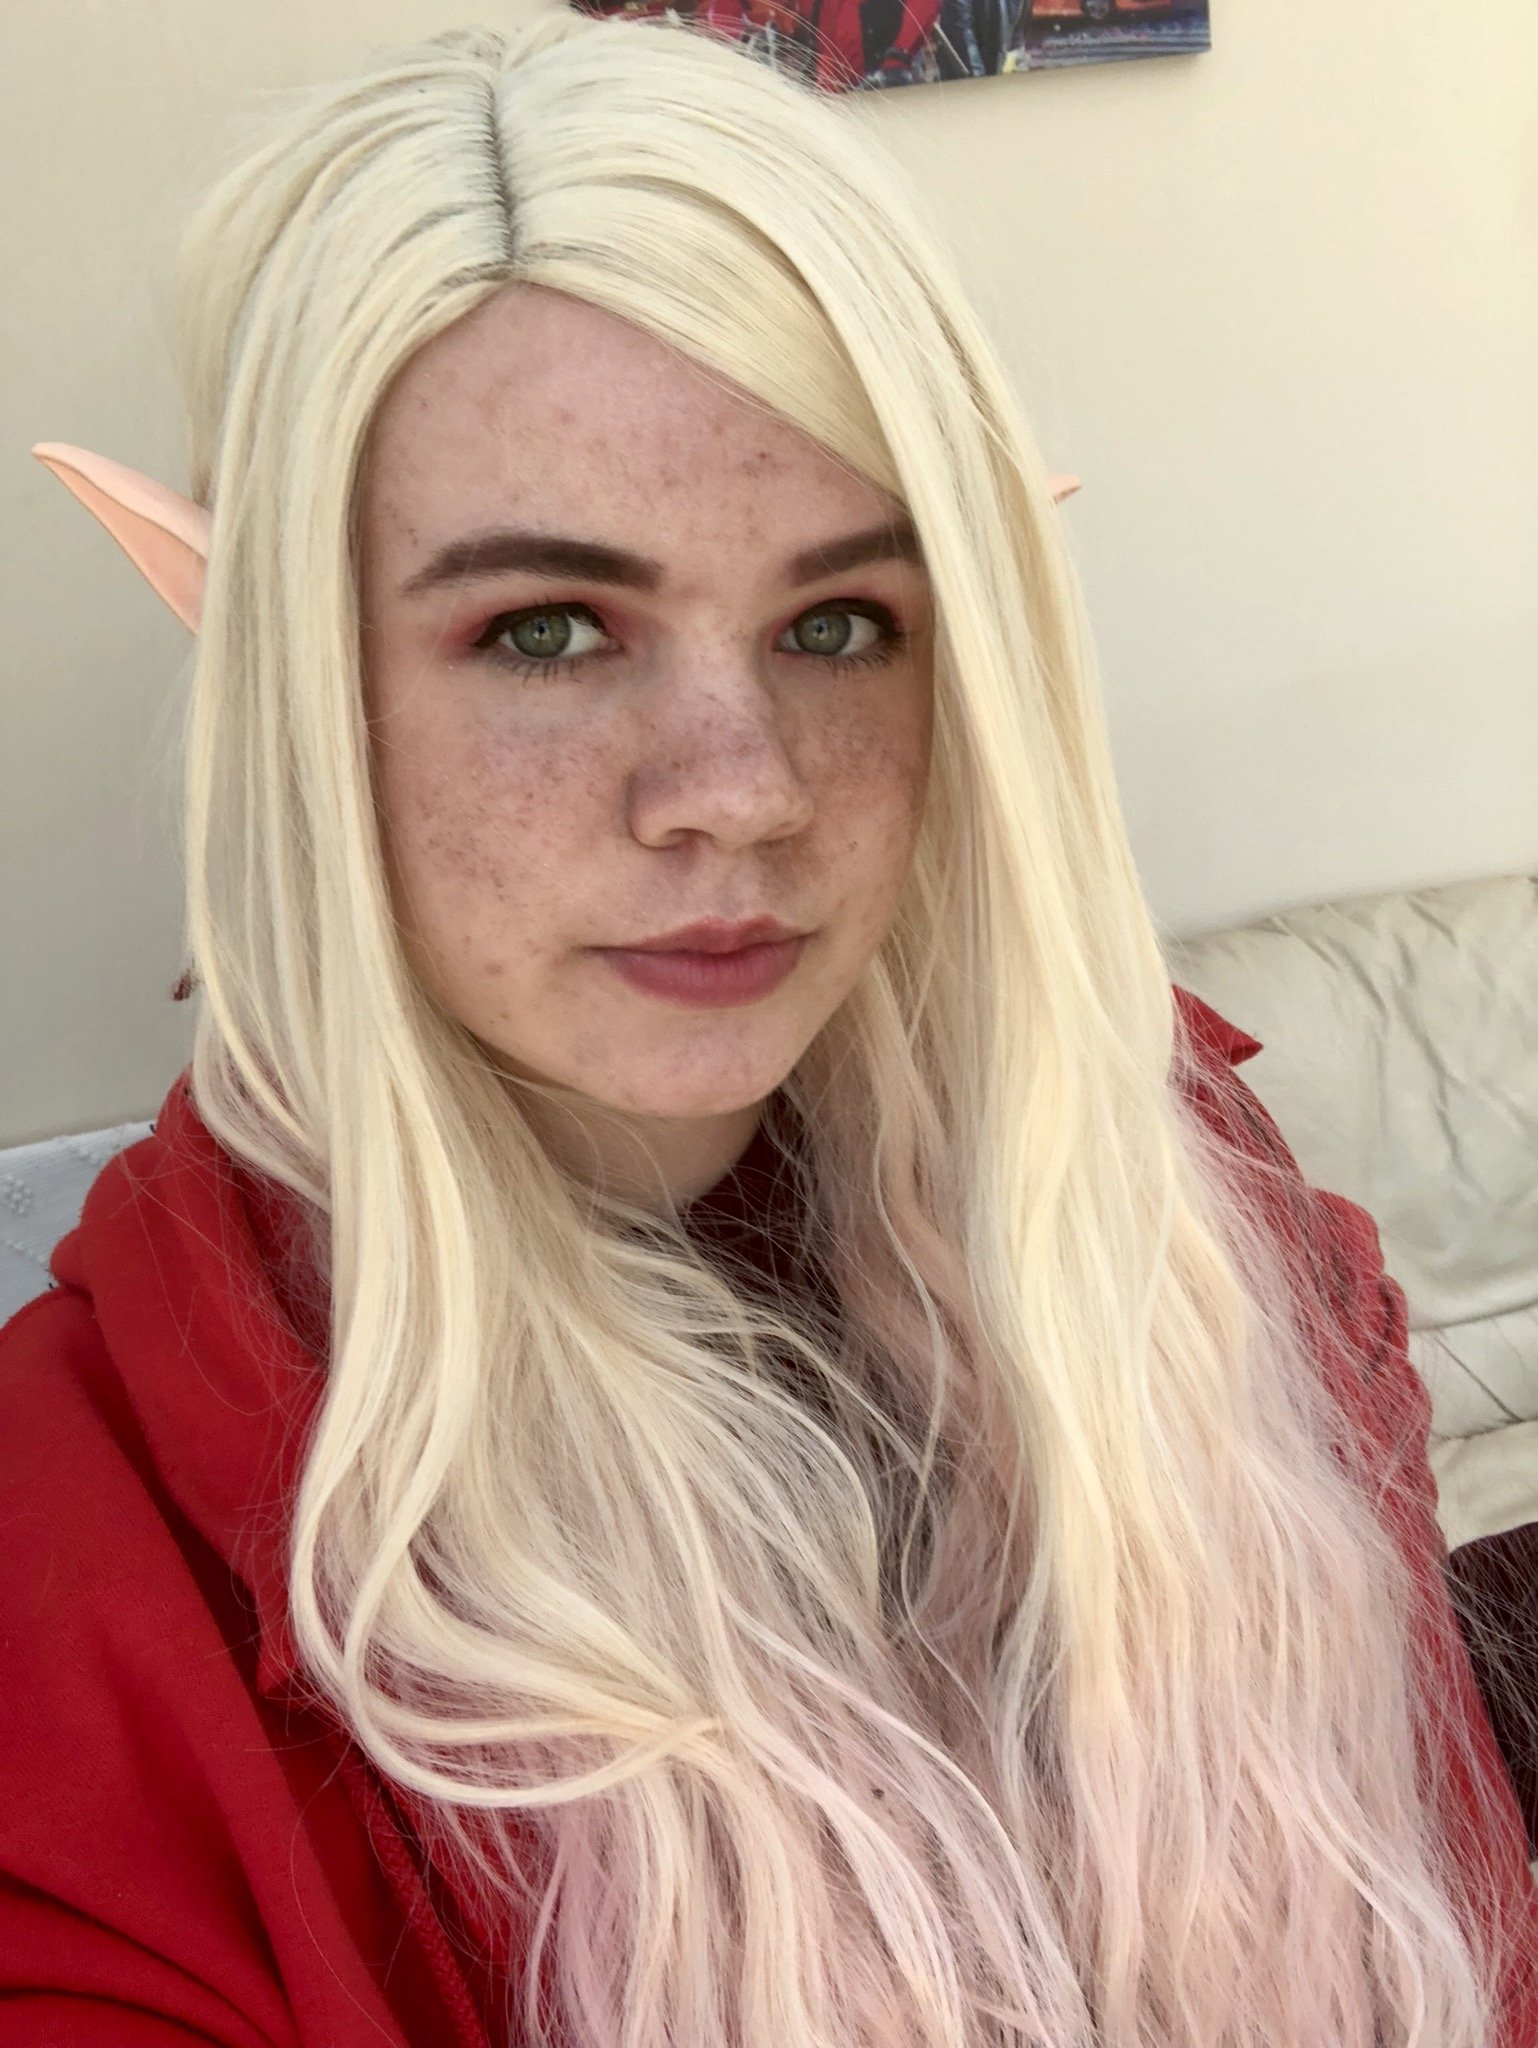 It was so bright the whole weekend, all the makeup I did didn't show up an camera! Luckily I took this picture of my makeup inside, where all the freckles show up! Unfortunately, in this image the ears I bought are very obviously a different color than my skin. Whoops!
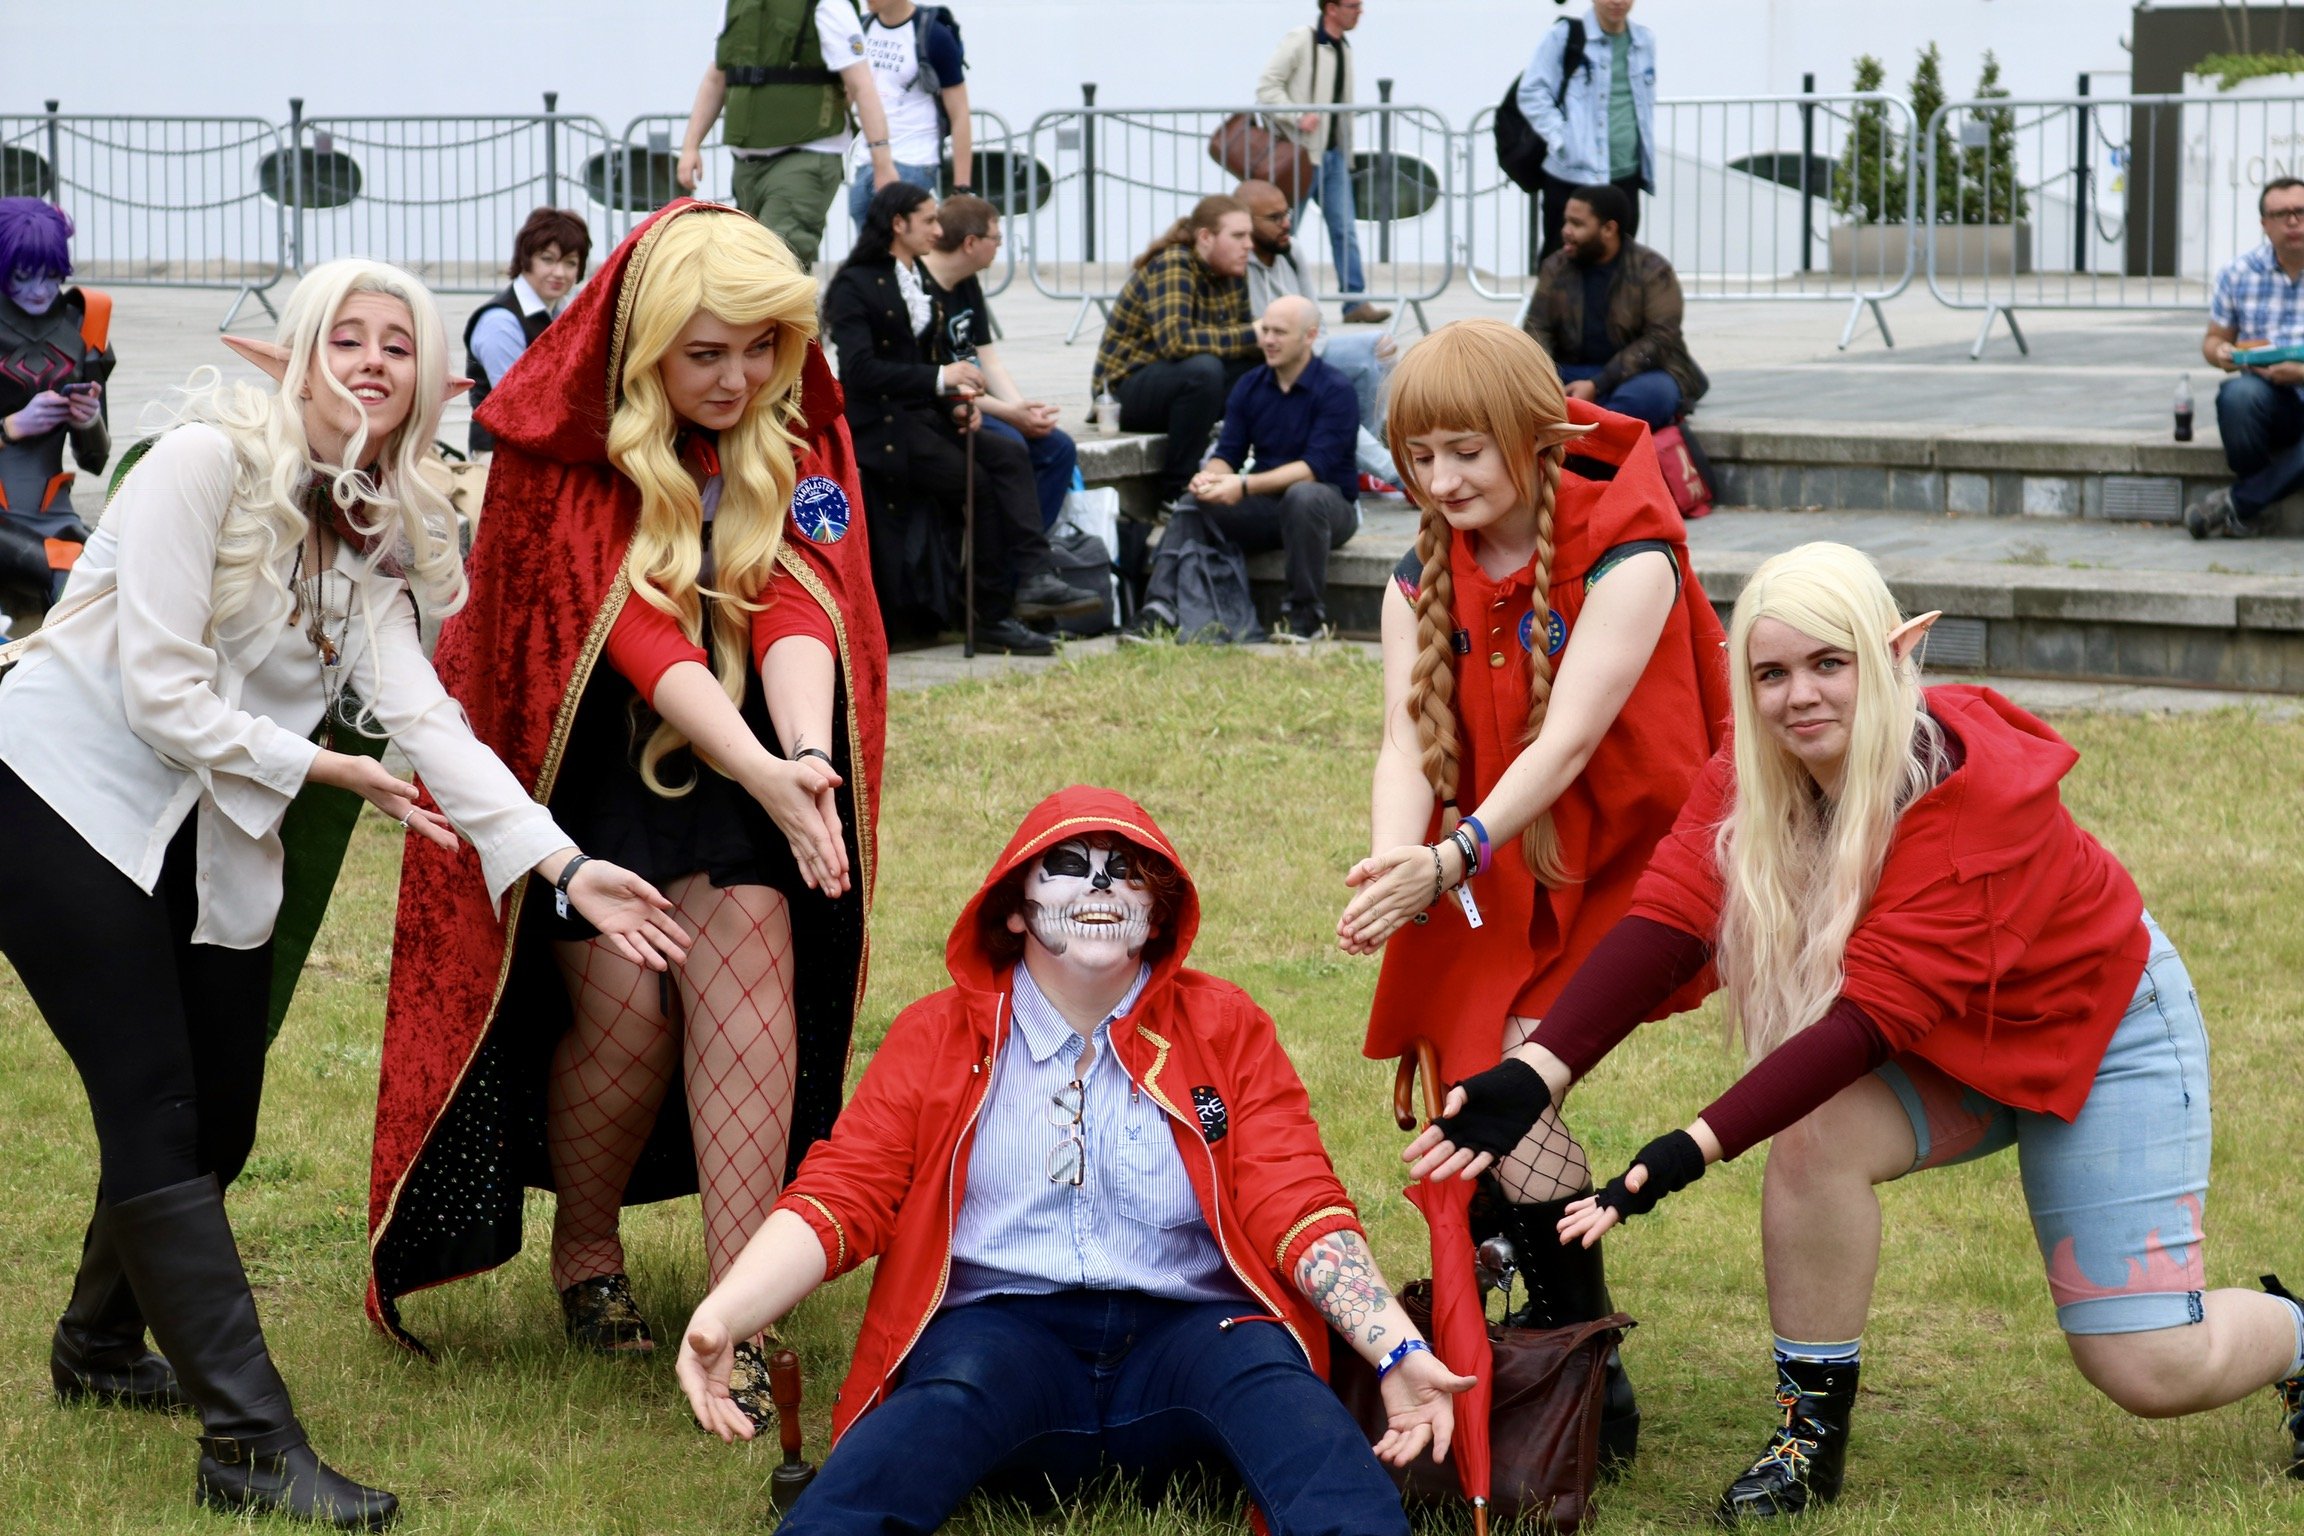 I wore Lup to London MCM May on both the Friday and Saturday. It was super cool to get to go to meet ups on both days and see everyone's interpretations of the characters. I'm looking forward to changing pieces of this cosplay and wearing it again to a different convention!
13th Doctor Striped Socks

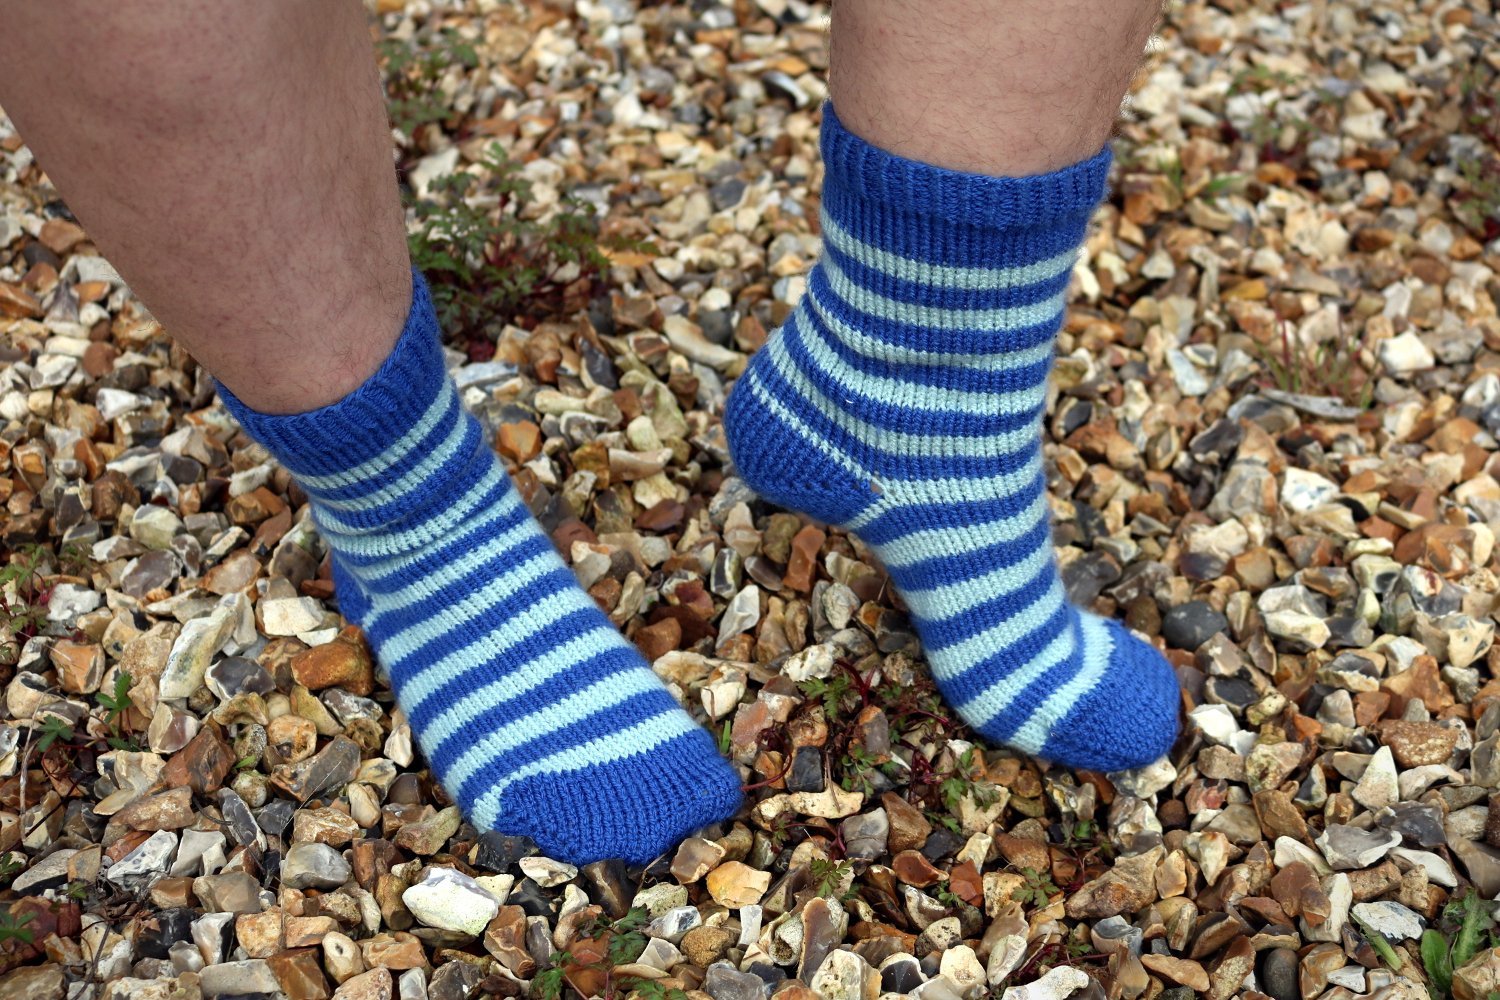
13th Doctor Socks
These socks were super fun to make, so I wrote up the pattern and made a video tutorial! Let me know what you think, and be sure to let me know if you make a pair!
https://youtu.be/iFmZZbX1GSE
Materials:
Special Stylecraft Double Knit in Lapis
Special Stylecraft Double Knit in Duck Egg
3.25 mm Knitting Needles (US3/UK11)
Pattern:
Cast on 60 stitches in Dark Blue
K1P1 all the way around for 8 rows
K all the way around for 8 rows
*Switch to Light Blue, K all the way around for 4 rows
Switch to Dark Blue, K all the way around for 4 rows
Repeat from * four times, making a total of 5 Dark Blue and 5 Light Blue stripes
Switch to Light Blue, K all the way around for one and a half rowsShift needles so that you can start the heel from the center back of the work
HEEL & TOE
K 15 stitches, turn
Row 1: sl st, P29, turn
Row 2: sl st, K28, turn
Row 3: sl st, P27, turn
Row 4: sl st, K26, turn
Row 5: sl st, P25, turn
Row 6: sl st, K24, turn
Row 7: sl st, P23, turn
Row 8: sl st, K22, turn
Row 9: sl st, P21, turn
Row 10: sl st, K20, turn
Row 11: sl st, P19, turn
Row 12: sl st, K18, turn
Row 13: sl st, P17, turn
Row 14: sl st, K16, turn
Row 15: sl st, P15, turn
Row 16: sl st, K14, pick up stitch from between previous worked stitch and next stitch on left needle (denoted as m1), k2tog, turn
Row 17: P15, m1, p2tog, turn
Row 18: K16, m1, k2tog, turn
Row 19: P17, m1, p2tog, turn
Row 20: K18, m1, k2tog, turn
Row 21: P19, m1, p2tog, turn
Row 22: K20, m1, k2tog, turn
Row 23: P21, m1, p2tog, turn
Row 24: K22, m1, k2tog, turn
Row 25: P23, m1, p2tog, turn
Row 26: K24, m1, k2tog, turn
Row 27: P25, m1, p2tog, turn
Row 28: K26, m1, k2tog, turn
Row 29: P27, m1, p2tog, turn
Row 30: K28, m1, k2tog, turn
Row 31: P29, m1, p2tog, turn
HEEL ONLY
Row 32: K 15
Adjust stitches so that you can continue working with your Light Blue yarn where you left off. Complete that row in knit stitch, and then do two more rows of knit stitch in Light Blue.
*Switch to Dark Blue, K all the way around for 4 rowsSwitch to Light Blue, P all the way around for 4 rows
Repeat from * until your sock is the right length for your foot.
For reference, I had a total of 5 Dark Blue and 5 Light Blue stripes for my UK size 5 feet.
Refer back to the heel instructions and work the toe the same as the heel.
Complete the sock with kitchener stitch and weave in your ends.
Tada! You now have your own pair of 13th Doctor Socks!
Homeward Bound Fingerless Mittens

 When I first saw this lovely brown yarn, I knew immediately that I wanted to make some sort of glove or mitten for myself from them. My aunt got the yarn from a place called Pacesetter Alpacas in Beloit, Wisconsin. It's a wonderfully soft yarn, and I actually got to meet the alpaca from which the wool was collected! I unfortunately lost the label for this yarn, but if I remember correctly, it was a blend of two different kinds of alpacas.
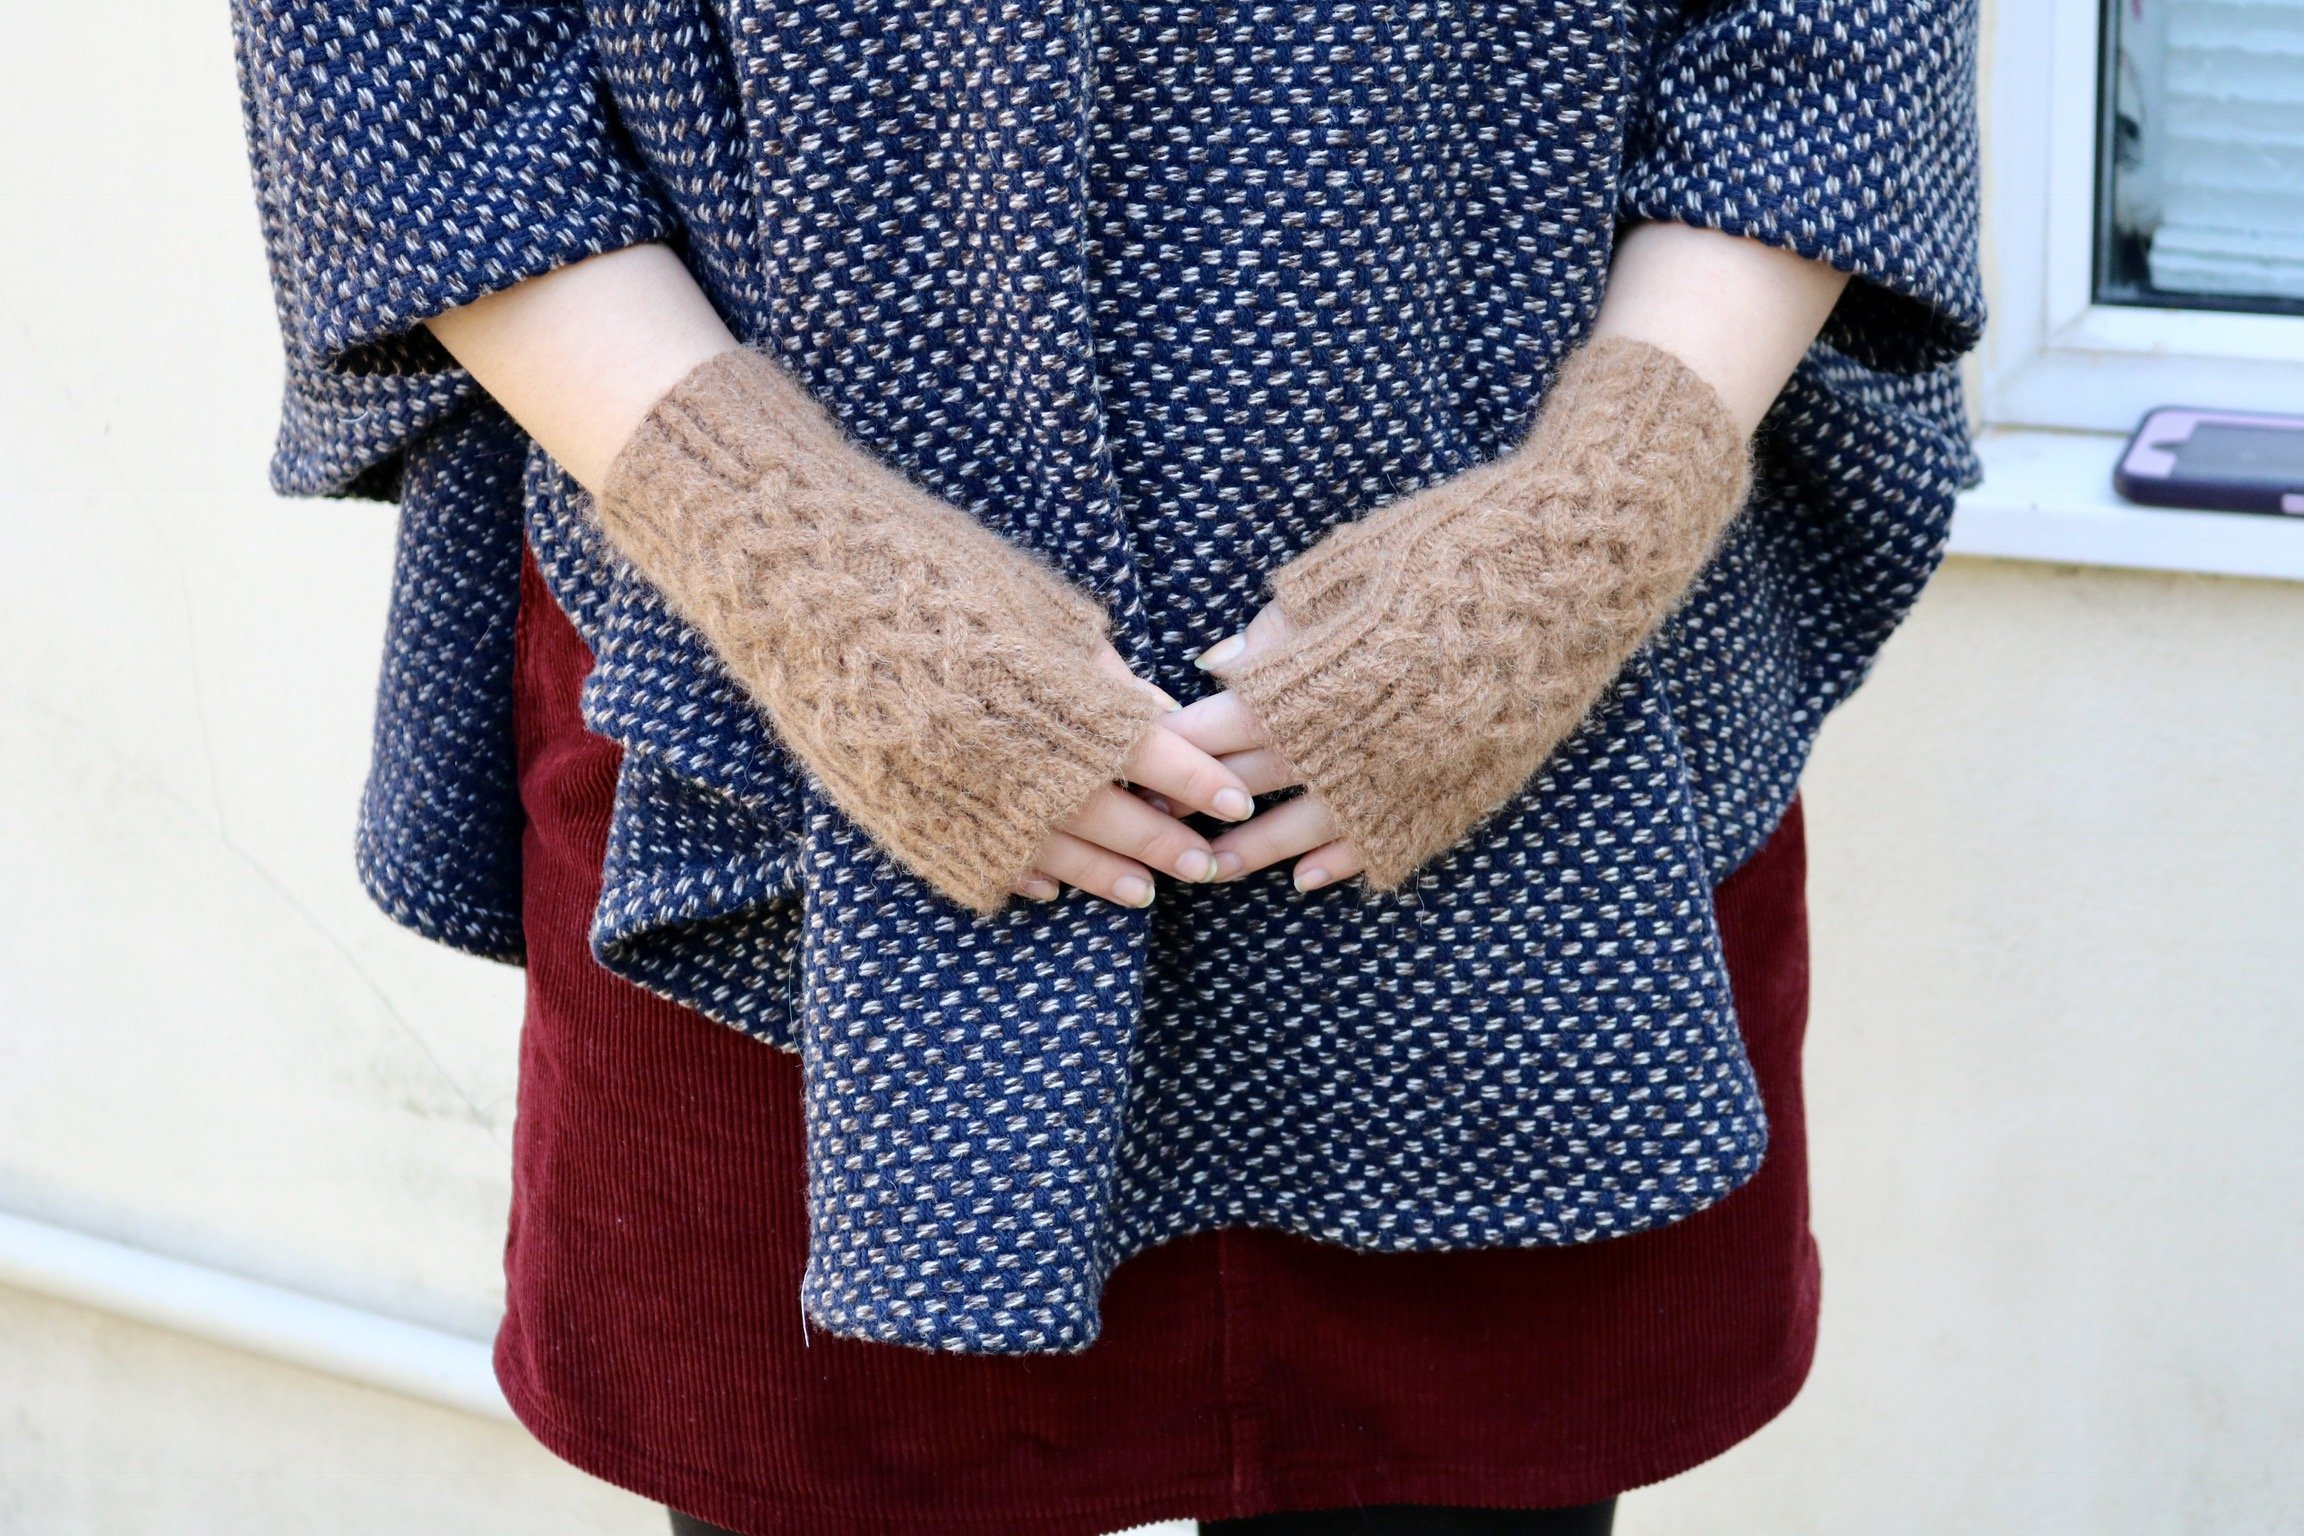 Because this yarn was so nice, I wanted to pick the perfect pattern. After much searching, I settled on the Homeward Bound Mitts. The cables on the backs of these mittens caught my eye immediately. I hadn't knit anything with particularly complicated cables before and this looked like a good way to challenge myself.
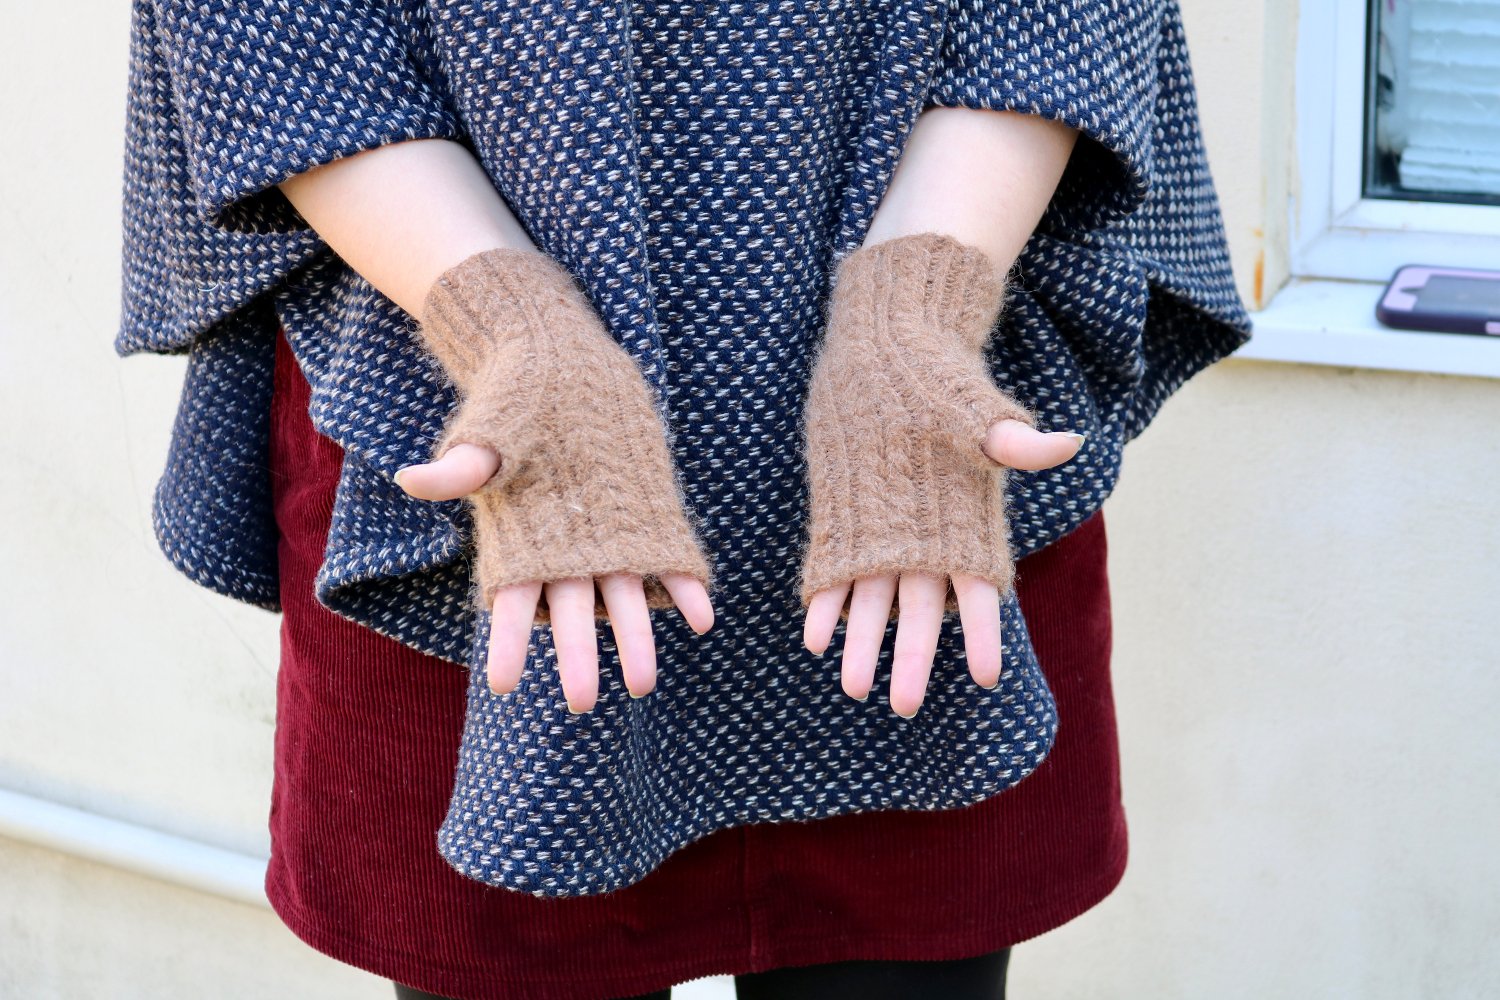 I made these mittens for myself in size 1 using 3.25 mm/US size 3/UK size 10 DPNs. Because I wasn't planning on switching needles between the wrist and hand of the glove I chose a size between the two recommended in the pattern. I was a little concerned that they wouldn't fit properly, but it turned out fine By mistake, I left off the rib on the bottom of the mittens, but I don't think it's too noticeable.
 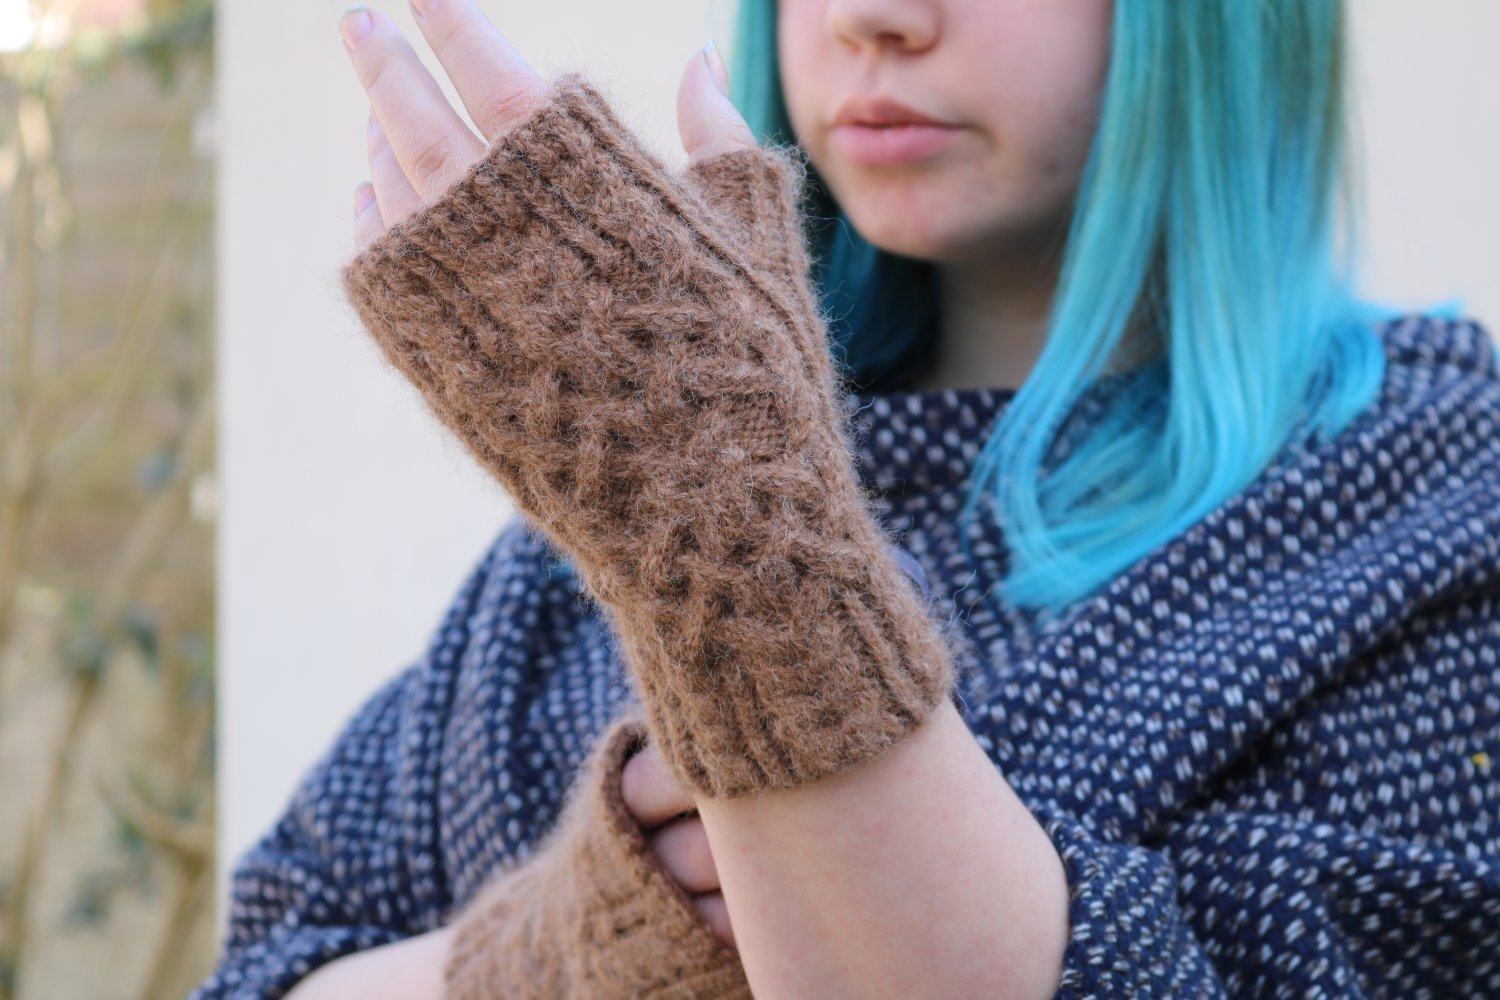 The pattern for these mittens was really well written, and included charts for all the cabling sections. I had never made a thumb before, and this pattern described how to knit one well enough that I made almost no mistakes! I love these mittens, and I'm almost tempted to make myself a pair in every color.
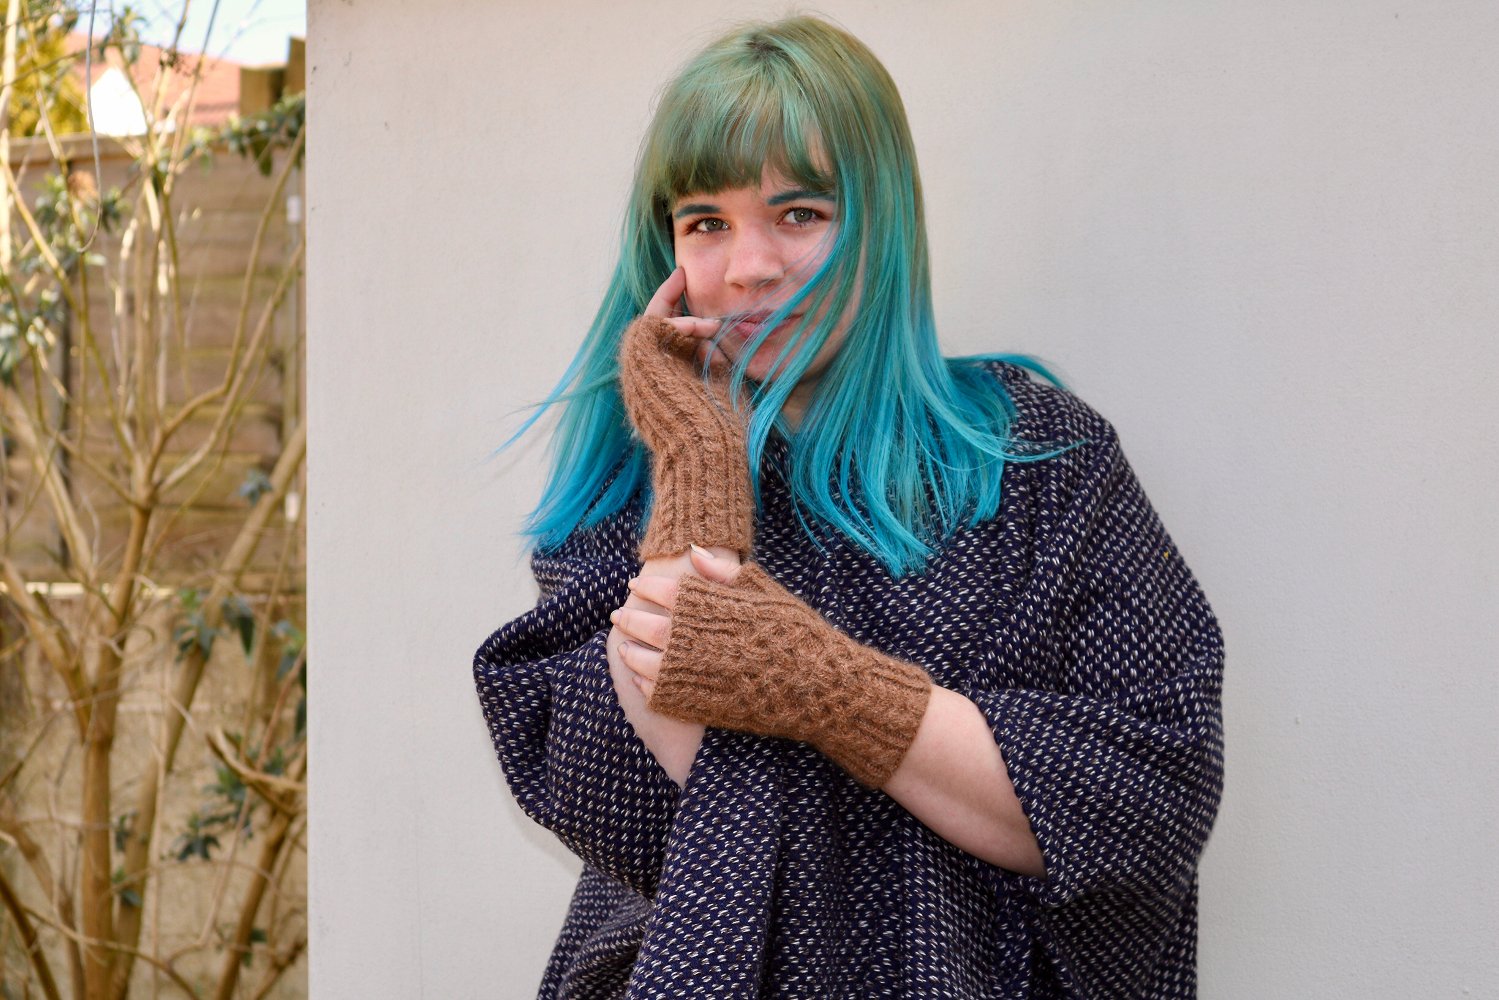
Star Butterfly

 There was a huge Disney meet on the third day of London MCM, which I went to dressed as Star Butterfly. Star Butterfly is a character from the Disney show Star vs the Forces of Evil.
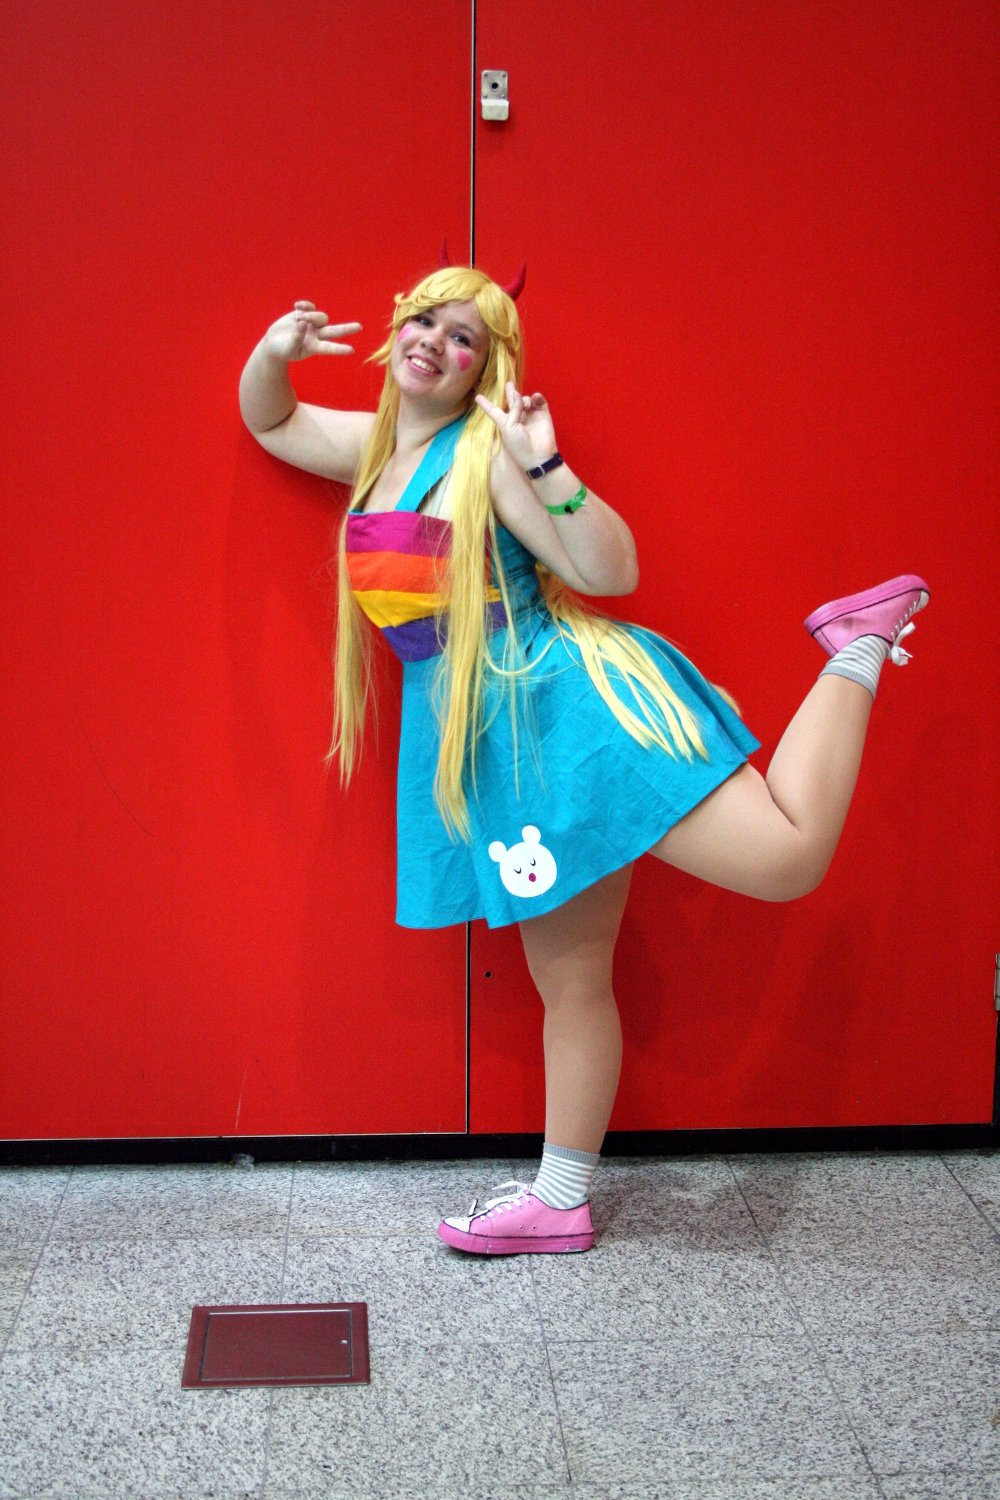 For this cosplay, I made the dress and the headband, painted the shoes, and styled the wig. Making the dress was much more of a pain than I originally thought it would be. I had to shape the front of the dress by curving each of the front stripe pieces just right, but I had a lot of trouble doing this. I finally got the shape of the front right and attached to the back, when I discovered I'd somehow made the front piece much wider than the back piece. The bodice somehow still fit, but the front panel wrapped around further than I wanted it to. The skirt went on with little fuss, although I did somehow catch extra fabric in the hem a few times. I lined the bodice of the dress with darted teal fabric - I wasn't about to try and stripe the inside too!
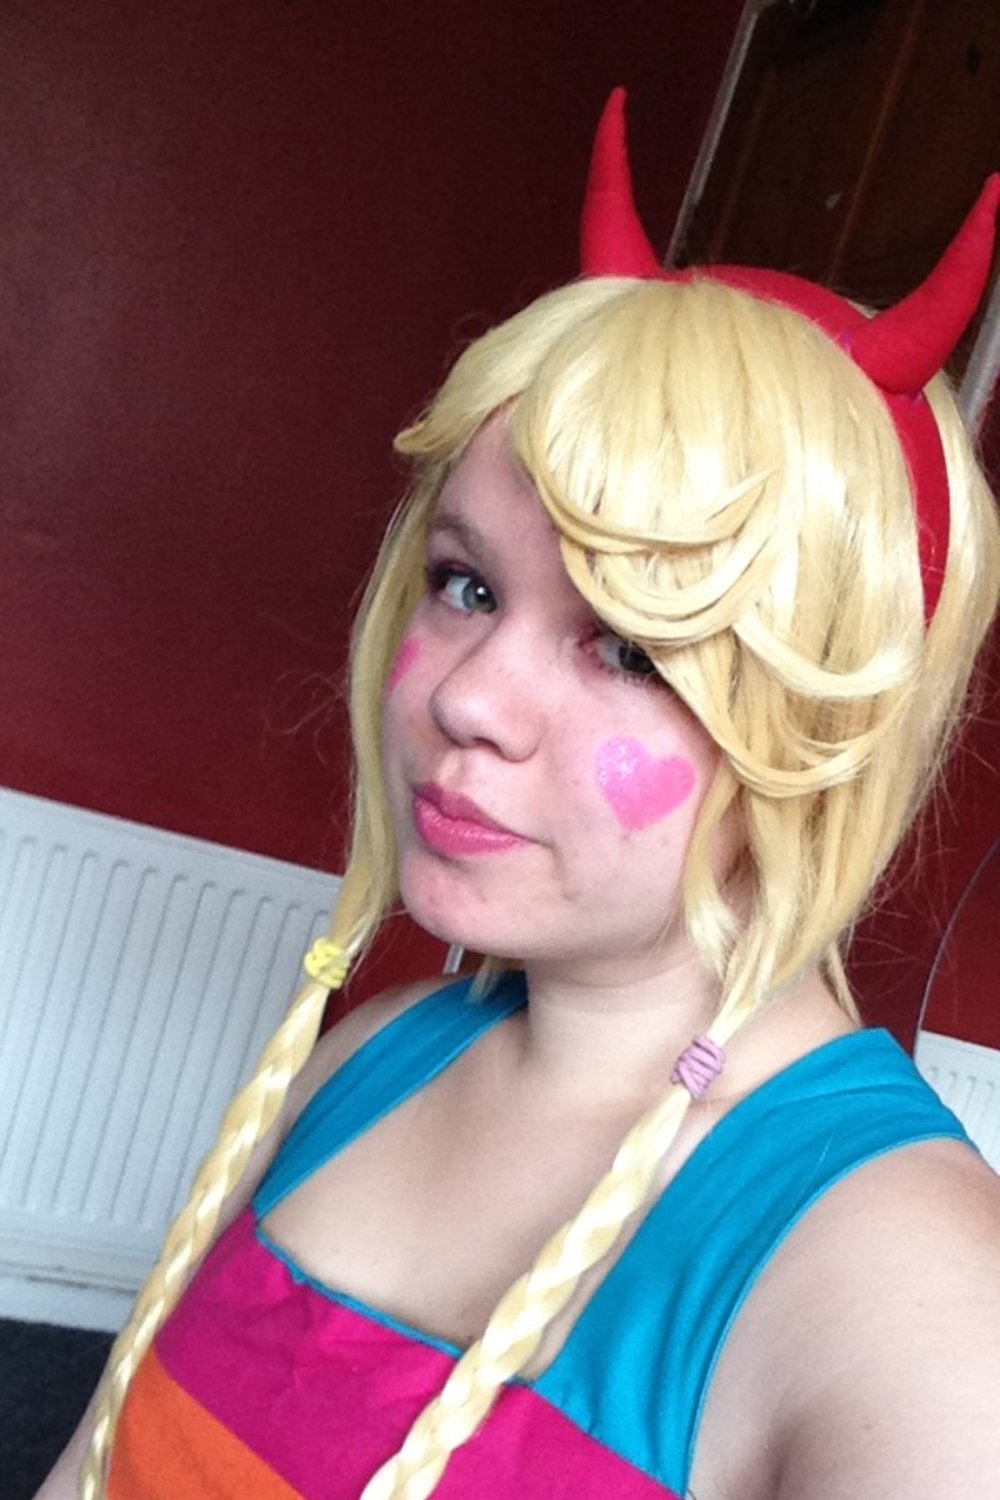 This is the first time I've properly styled a wig for a cosplay. I styled it using craft glue, which meant the front of the wig didn't move at all during the day. The headband was made by hot gluing fabric over an alice band, then hot gluing stuffing filled fabric horns onto that.The shoes I painted with multiple layers of acrylic paint to match Star's shoes in the show. In the show she wears rabbit faced boots instead, but I had to work with what I had. I also sewed, painted, and glued on little rabbit ears to the shoes, but those fell off very quickly. The paint on the rubber soles of the shoes scraped off pretty quickly. I unfortunately didn't think to take pictures of the shoes before the convention.
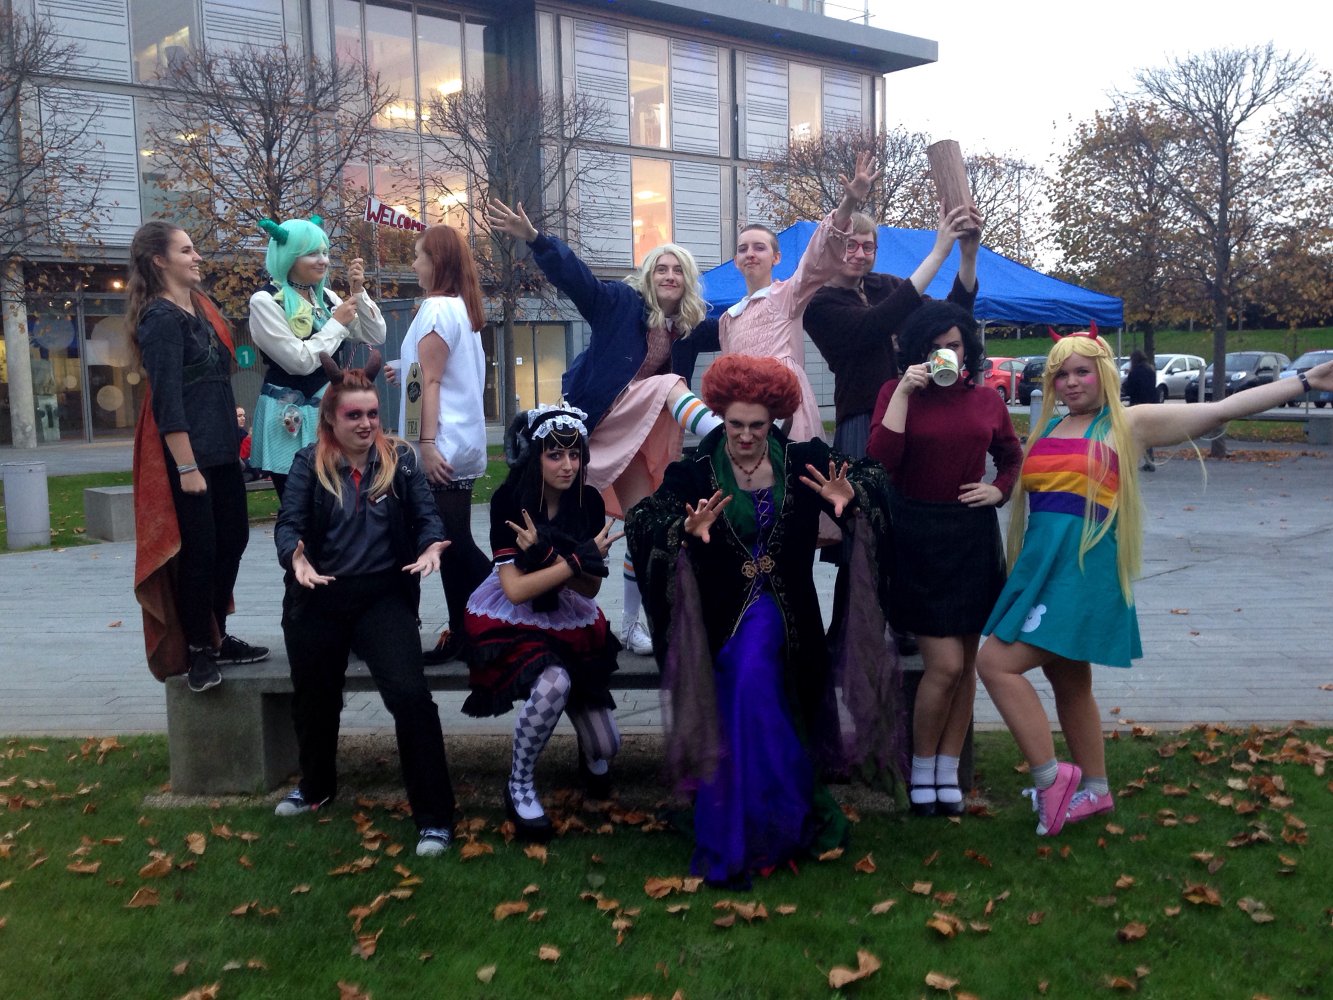 This cosplay was so cute I ended up wearing it for Halloween! Since I'm on a costume course, many people wore really, really good costumes. This costume was lots of fun, and I plan on wearing the dress again as normal clothing.
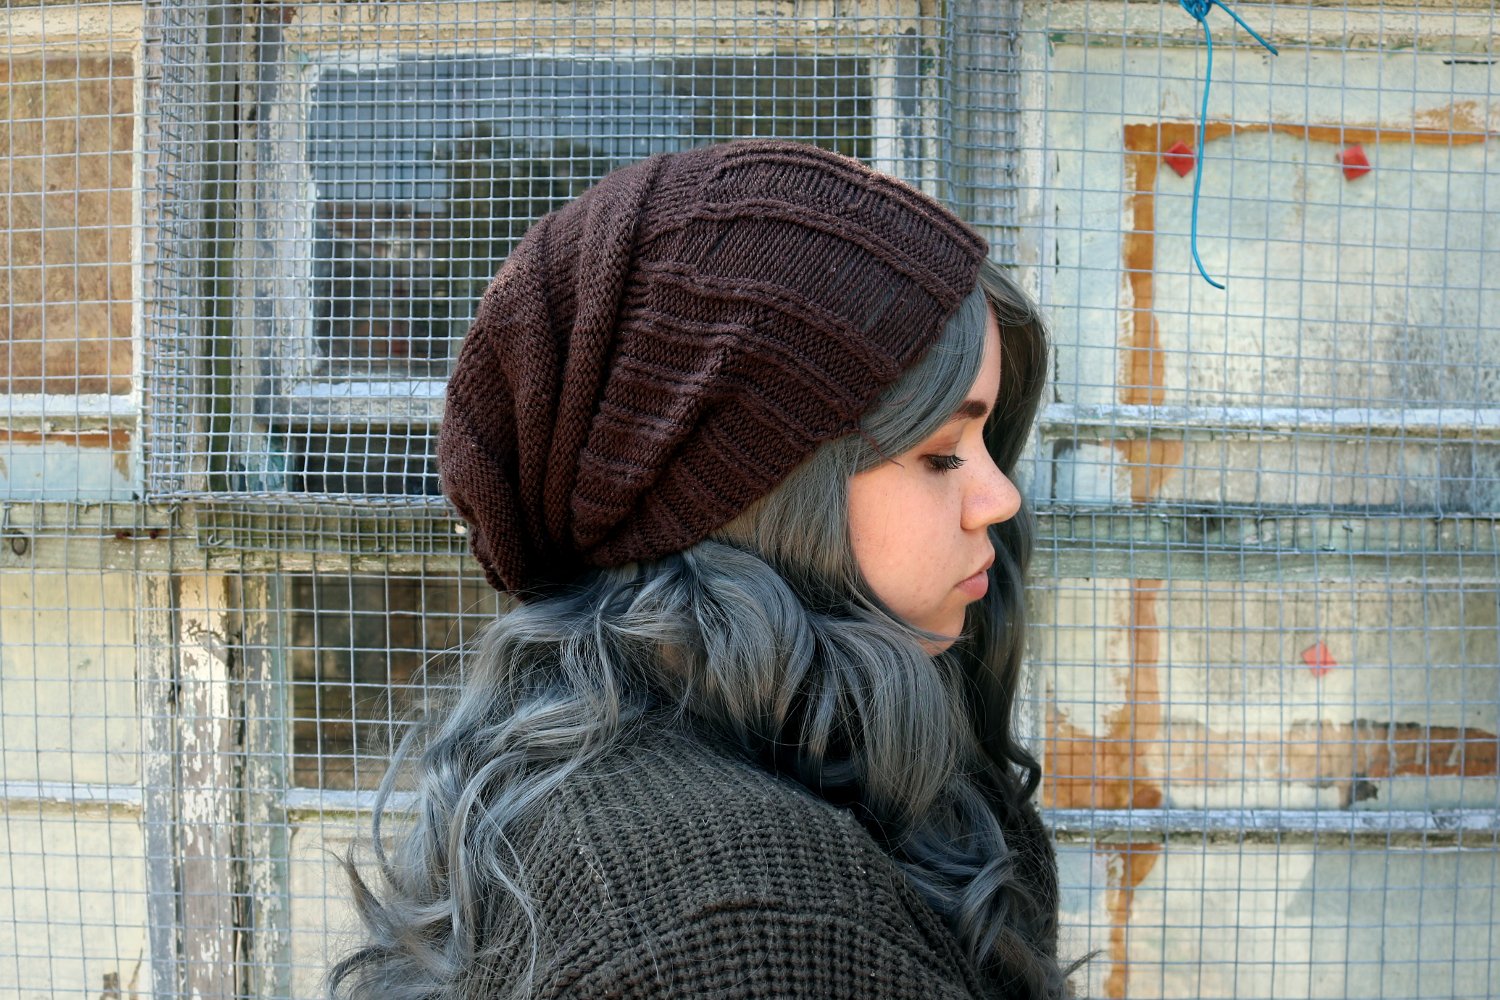
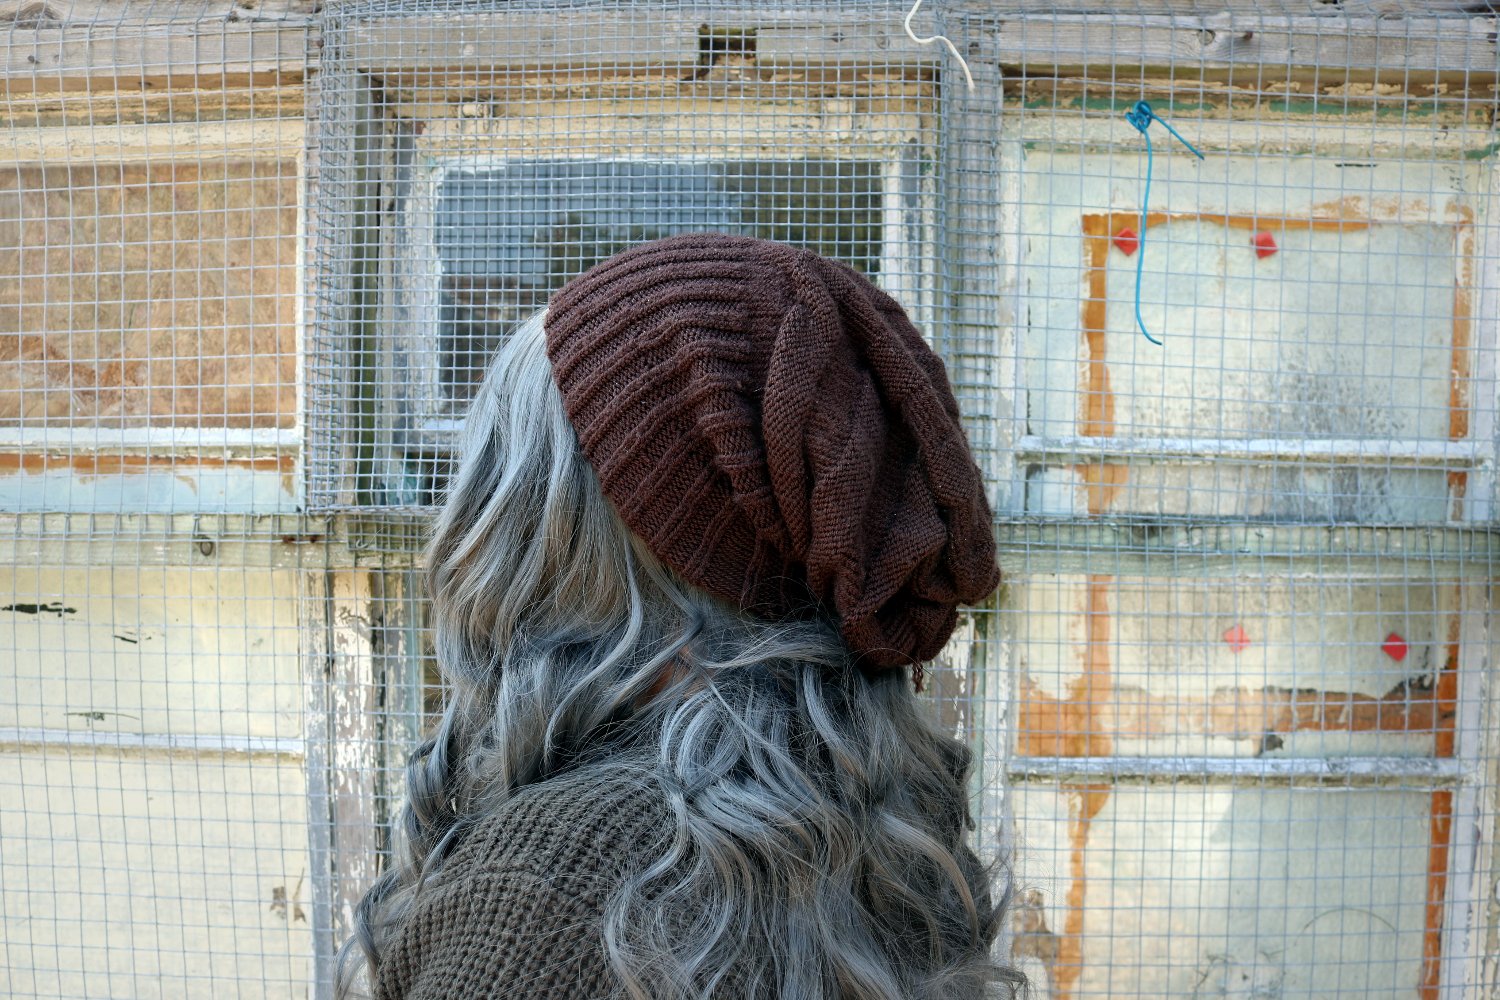
Nardole from Doctor Who

On the second day of London MCM, I wore a cosplay of Nardole from the Doctor Who episode Eaters of Light. I'm starting with the second day because I neglected to get pictures of the costume I wore the first day, but hopefully I'll get some soon.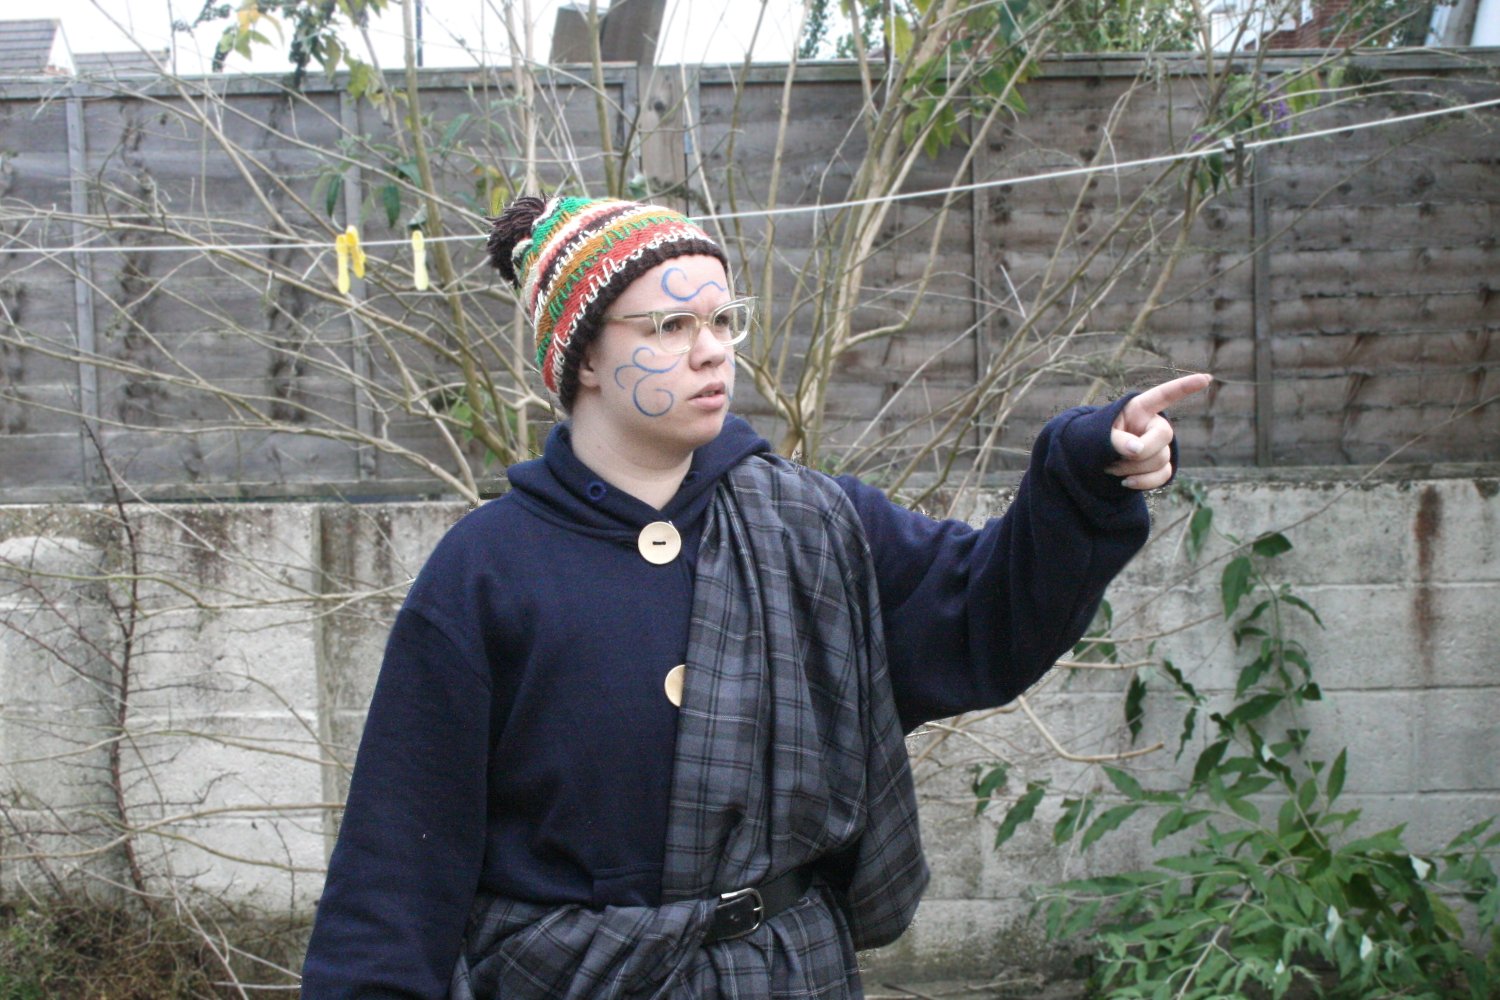 The Nardole costume consisted of a hand knit hat, a sweatshirt, pajama pants, and a kilt. The kilt was simply a huge piece of fabric with serged edges. Unlike how the kilt is worn in the show, I wore mine the same way that one would wear a great kilt.
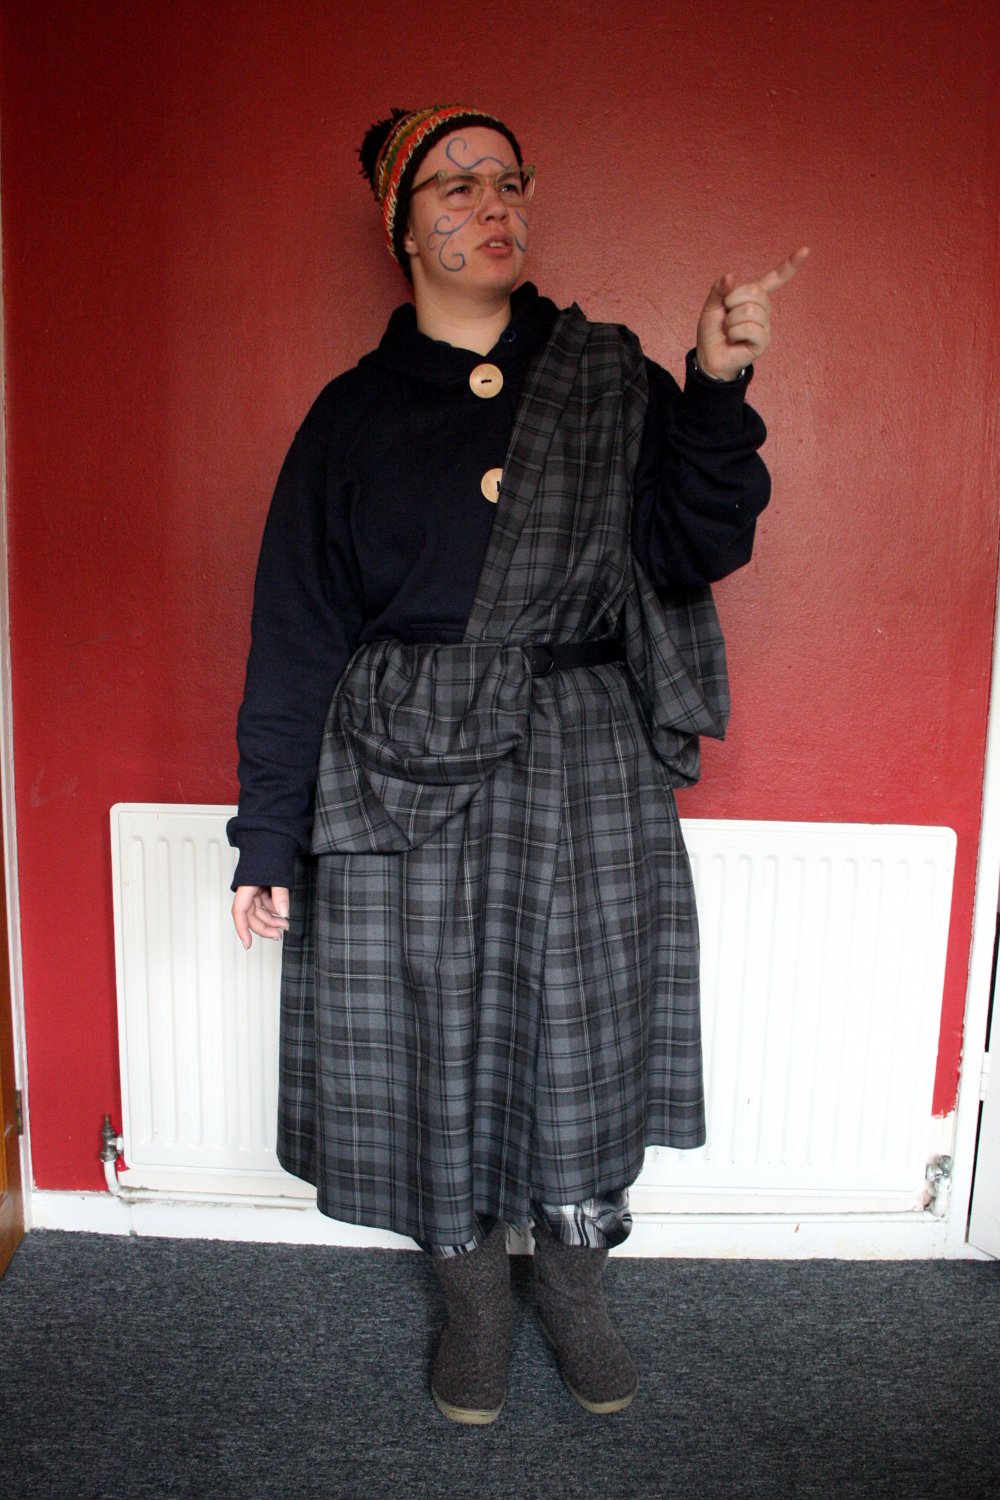 Since the sweatshirt was fairly simple in design, I opted to modify a blue zip up sweatshirt I already had instead of making one from scratch. I started by taking out the zipper and the hoodie cord. Then, I added buttonholes and large wooden buttons down the front of the hoodie. Even though I'd taken out the bright white hoodie cord, the eyelets in the hood were still visible in bright silver, so I buttonhole stitched all the way around them.
 The hat I wore is one I've already posted about, and have actually written up a pattern for, so be sure to check that out!This is, by far, one of the most comfortable cosplays I have ever worn. I basically got to walk around in pajamas all day, it was great!
Floral Skirt, Bandana, and Pencil Case

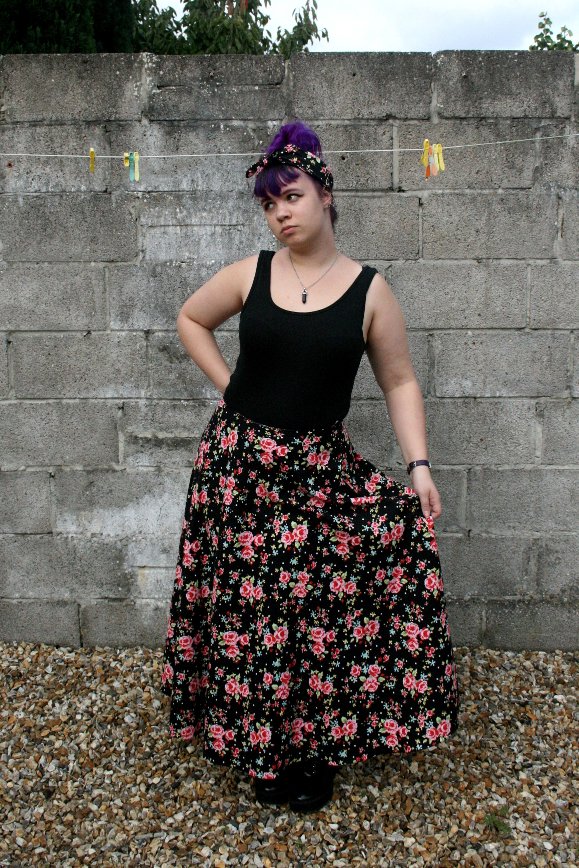 On Tuesday afternoon I headed out to Fabricland to purchase a zipper I needed for an upcoming project. While there, I spotted this floral fabric for £4.59 a meter and immediately knew I wanted to make myself a full length skirt.
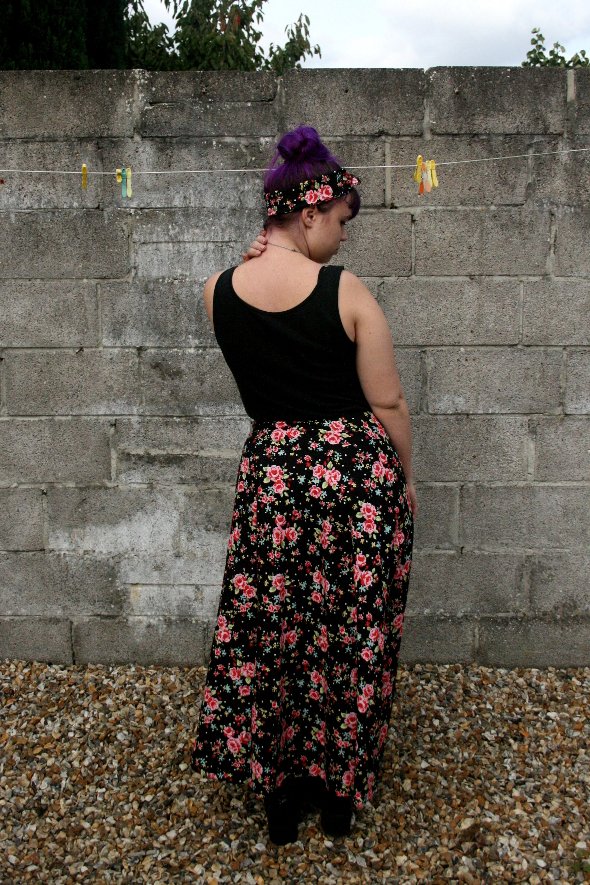 The skirt is made from two quarter circle panels with an invisible zip on the side. I think this is the first time I've thought ahead when making a skirt and added two inches in length to the back before sewing the panels together. Usually when evening out the hem of a skirt I'll have to trim down the sides and front, but not this time!
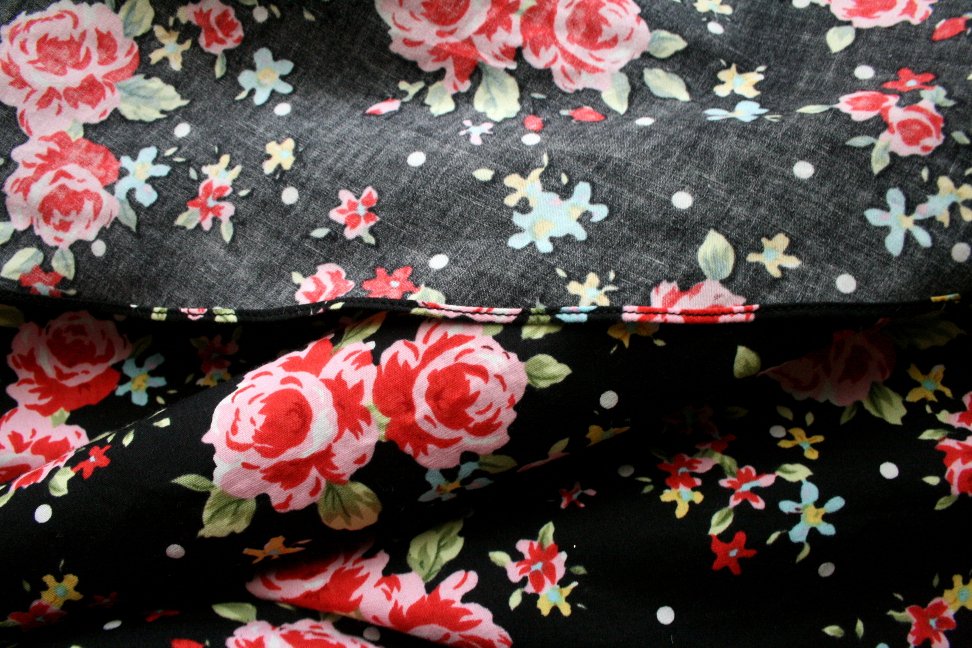 This skirt was the first time I've ever used a rolled hem sewing machine foot. It was so much easier to use than I thought it would be, and created such a neat hem! I want to use this foot for every single project I make from now on!
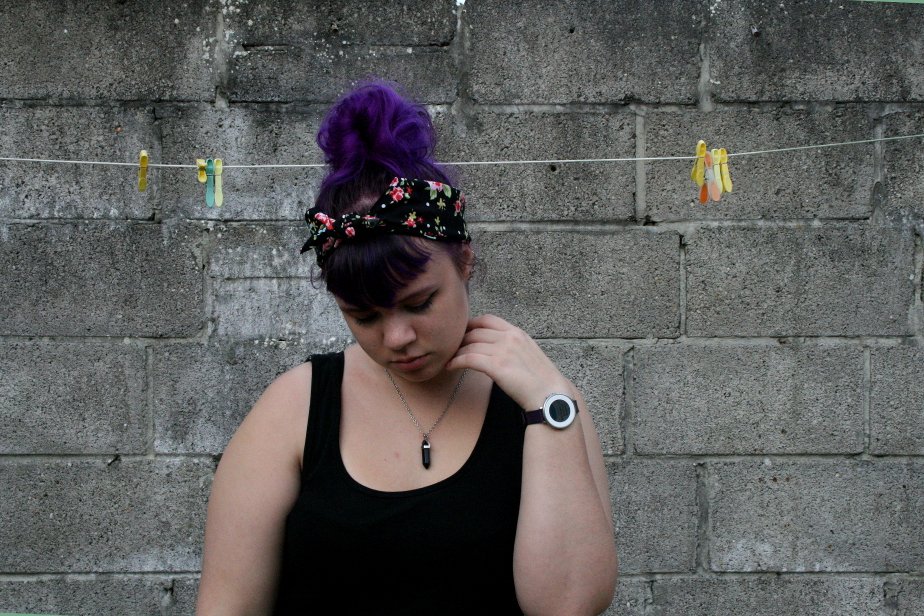 I thought the skirt would use up almost all of the 3 meters of fabric I bought, but I was wrong. With about 70 centimeters of fabric remaining, I was able to make both a bandana and a pencil case. The bandana was pretty much just an excuse to use my rolled hem foot, as I hardly ever wear bandanas.
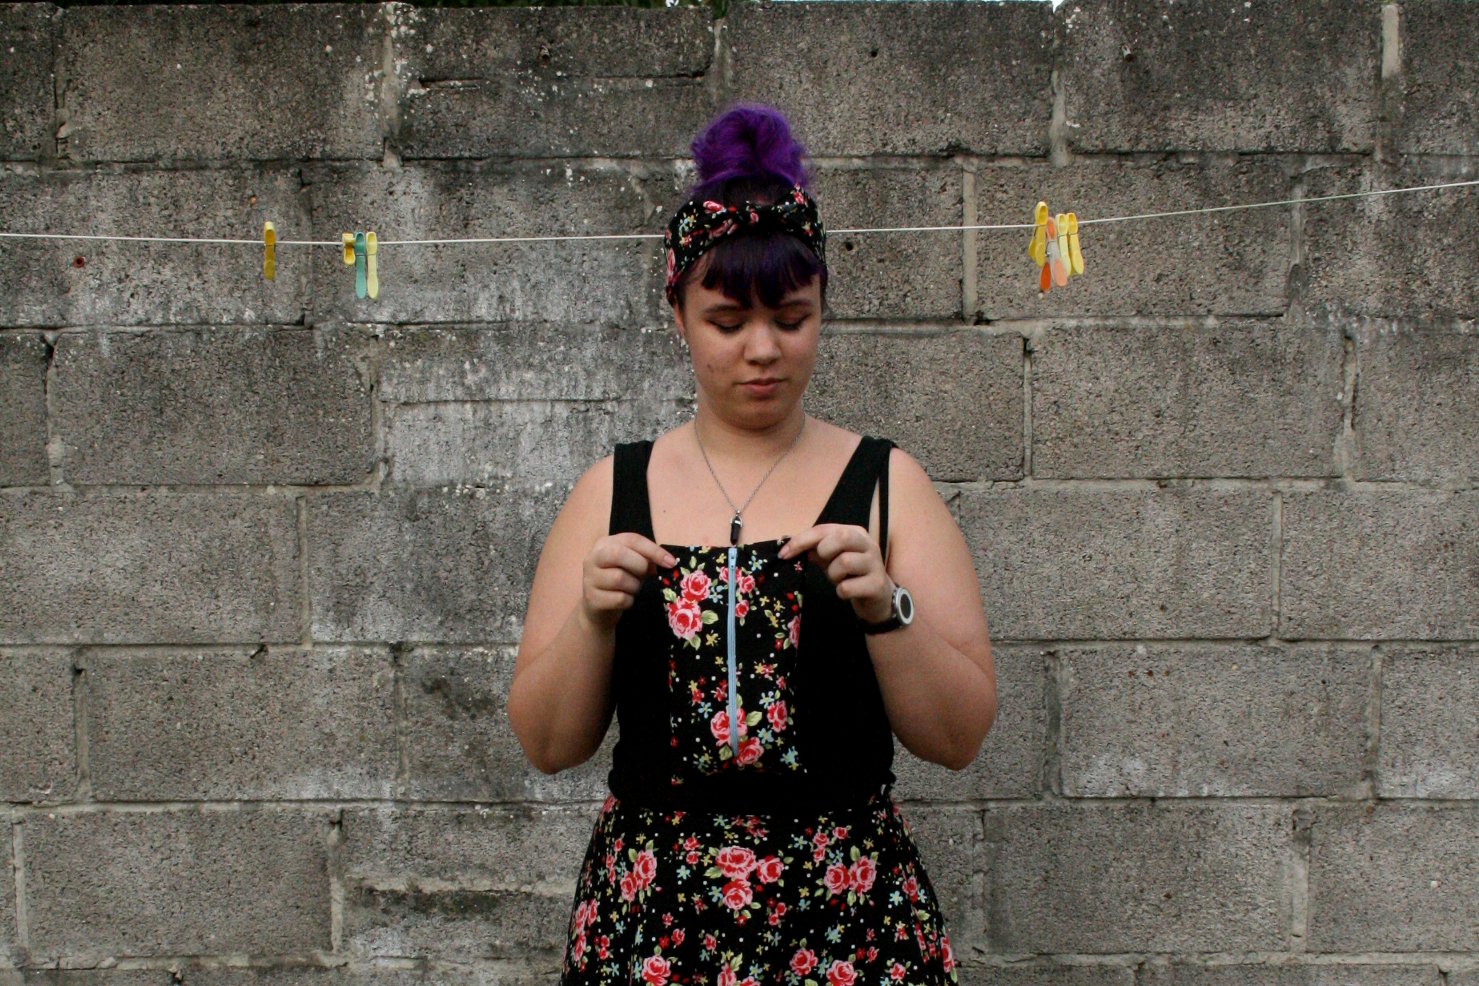 The pencil case was a bit fiddly to make. I needed one that would fit all my uni supplies in it, and I wanted it to be fully lined. I didn't take any pictures of the making process, and it's difficult to describe how I made it. However, if anyone is interested, I would be happy to make a tutorial on how to make your own.
 I am extremely happy with everything I made, although I doubt I'll wear the bandana with any other outfit. The pencil case has already proved very useful and hasn't fallen apart yet. I want to make about a hundred more half circle skirts with rolled hems, they're so simple and so comfy!
Wilf's Hat from The End of Time

After knitting two of Nardole's hats, I felt as though I needed more hats. Why? I don't know, I can't possibly find the time to wear them all if I keep making them at this speed! This hat is Wilf's hat from the Doctor Who episode The End of Time. I remember when I first watched the episode I noticed the hat, but I didn't think I'd end up making it because it looked so complex.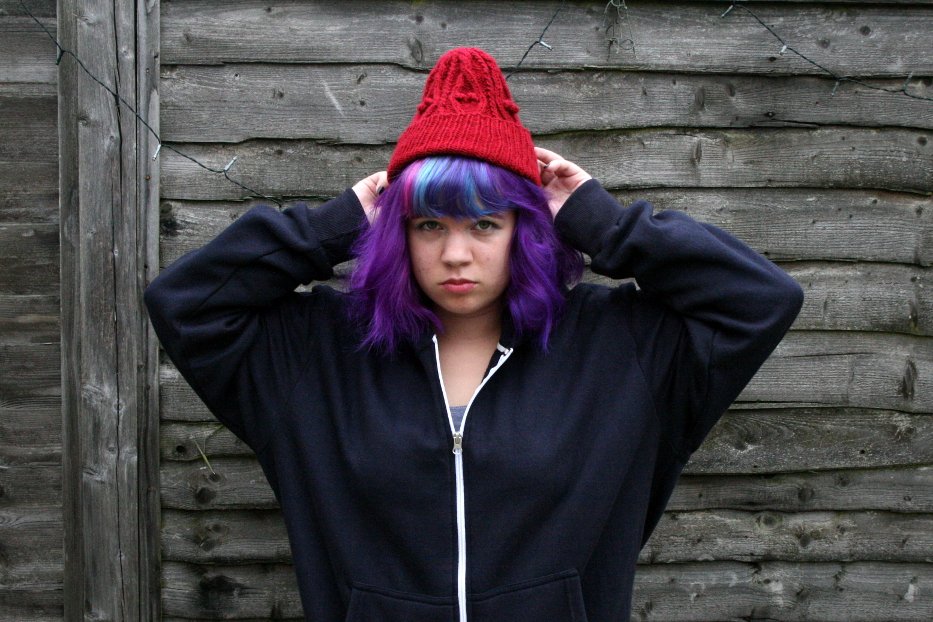 Fast forward to a few months later, and I've knitted up the hat! I found a this lovely pattern by Patricia Schönhold on Ravelry. It was my first time knitting from a chart, as well as my first time knitting bobbles. The pattern was easy to understand, and I had no problems with any of it.
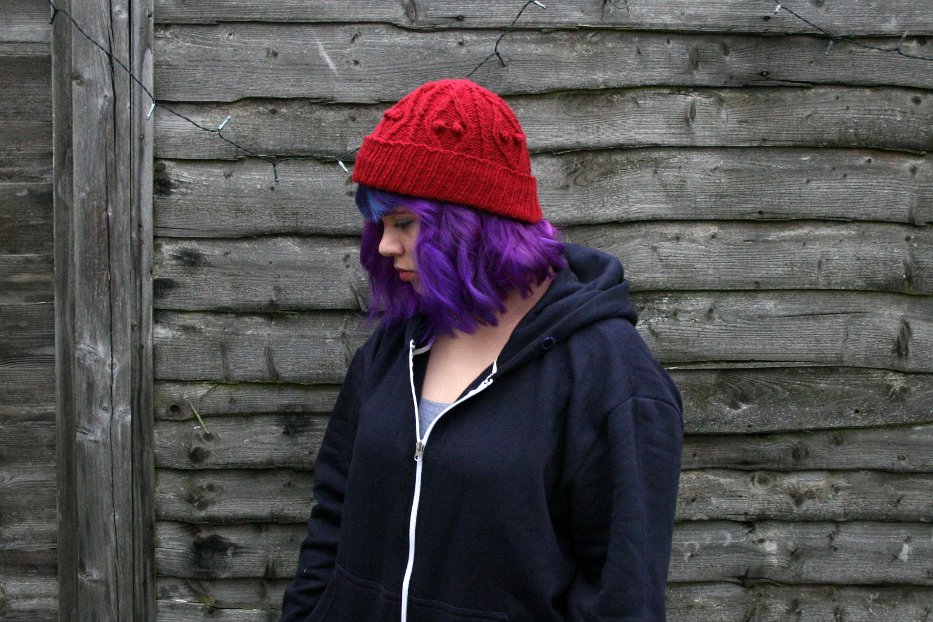 I knitted this hat up with Stylecraft Special DK in Lipstick (this might be wrong, I've lost the label) with size 8 (5.0 mm) knitting needles. I realize I've used Stylecraft in most of my recent projects. That's because Stylecraft is really easy for me to get and it comes in a huge number of colors.
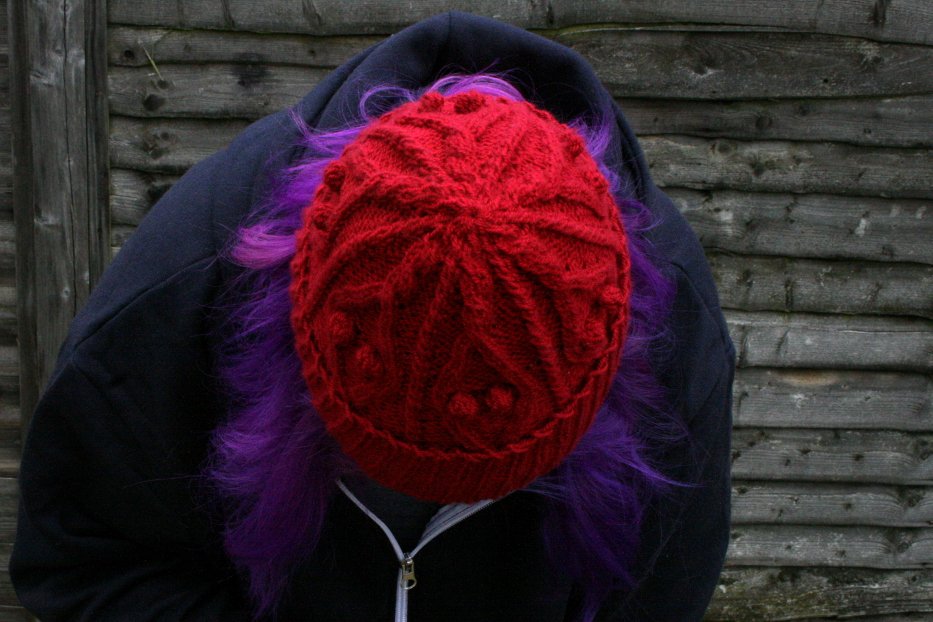 I did end up changing the pattern just a bit. Near the crown of the head, I added two extra twists in the large cables. Because of this, the number of stitches I had on my needles did not match up with the pattern and I ended up decreasing differently. I don't remember exactly what I did, but the difference is visible.
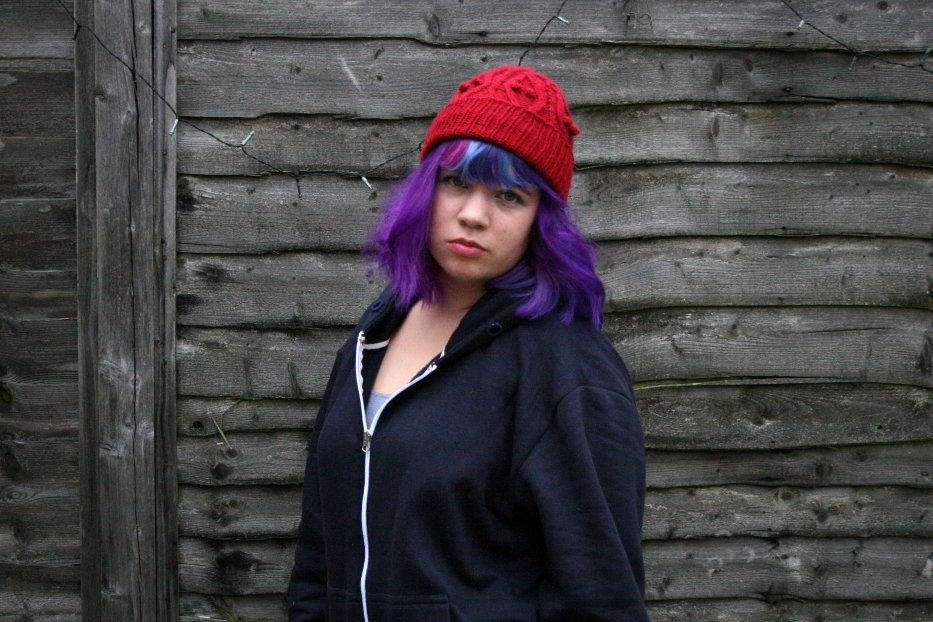 I'm very happy with Wilf's hat, and I definitely wouldn't have been able to make it without the pattern I found. I am glad that Patricia Schönhold put this pattern up, and I would recommend it to anyone else looking to make Wilf's hat.
Phases of the Moon Skirt

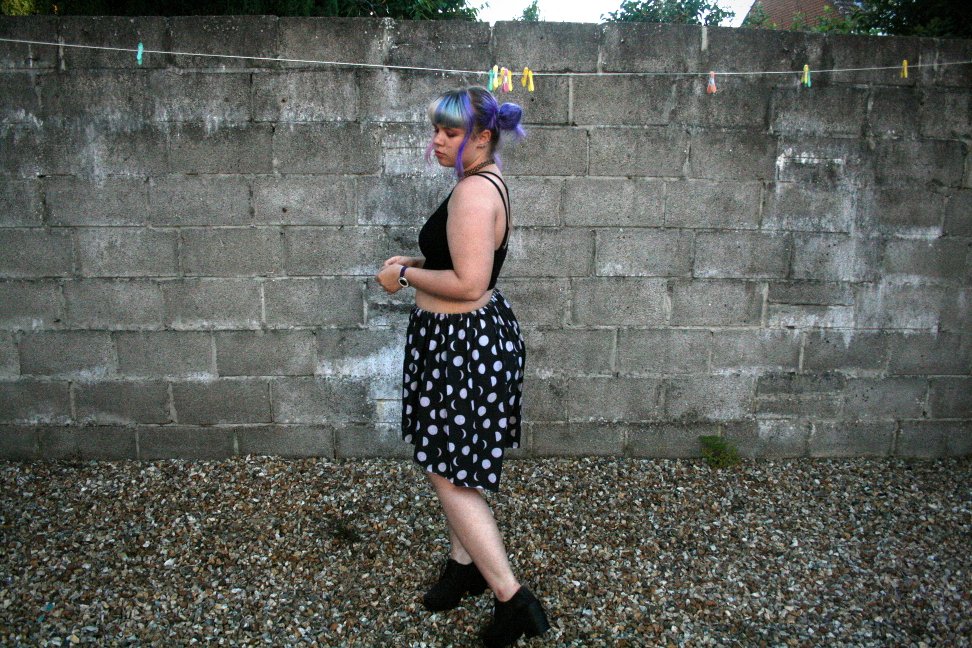 I designed this fabric, Phases of the Moon, a couple years ago, with no real plan besides releasing it on Spoonflower.
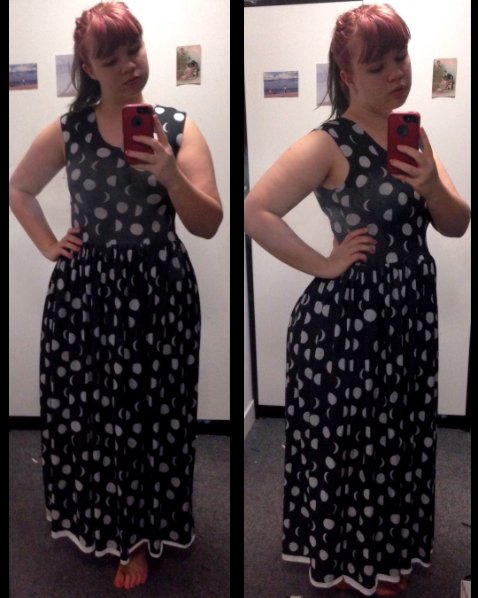 I bought myself two yards last year with the intent of making a dress. It didn't work out and I can't remember exactly what happened, but pieces of the fabric remained in my fabric box up until this Thursday.
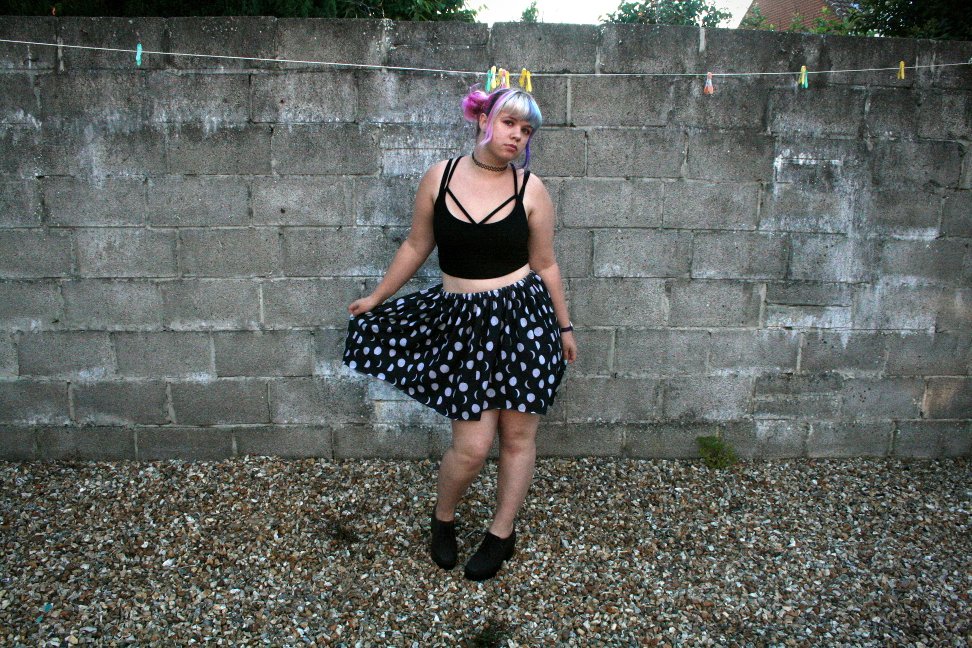 When I pulled the fabric out, I found I'd already cut out the perfect base for a high/low hem skirt. I couldn't find the top half of the dress anywhere. All that I did was sew a narrow casing and put a bit of elastic through it. Since it was a knit fabric, I didn't even hem it. Ridiculously simple!
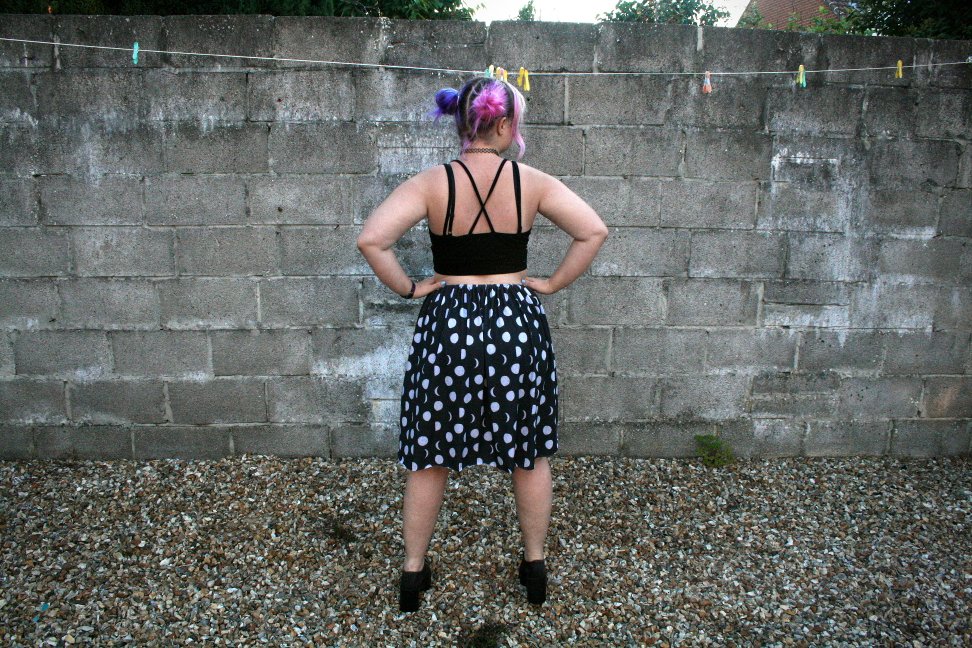 The fabric is amazing! My design looks great, and the fabric I chose was Modern Jersey. There are some small design details that do not show up on the fabric, but that's my own fault. I had written the names of each moon phase under the corresponding moon in a light grey. The words were too tiny to show up against such a dark background.
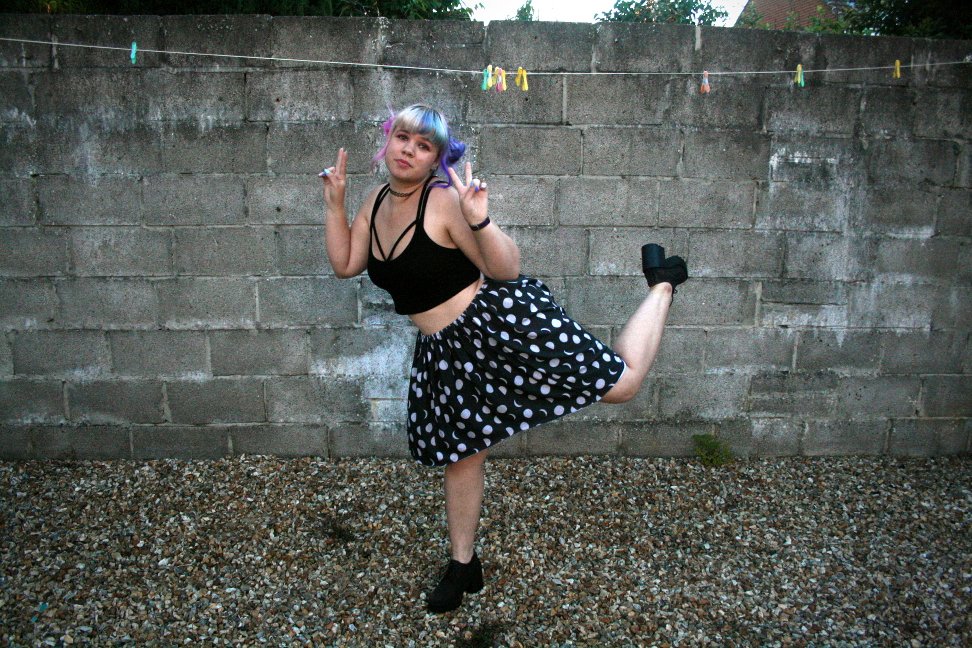 I I'm kind of disappointed I wasn't able to make the dress I wanted, but I'm happy with what I made. If I do ever find the rest of the moon fabric, I'll probably make a matching crop top.
Nardole's Hat from The Doctor Falls
nardole hat side 2

front nardole hat
That's right! I made another one of Nardole's hats! This one is from last week's Doctor Who episode, The Doctor Falls. It was super simple to make compared to the last one!Even though I'm very happy with how my hat turned out, the pattern I've put at the bottom of the post is slightly different from the hat pictured here. This is because the one I made is small (it fits my head, but it might not fit yours), and I mistakenly made my hat a bit too short.What you'll need:
US size 8 needles (5mm)
Double knit or worsted weight yarn
side of nardole hat
I used Stylecraft Special DK in 1035 Burgundy and 1709 Gold.
Cast on 96 st, k1, p1, all the way around for 9 inches, then work the following rows:
It may help to divide your stitches into 6 equal sections of 16 stitches
Row 1: *p2tog, k1, p1, k1, p1, k1, p1, k1, p1, k1, p1, k1, p1, k2tog tbl, repeat from * (total of 84 stitches)
Row 2: p1, k1, all the way around
Row 3: *k2tog, p1, k1, p1, k1, p1, k1, p1, k1, p1, k1, p2tog tbl, repeat from * (total of 72 stitches)
Row 4: k1, p1, all the way around
Row 5: *p2tog, k1, p1, k1, p1, k1, p1, k1, p1, k2tog tbl, repeat from * (total of 60 stitches)
Row 6: p1, k1, all the way aroundRow 7: *k2tog, p1, k1, p1, k1, p1, k1, p2tog tbl, repeat from * (total of 48 stitches)
Row 8: k1, p1, all the way around
Row 9: *p2tog, k1, p1, k1, p1, k2tog tbl, repeat from * (total of 36 stitches)
Row 10: p1, k1, all the way around
Row 11: *k2tog, p1, k1, p2tog tbl, repeat from * (total of 24 stitches)
Row 12: k1, p1, all the way around
Pull the yarn tail through remaining stitches, pull tight, and secure ends.
All that's left is to add your pom pom on top and you're done!
Nardole's Hat from The Eaters of Light
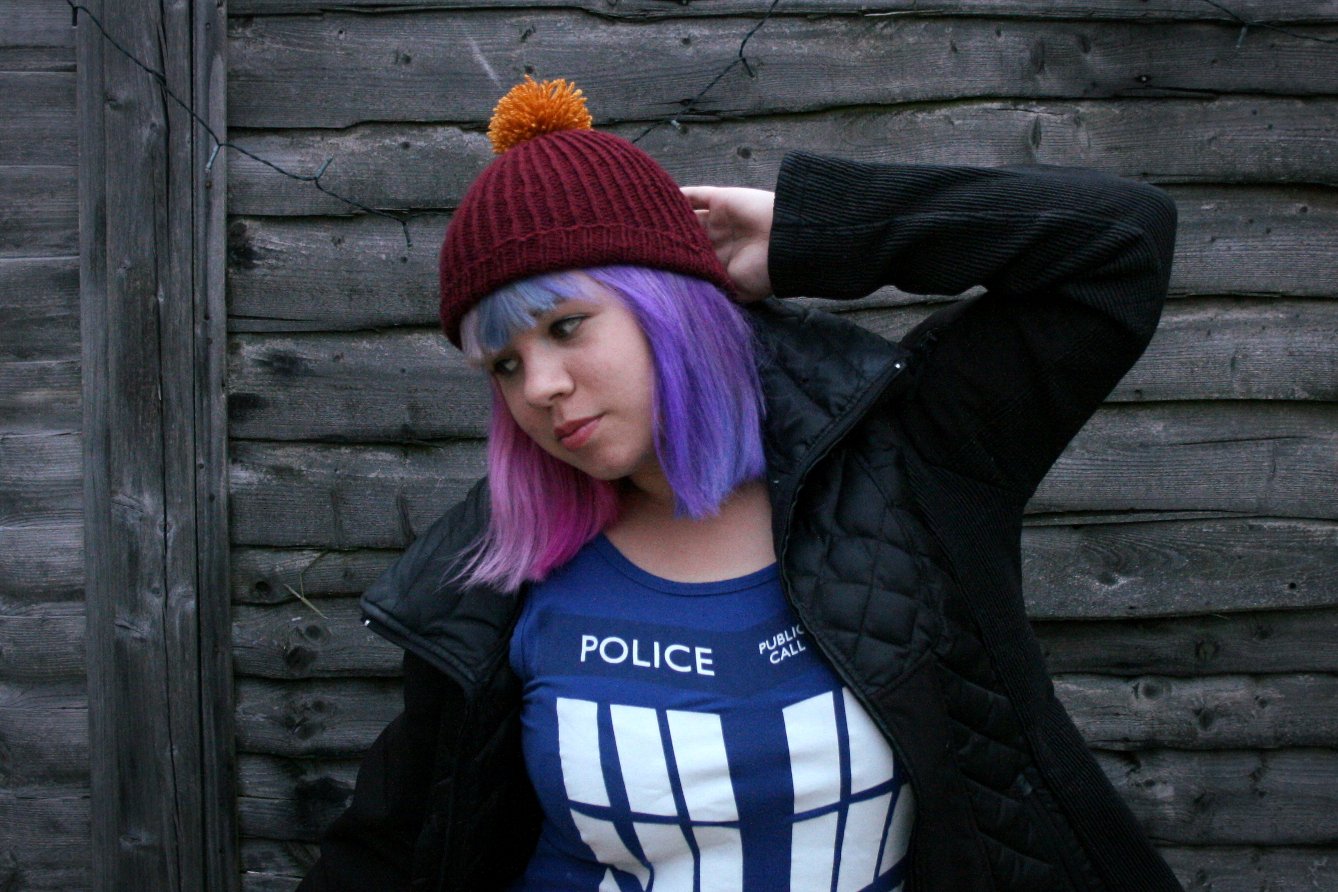
This is my version of the hat that Nardole wears in the Doctor Who episode The Eaters of Light. When this episode aired last week, I immediately knew that I needed to make his hat. It was fairly simple to make, and I'll share my process so that anyone who wants one can make one too.What you'll need:
US size 8 needles (5mm)
Double knit or worsted weight yarn
Special Stylecraft DK in Lemon Shade 1020
Special Stylecraft DK in Dark Brown Shade 1004
Special Stylecraft DK in Green 1116
Special Stylecraft DK in Camel 1420
Special Stylecraft DK in Spice 1711
Cast on 70 stitches in the round in dark brown (must be a multiple of 10)
Rows 1-13: k1, p1 all the way around
Row 14: fold the brim to the inside of the hat attach to previous row with k1, p1
From here on, the every row is purled. (The design is worked on top after completion)
1 row in lemon, 7 rows in spice,
1 row in green, 7 rows in camel,
1 row in lemon, 7 rows in dark brown,
1 row in spice, 7 rows in lemon,
1 row in camel, 7 rows in green,
1 row in dark brown, 7 rows in lemon,
1 row in spice, 7 rows in dark brown.
On the last row, pull a piece of yarn through all of the stitches. Do not gather it yet, it is easier to work in the design beforehand.
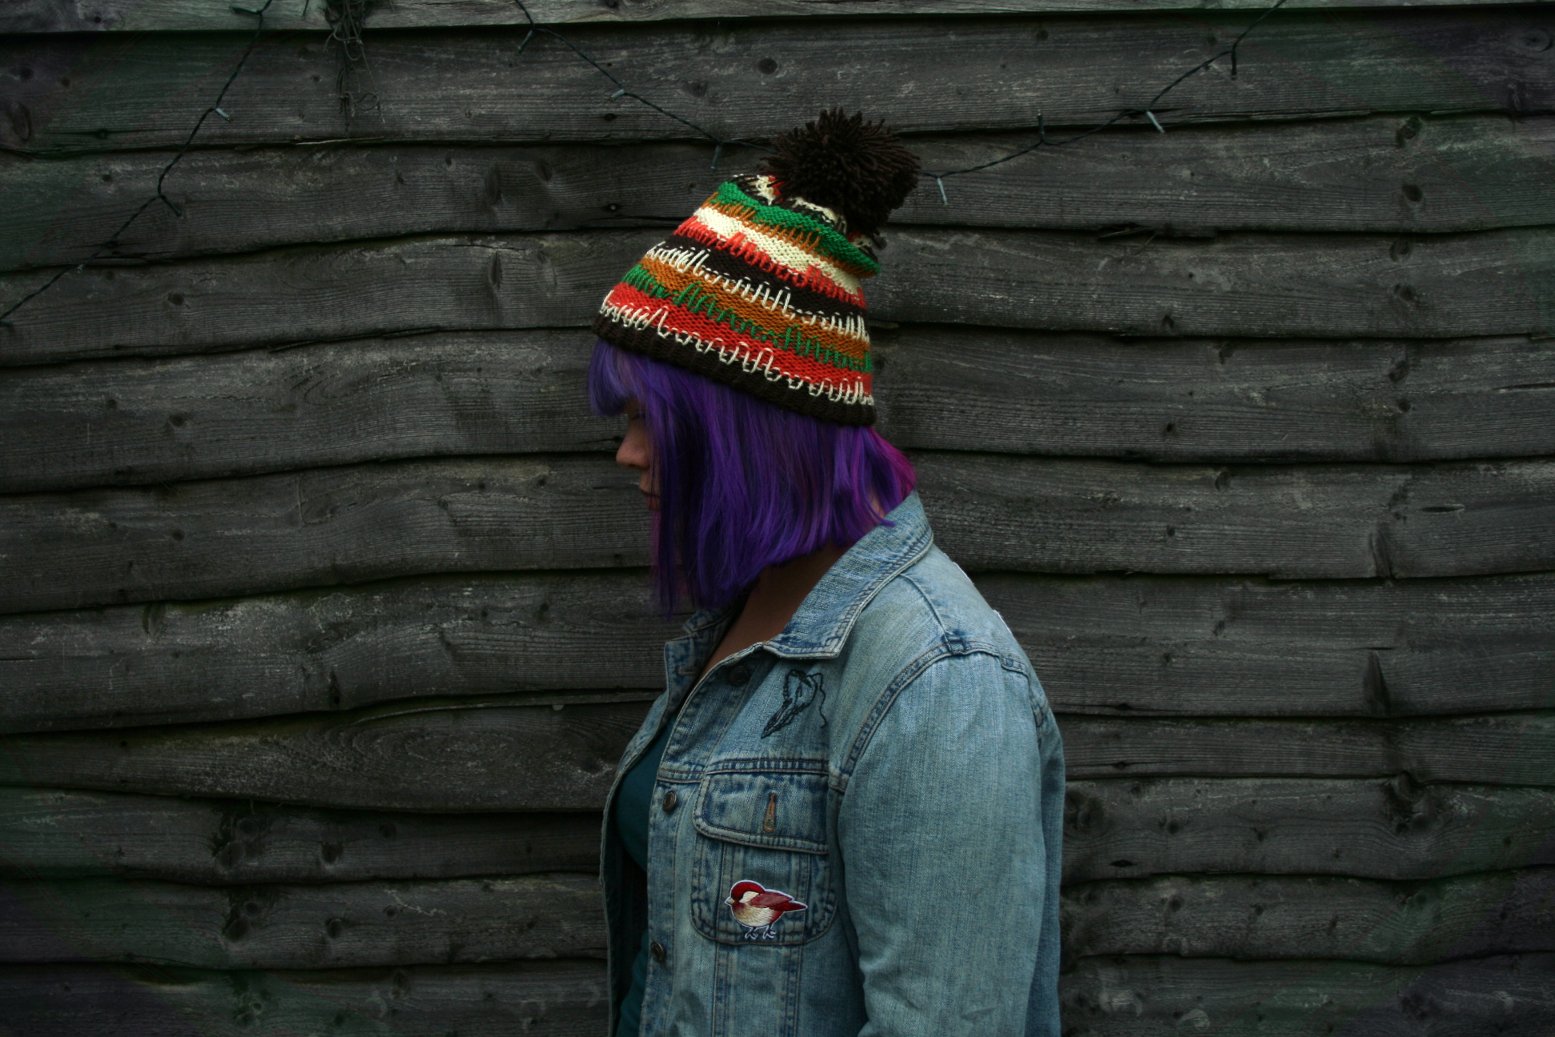
outside of nardole’s hat
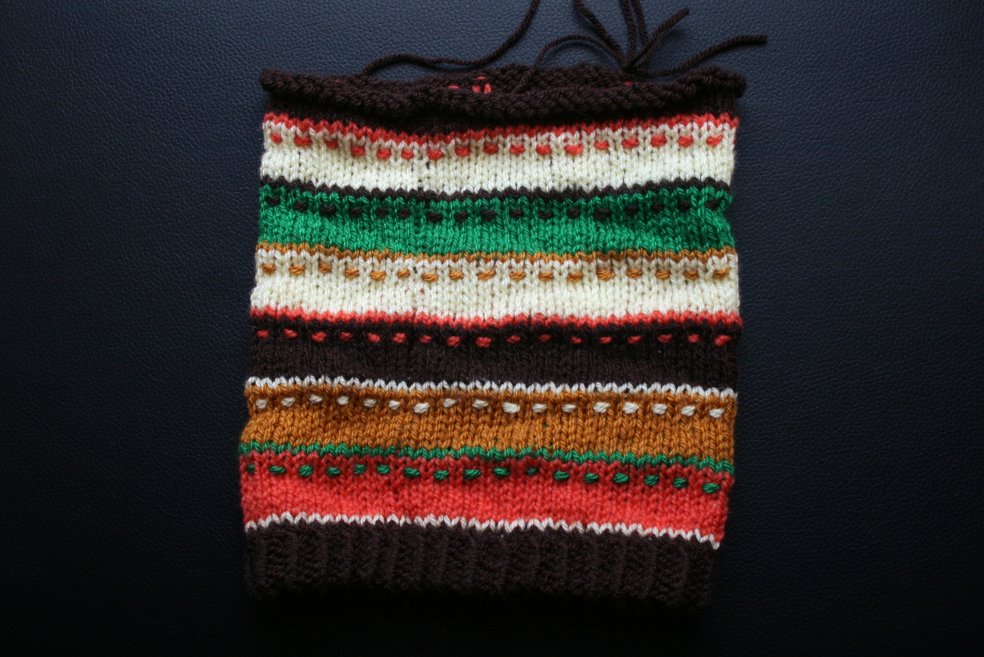
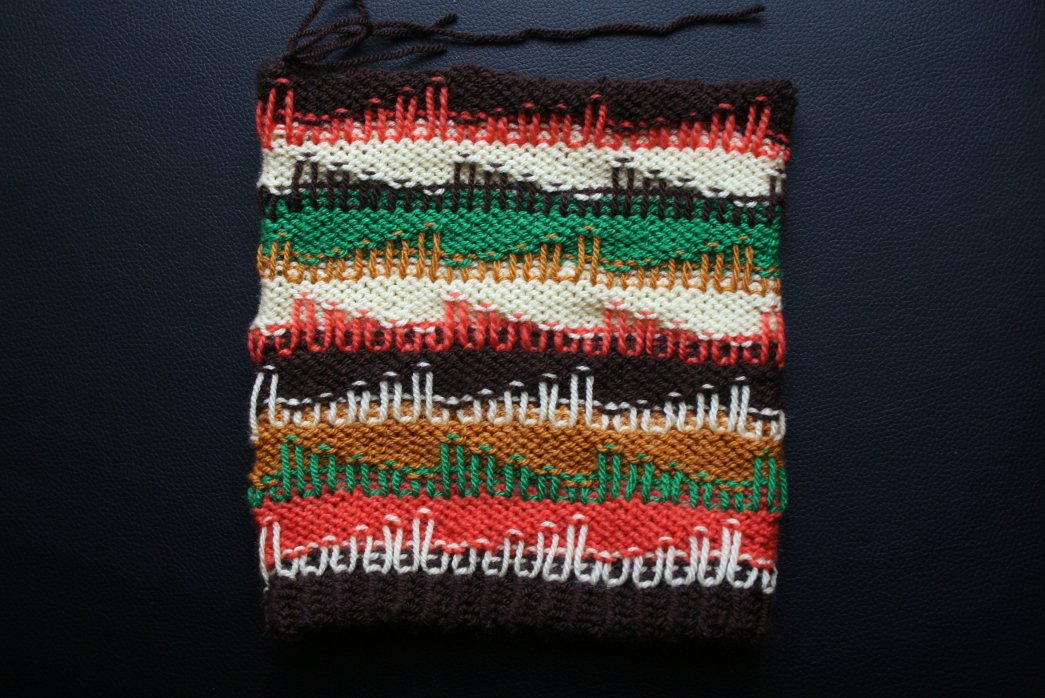
inside of nardole's hat
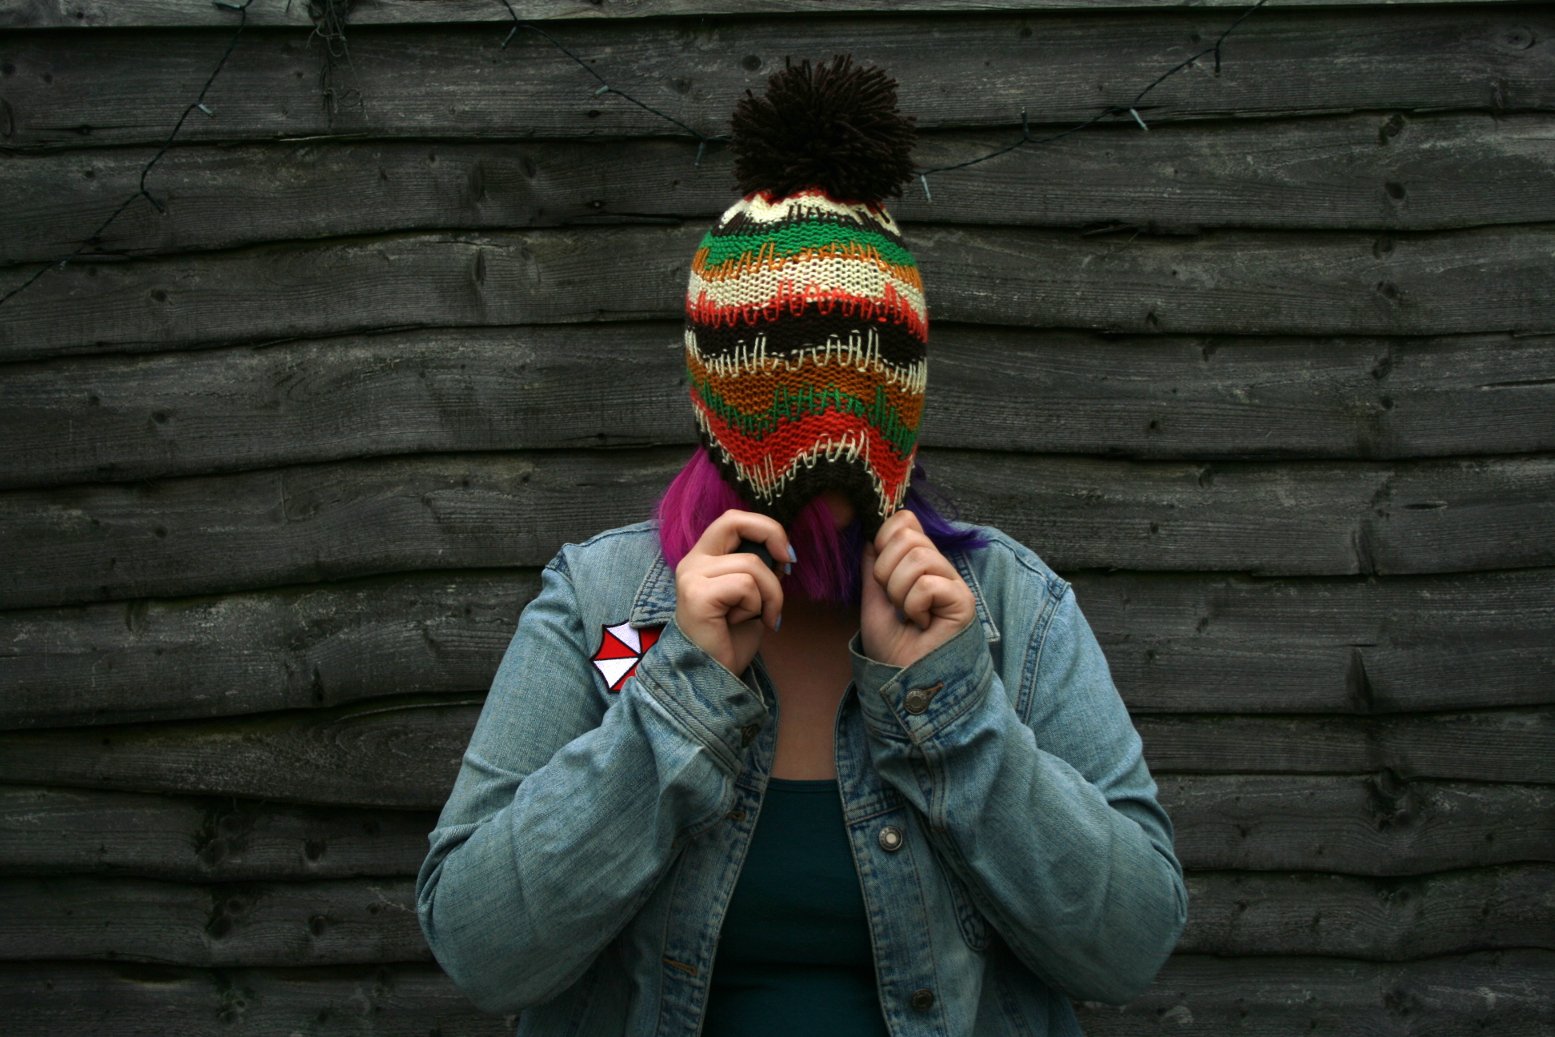
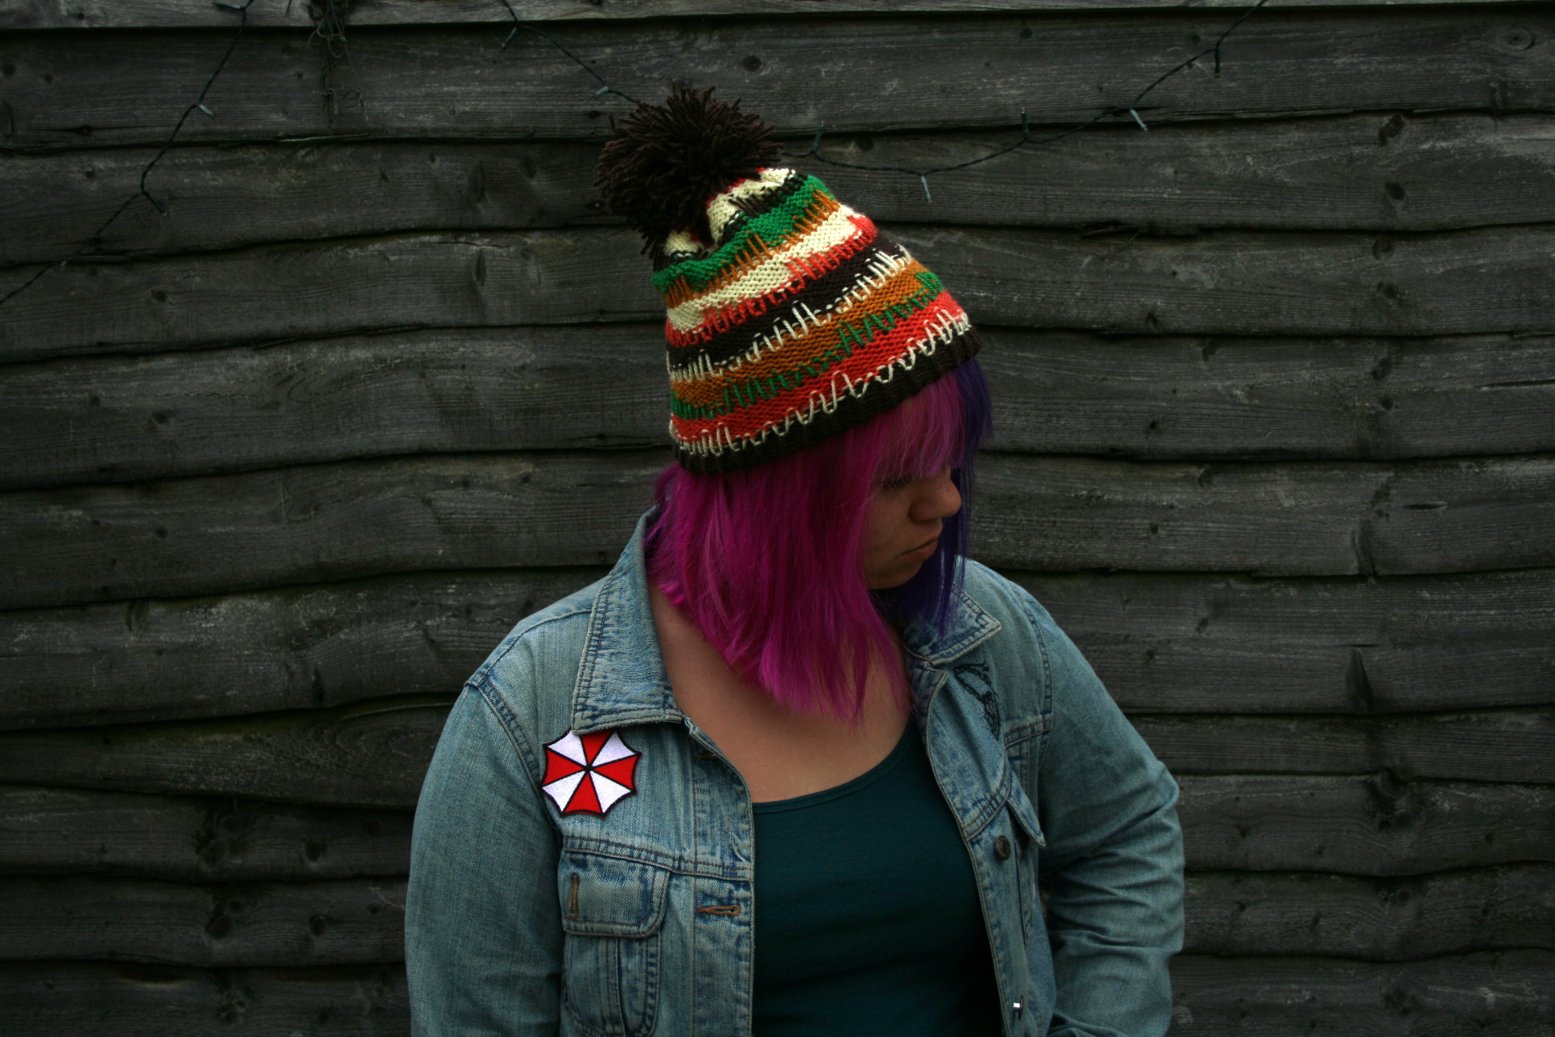
The design on top is made by weaving pieces of yarn that are the same color as the single rows. They are woven around the knit stitch below this row and brought up to the stripe above at varying heights. This is difficult for me to explain, but I hope the pictures are good enough to understand what I mean. After making the design, tighten the yarn you previously pulled through the top row of stitches and secure. Make a large pom pom out of the dark brown yarn and attach it to the top.
If anyone does make this hat, be sure to let me know!
Since it's summer, I doubt I'll be wearing the hat any time soon. As soon as cold weather hits, though, I'll be wearing it all the time!